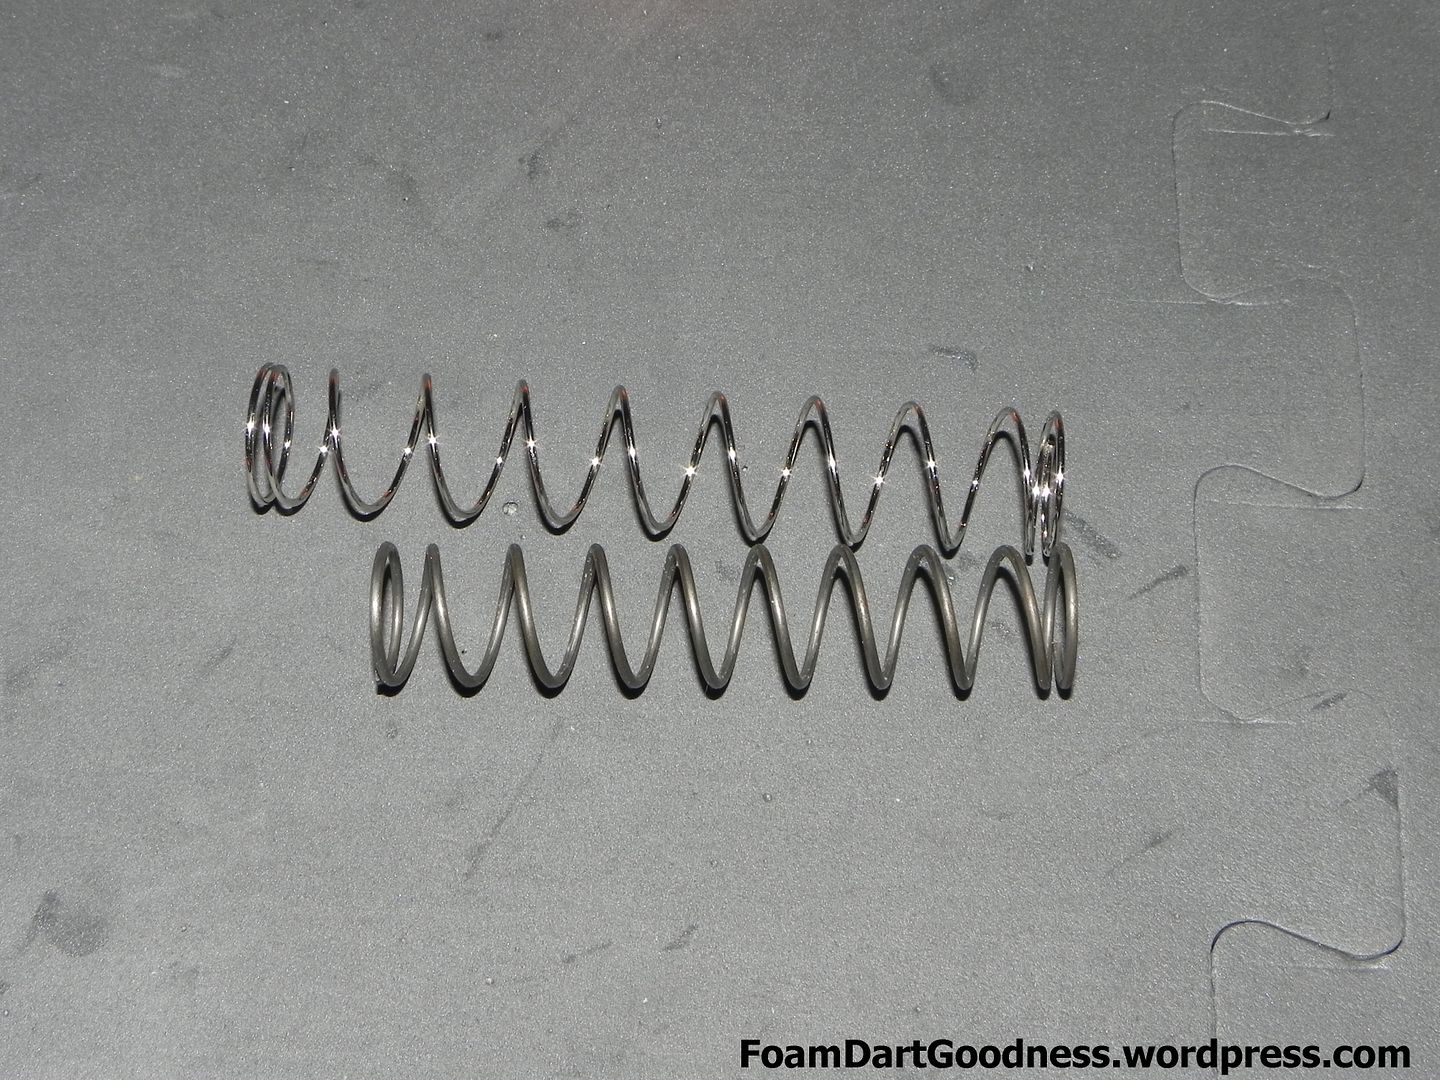
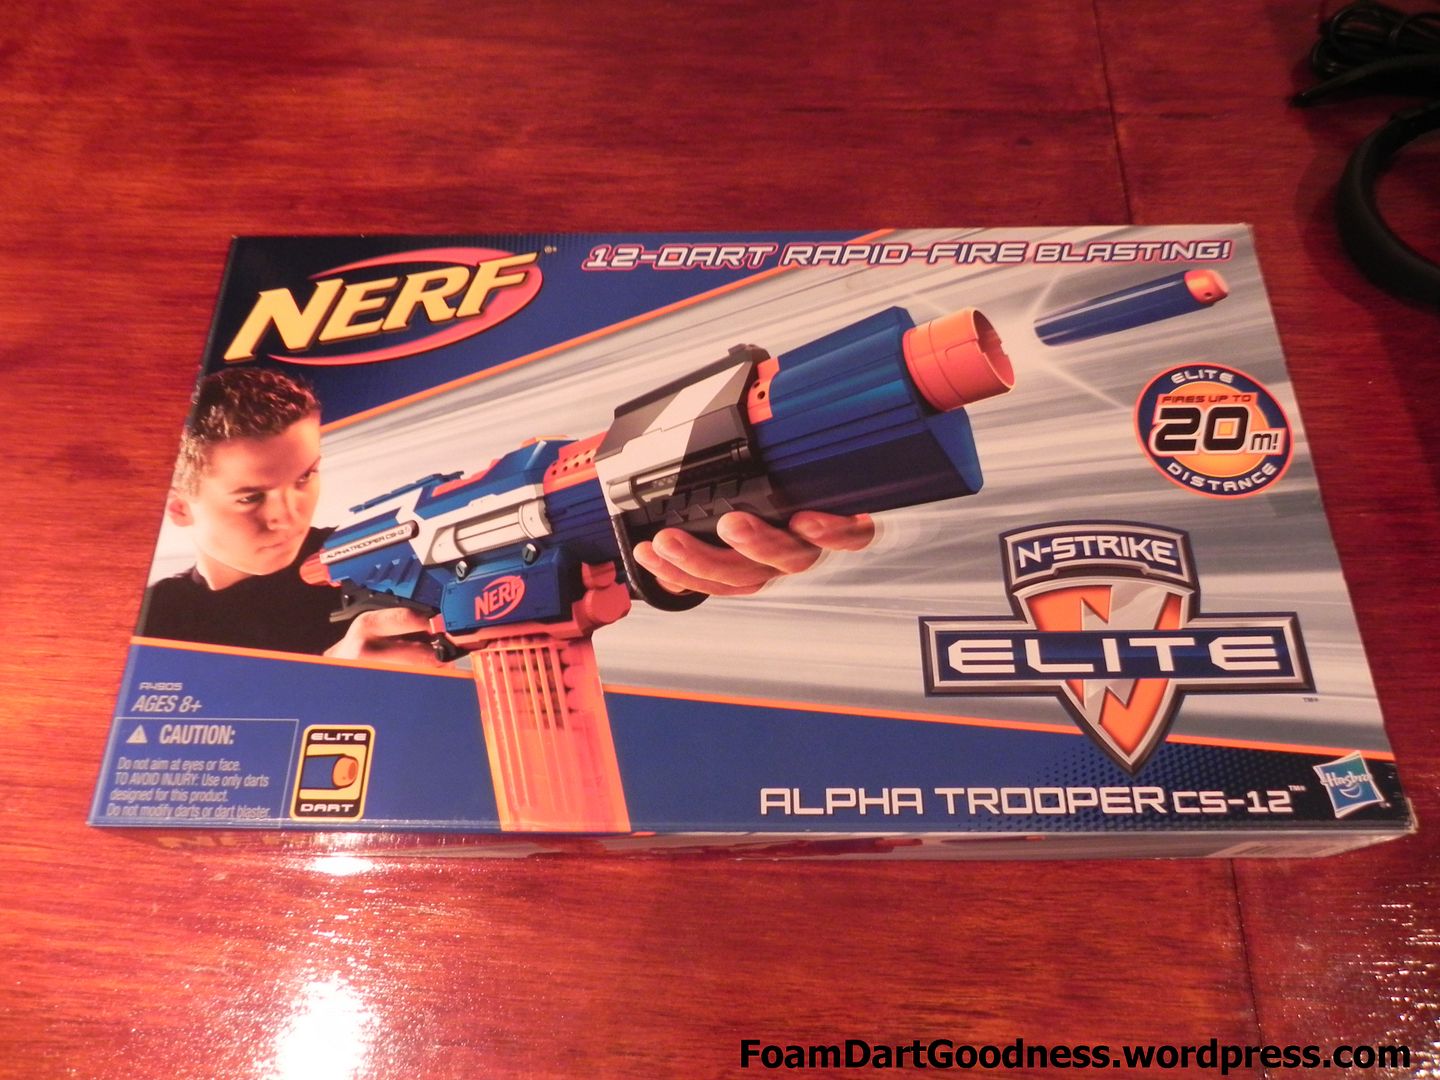
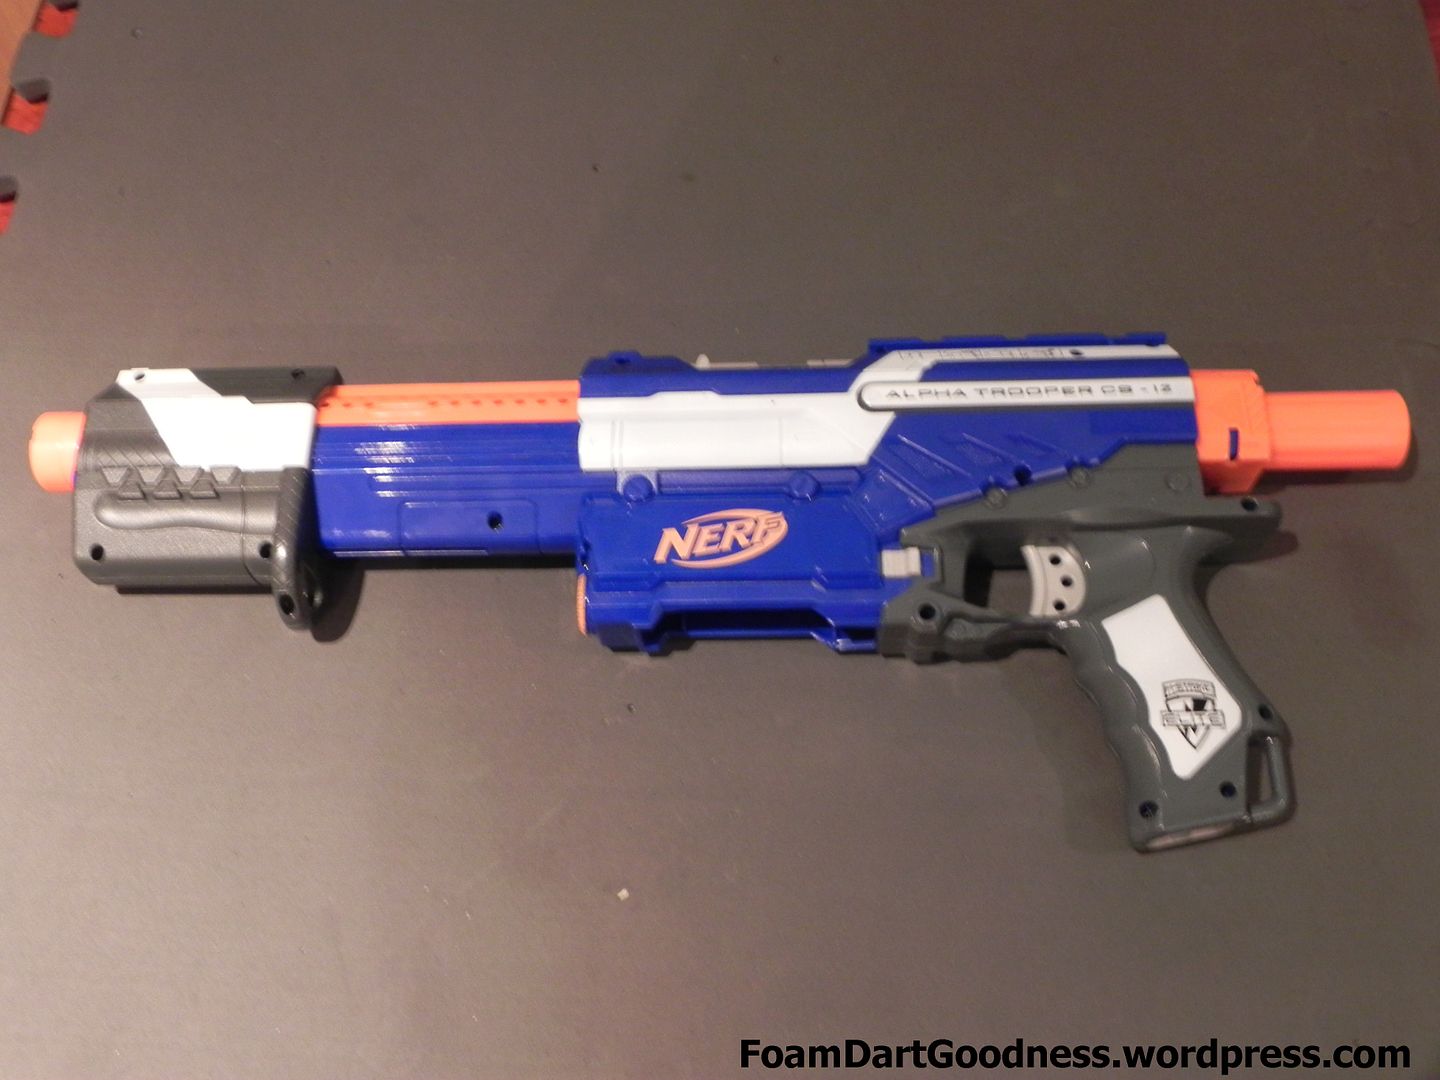
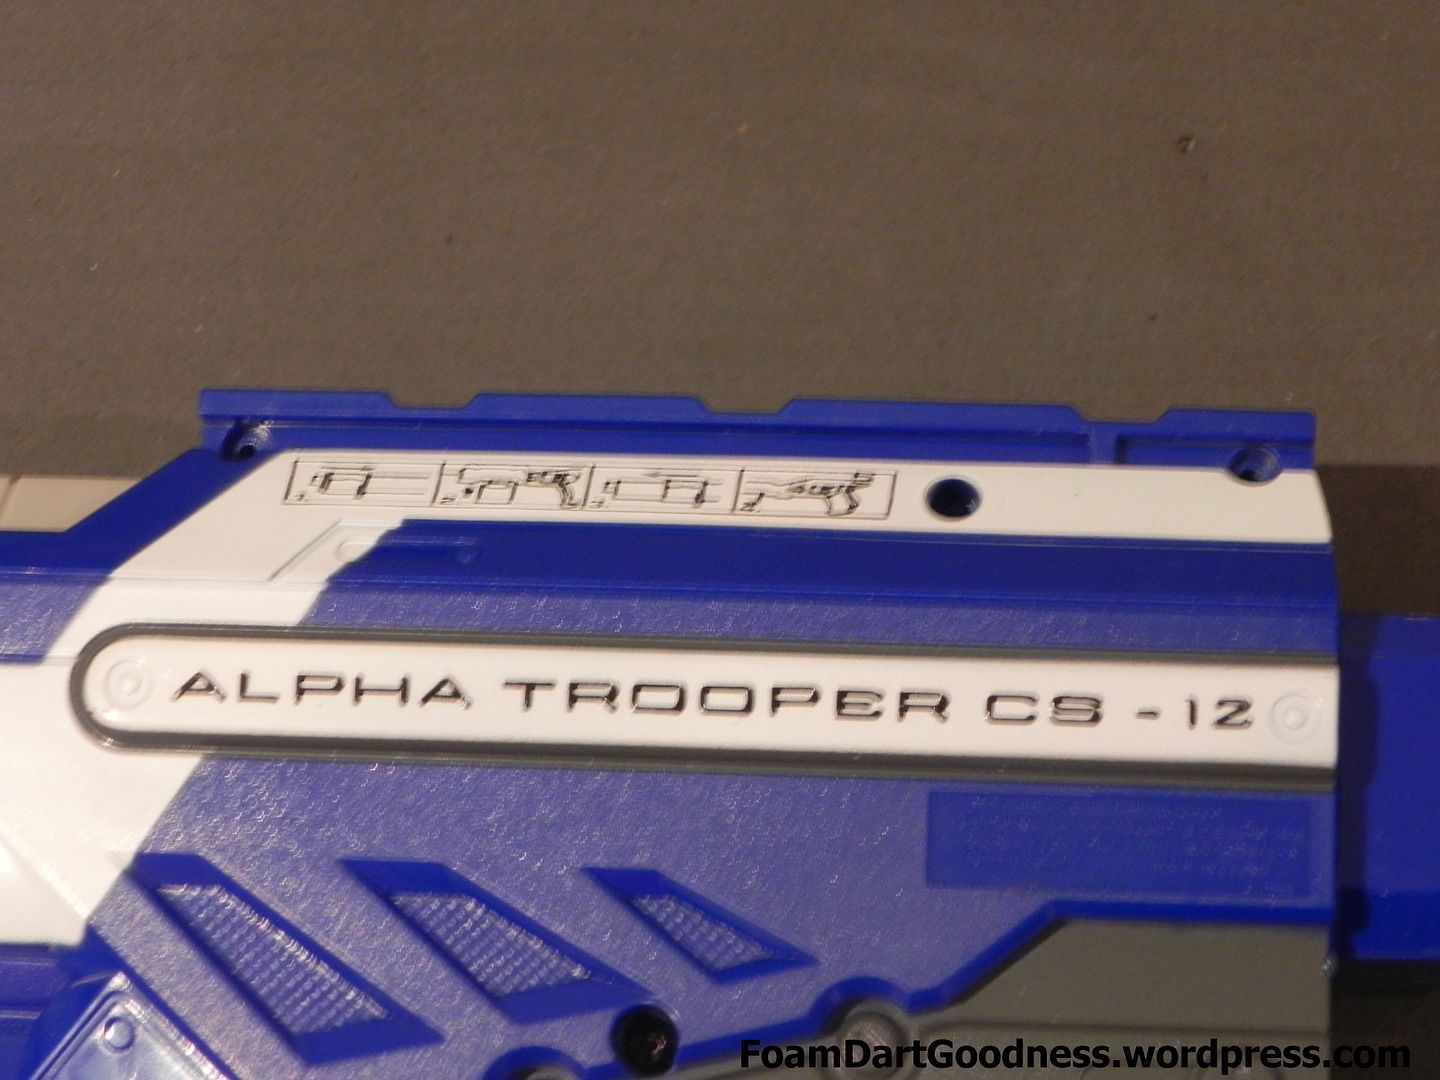
Honestly, I never got the obsession with the Alpha Trooper. It's a solid blaster, but I always preferred the Raider myself. Therefore I wasn't super excited about the release of the Elite Alpha Trooper (EAT) as I already had a few Rampages to call my own. I am however apparently in the minority on this front so I grabbed an EAT to see what we could do with it. Today we'll run through a basic air restrictor (AR) removal and replace the spring. Specifically we'll be using a Black Tactical V2 spring which is quite a bit shorter than the stock spring, which means we'll also need to do a few lock removals as supporting mods as well.
_________________________________________________________________________
Tools/consumables needed
Phillips head screwdrivers
Drill and 6mm bit
A long, round hand file
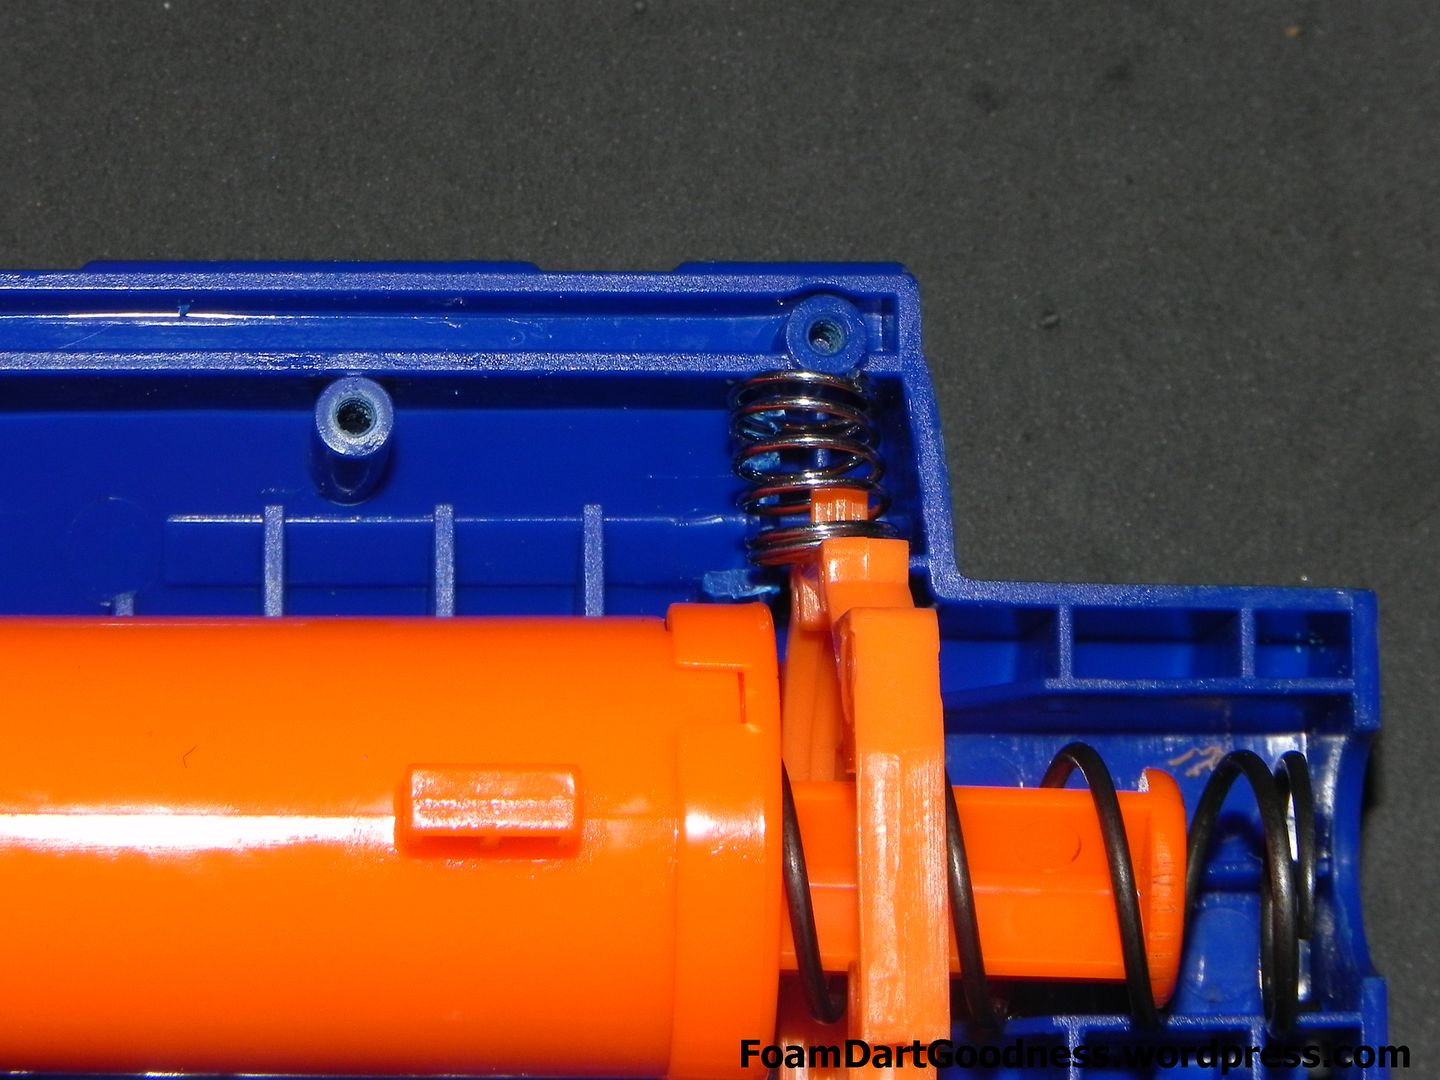
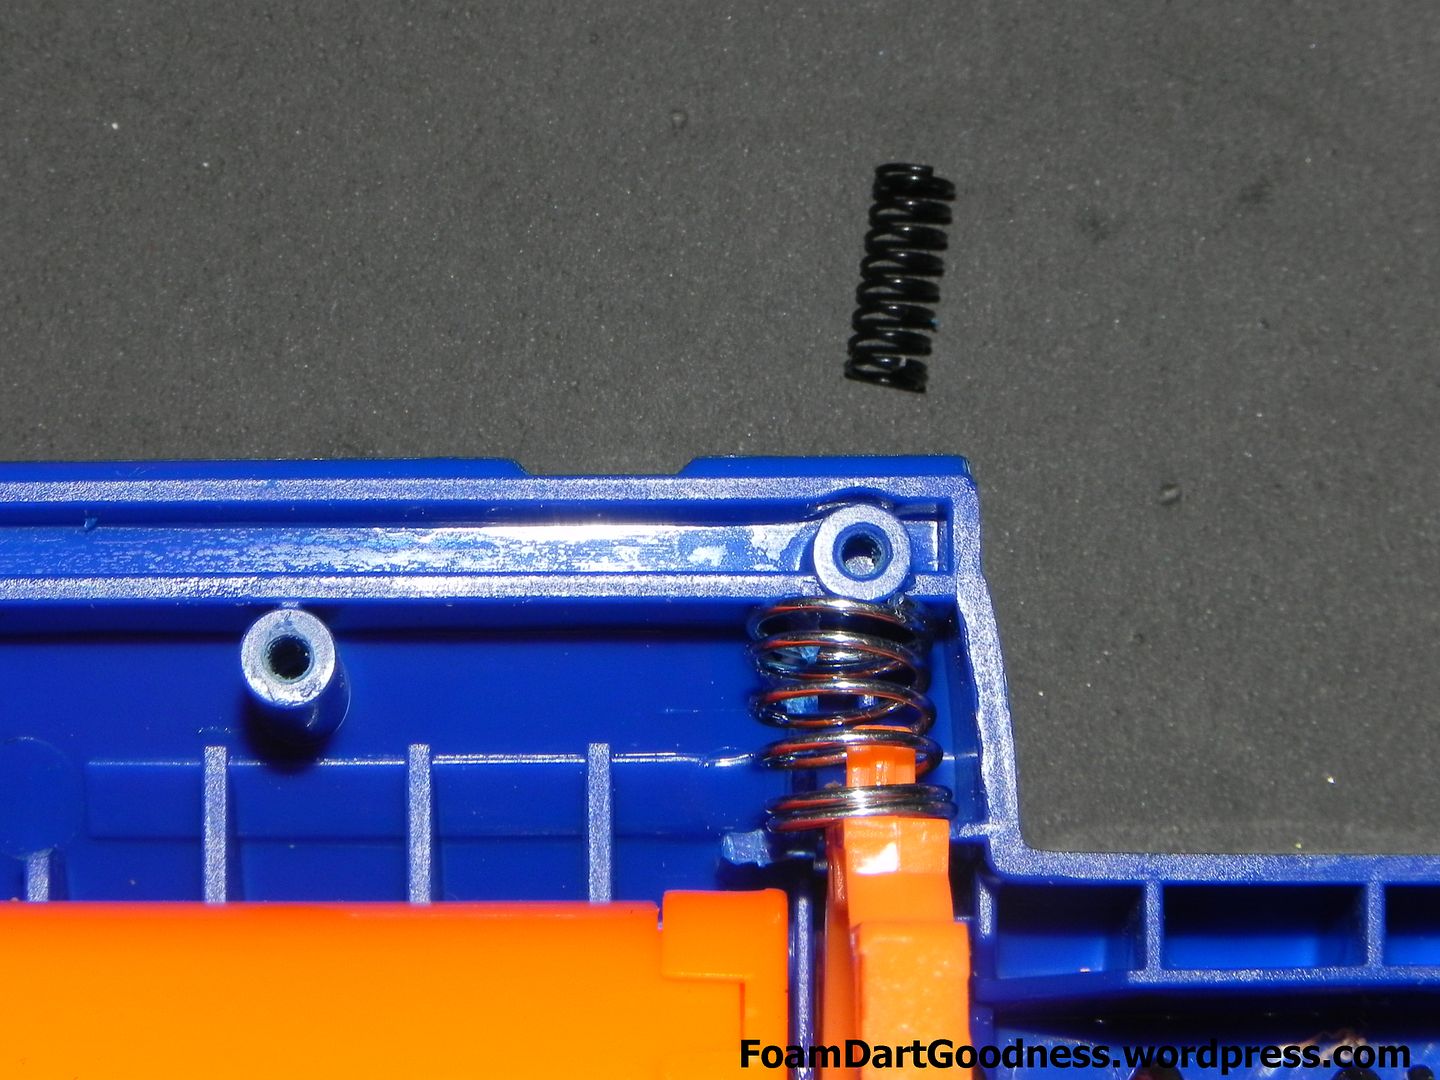
BTV2 Spring
Stronger catch spring
Small flat hand file/Dremel with cutting disc/small modelling saw
_________________________________________________________________________
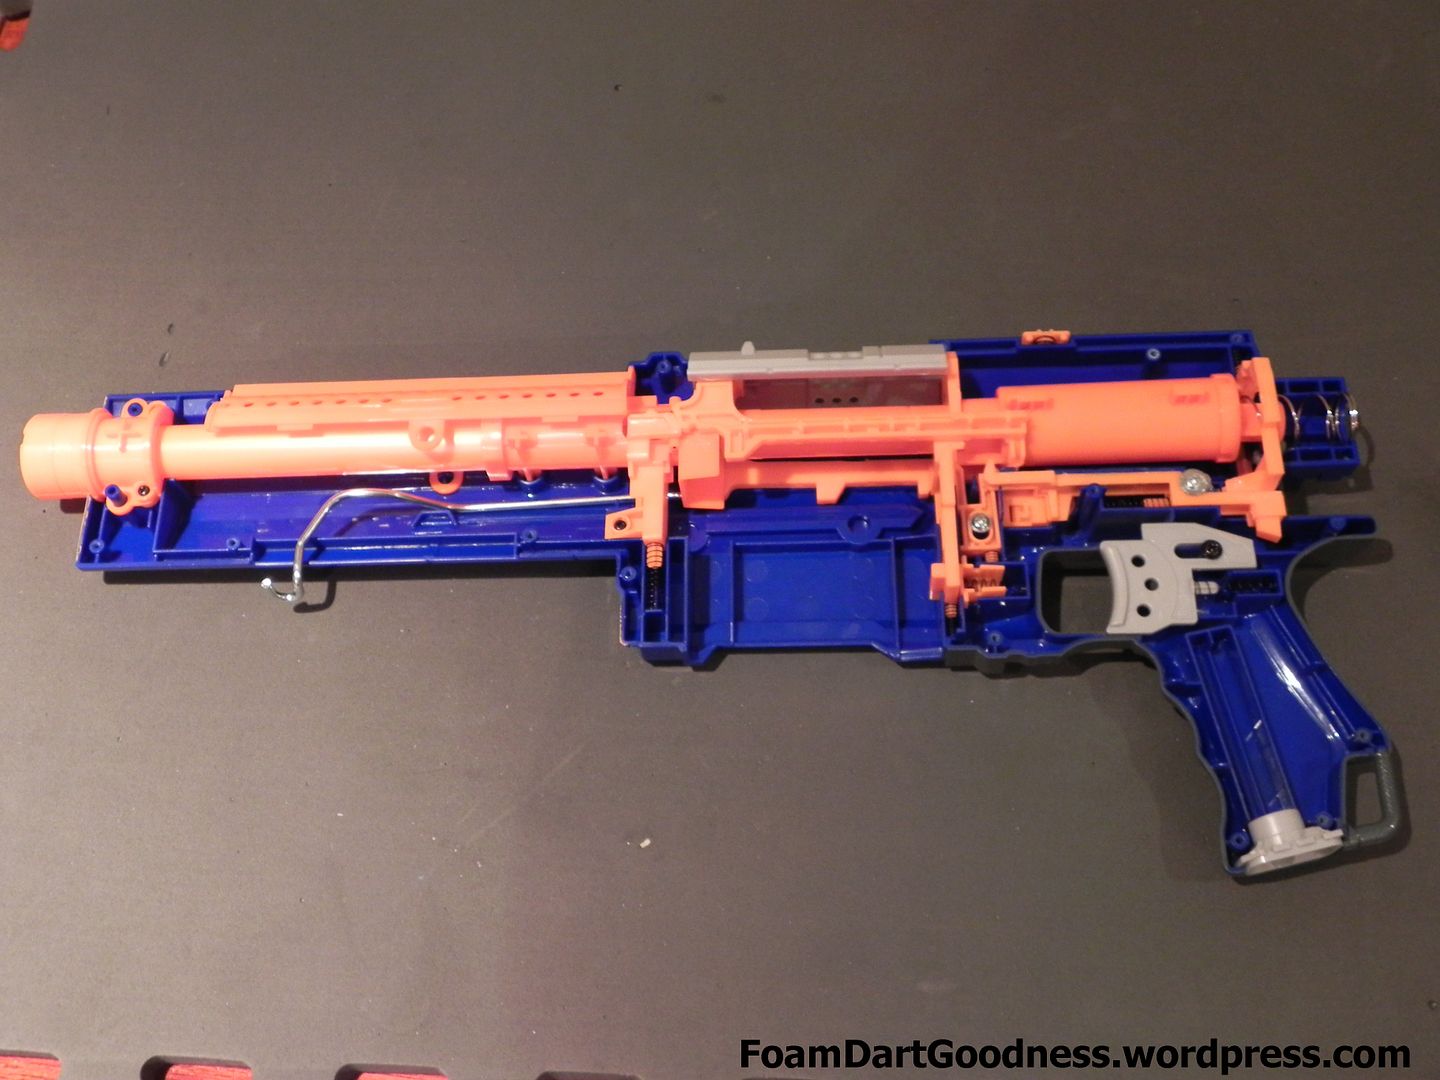
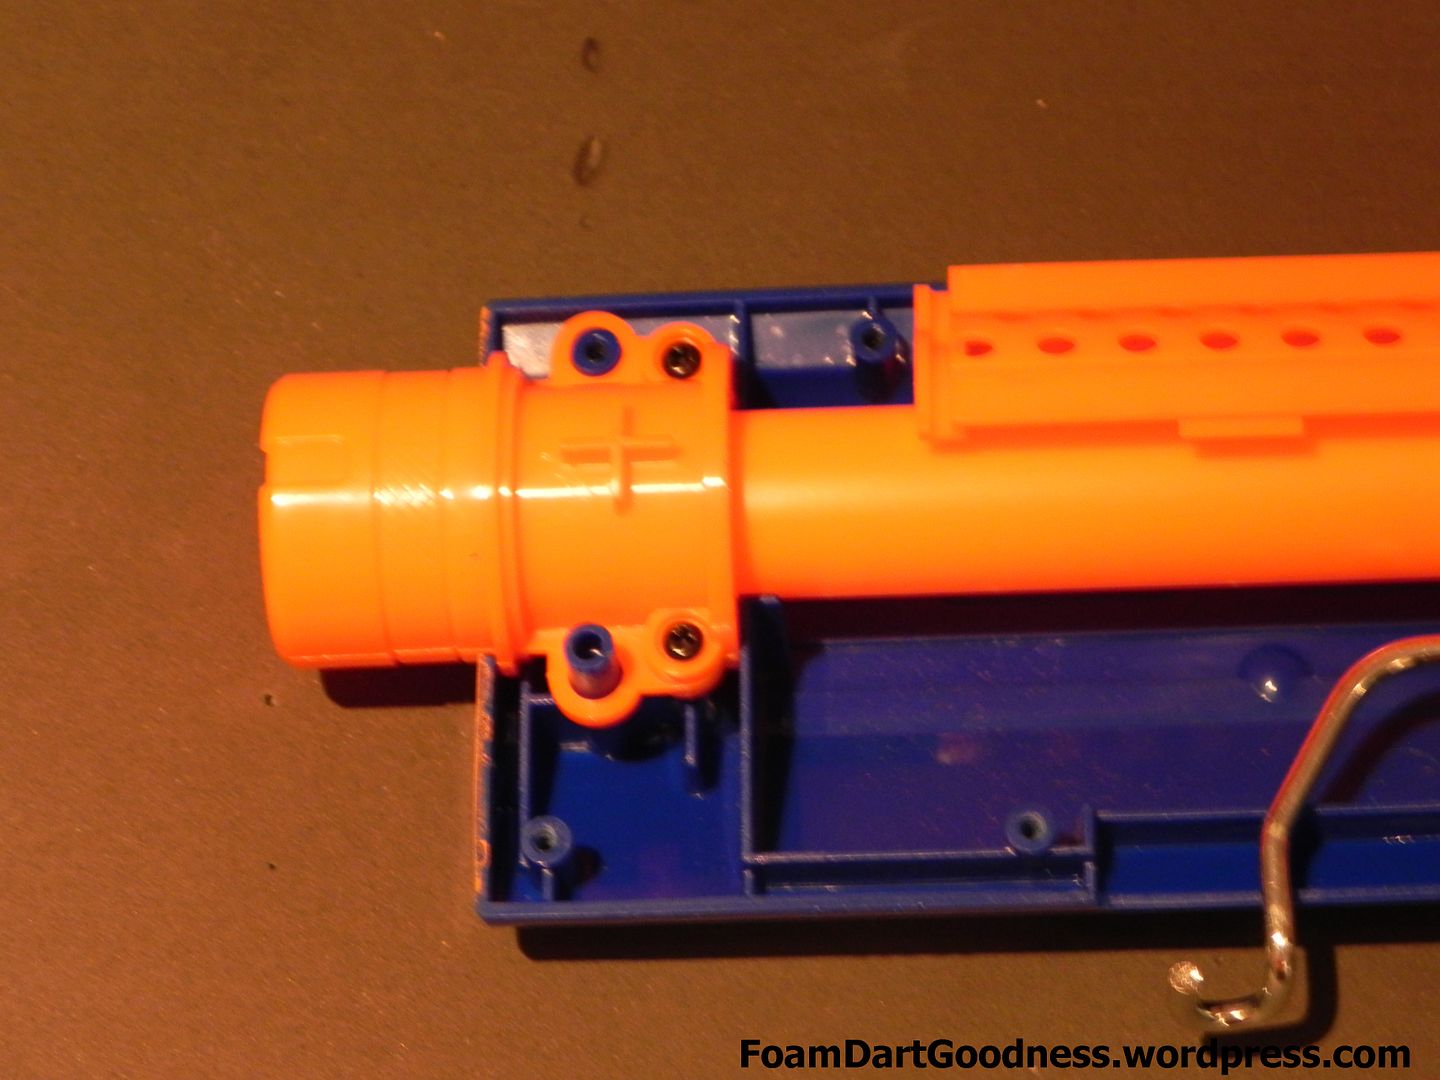
The less than amazing Australian spec grey trigger version. Conveniently, we'll be replacing the de-tuned spring with our new BTV2 anyway.
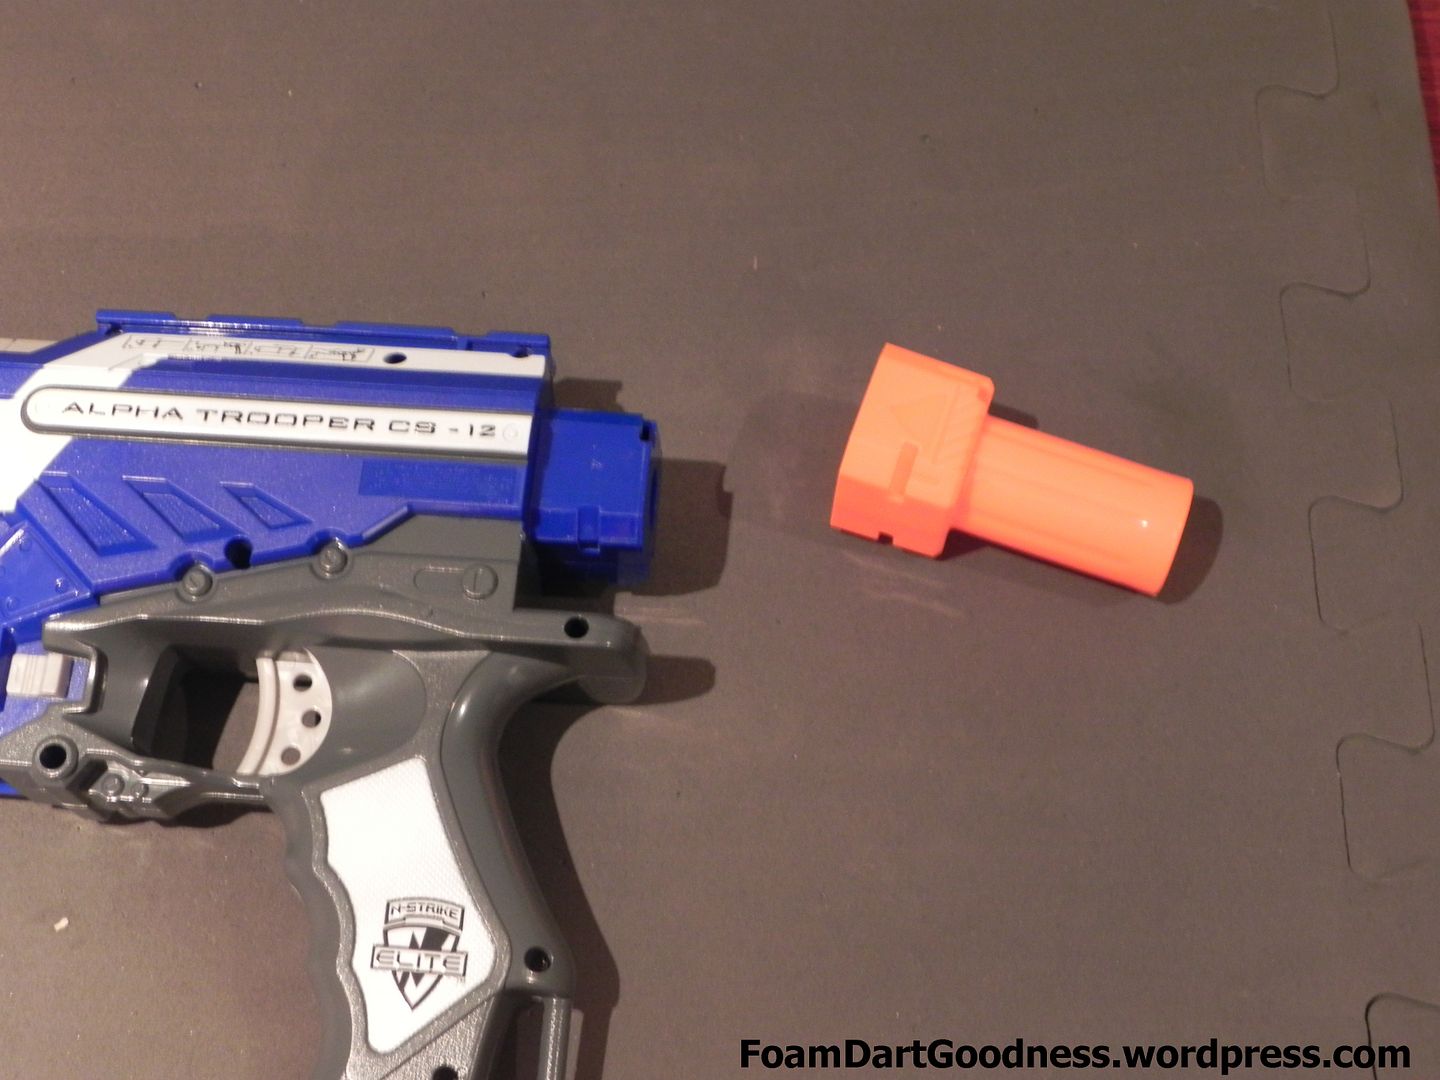
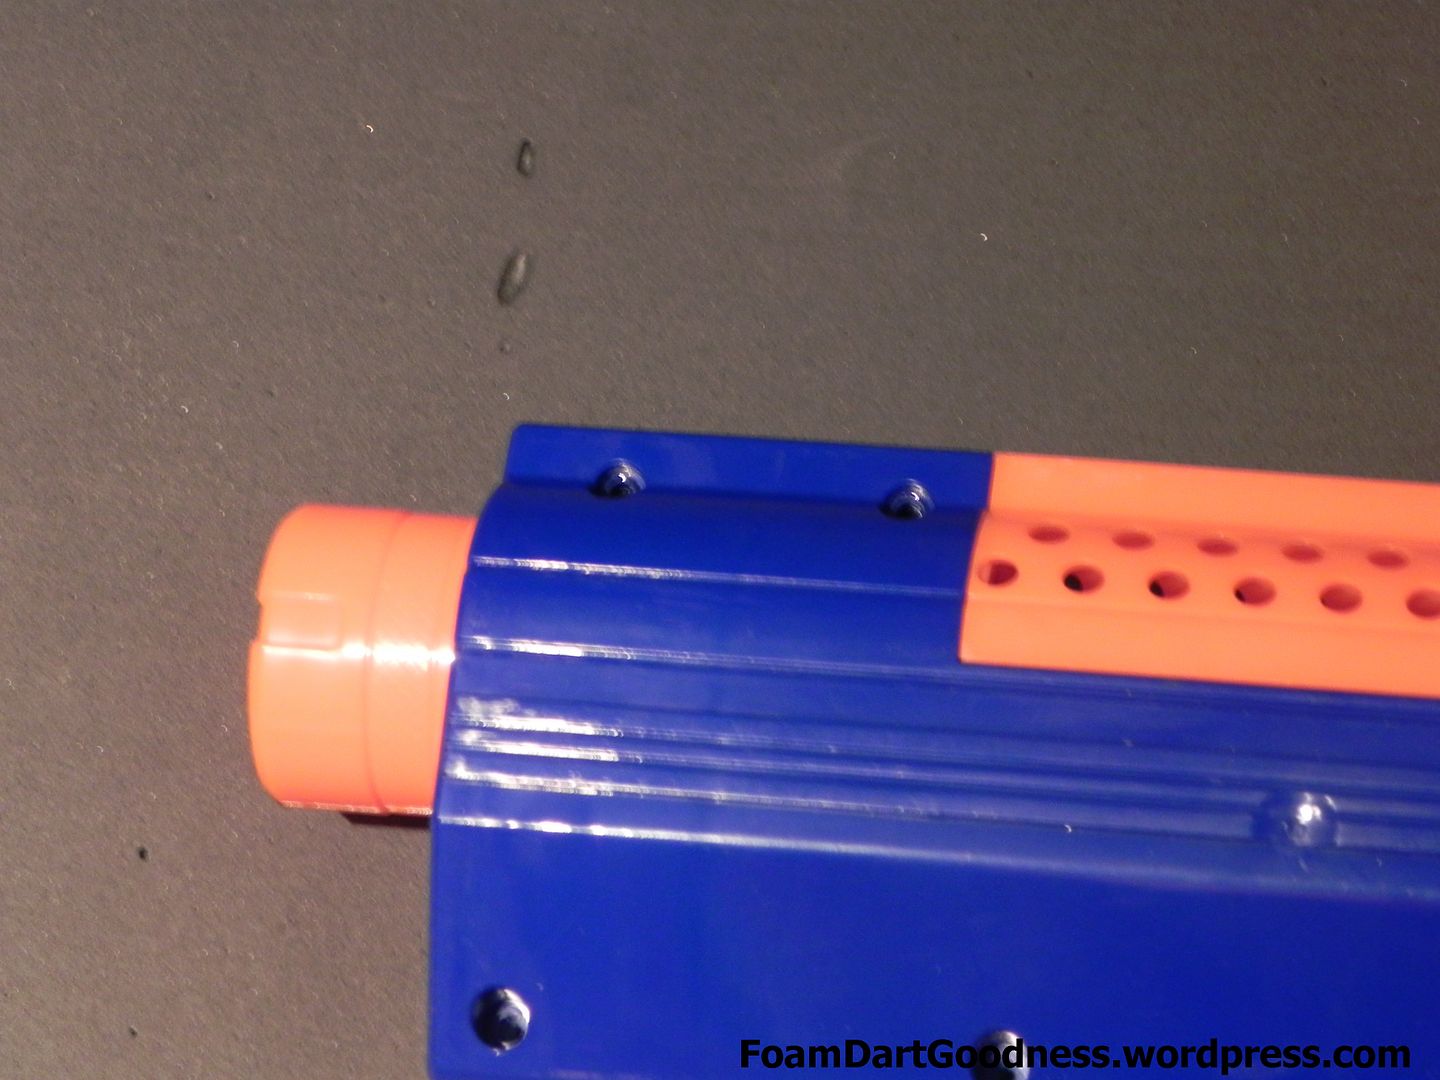
Start by removing the end cap. It's held on with two screws that are thicker than those in the rest of the blaster.
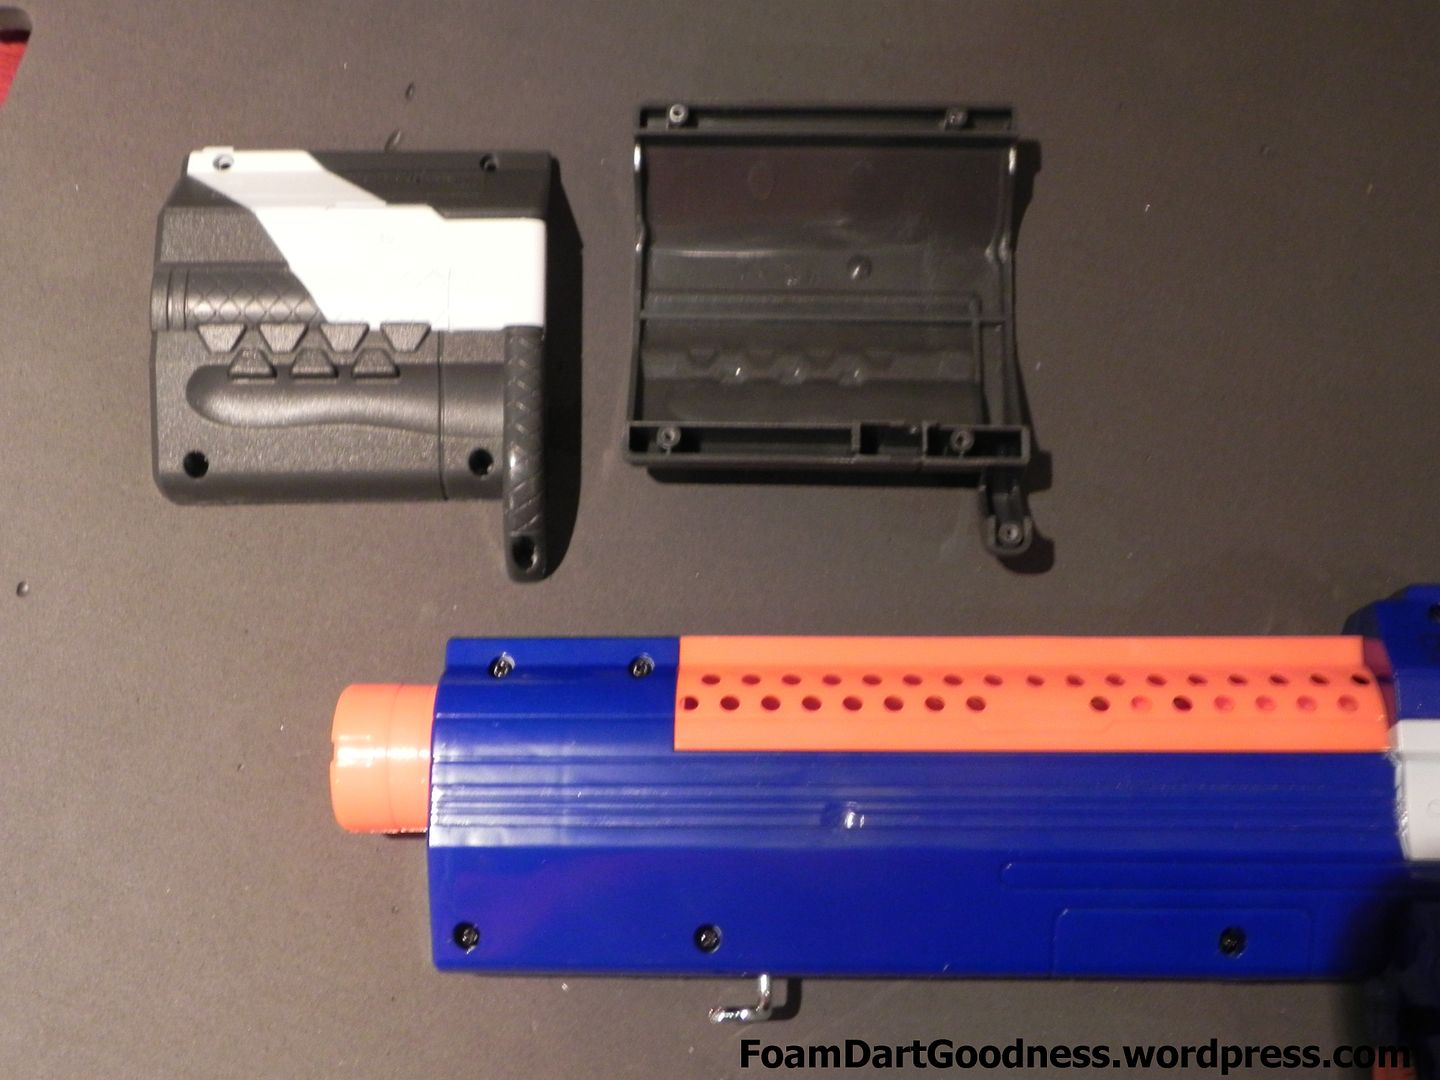
Then the priming grip.
Then the rest of the screws in the shell.
The two on the top here are thinner than than the rest.
The two on the tactical rail are the same thickness as the standard screw, only shorter.
And this one in front of the clip well. Same thickness, just shorter.
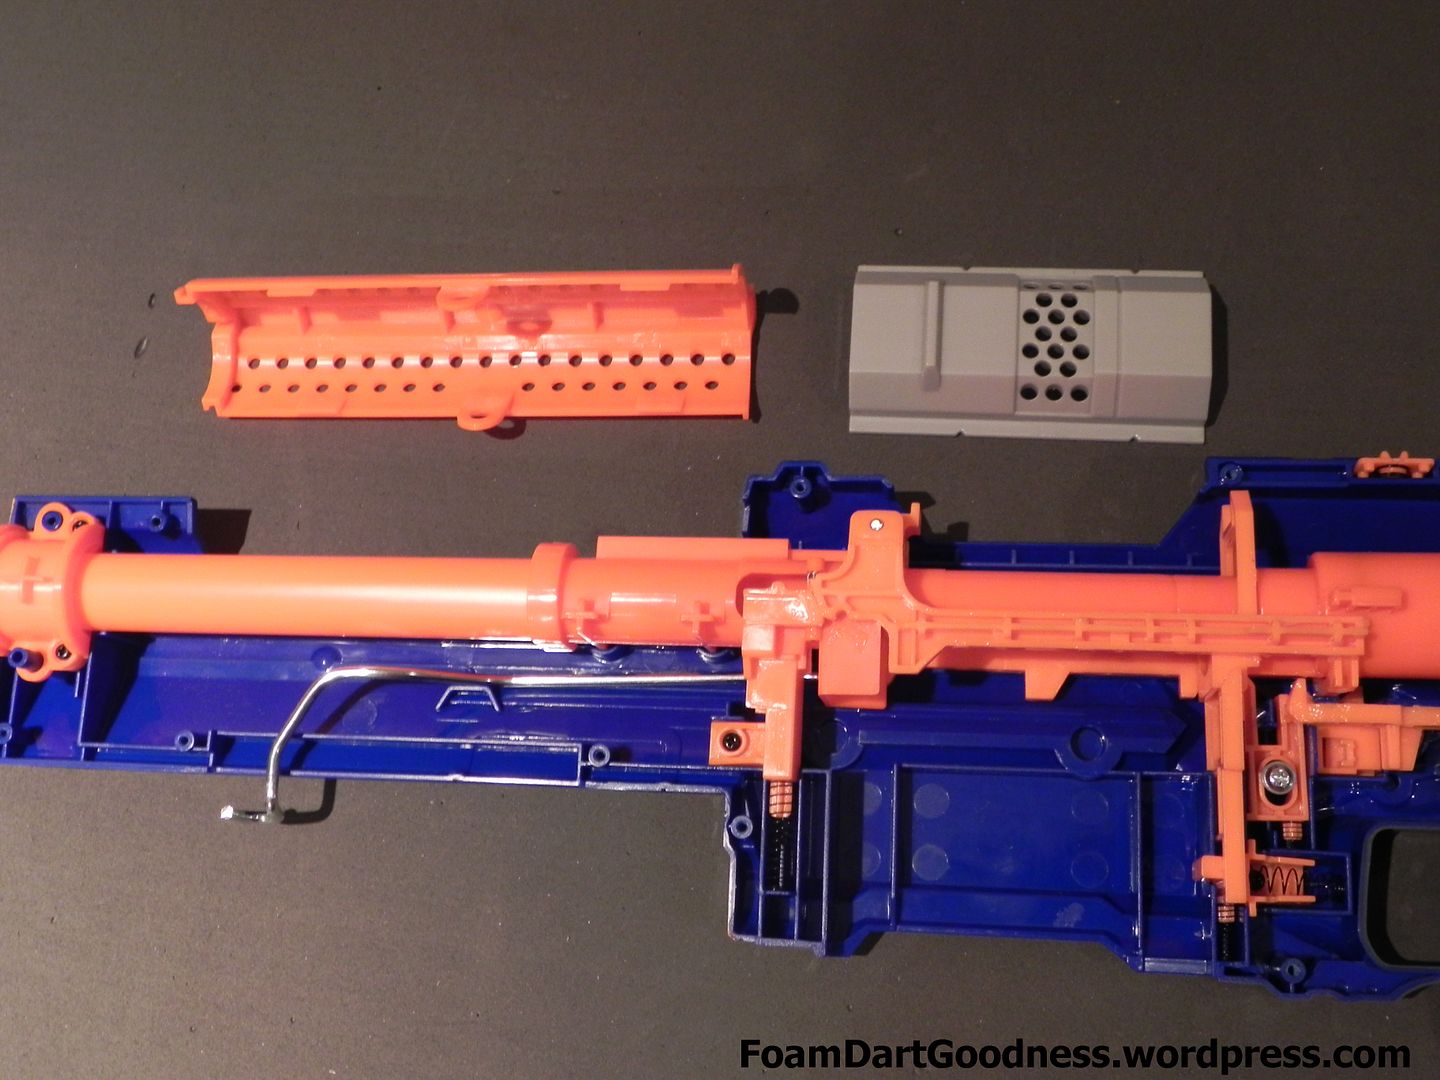
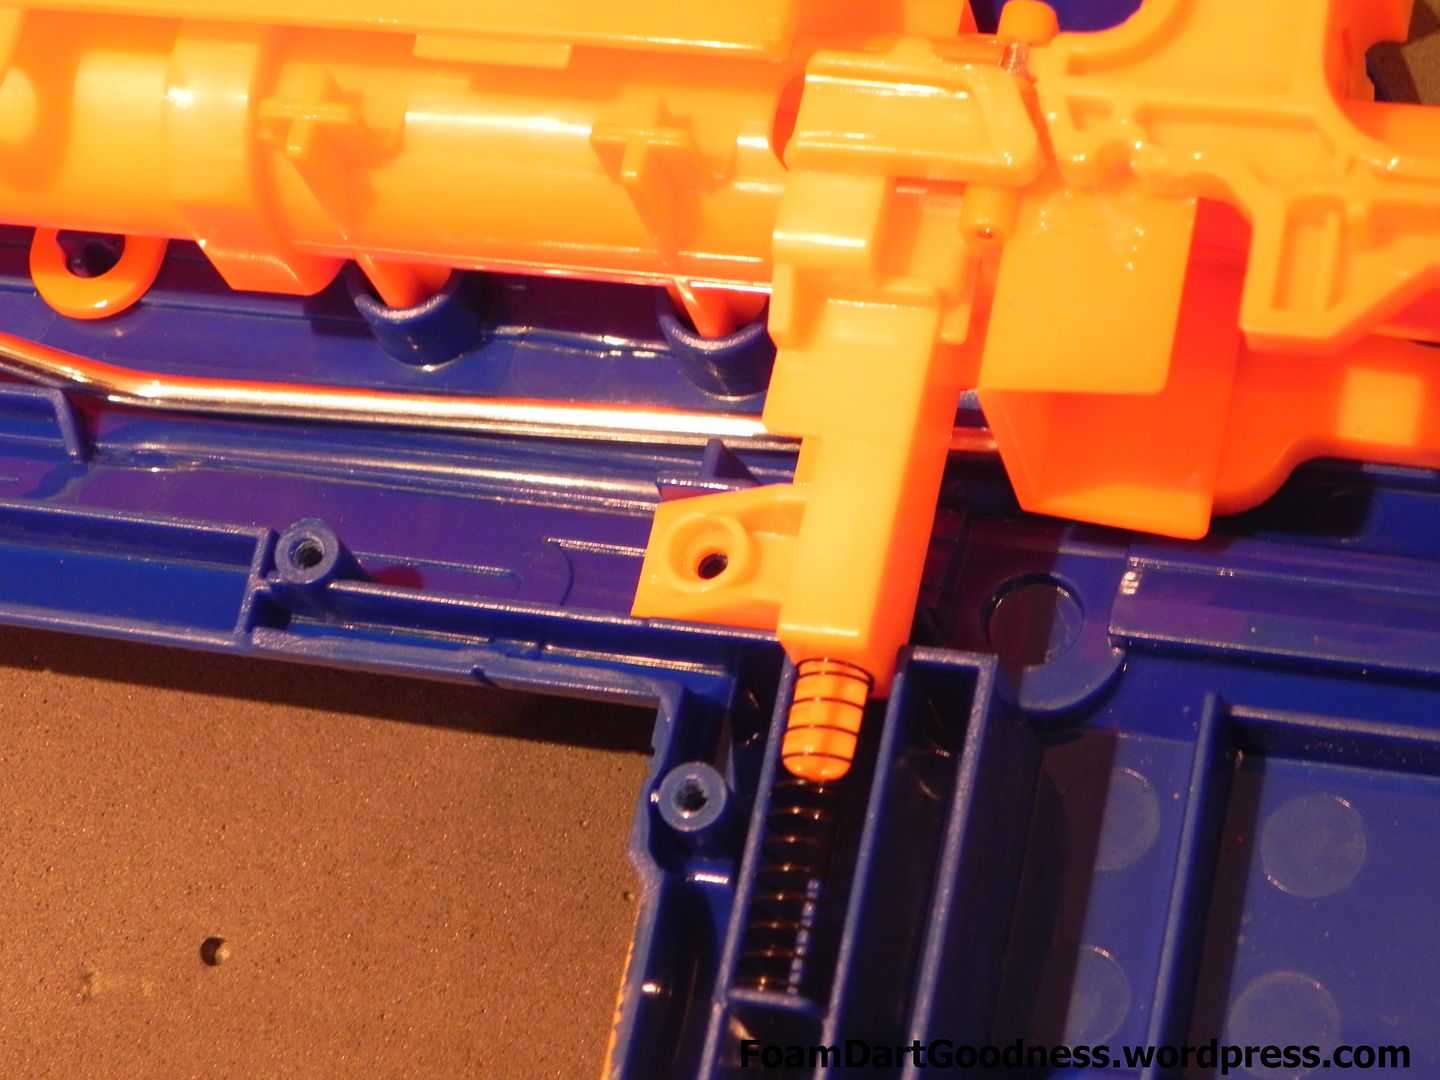
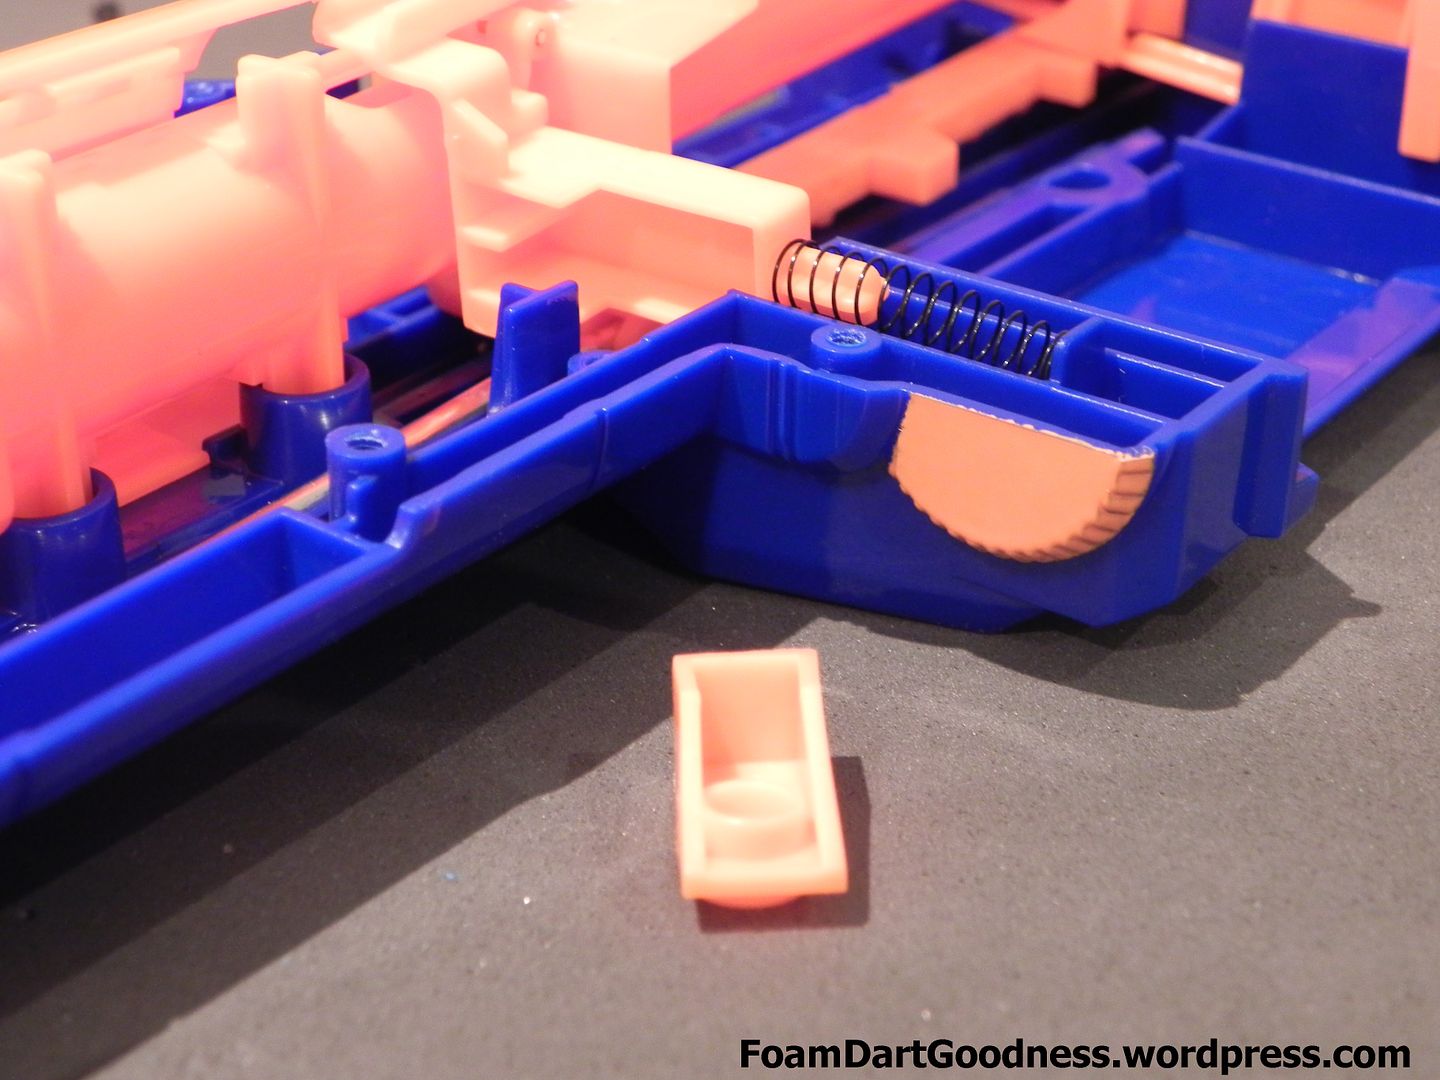
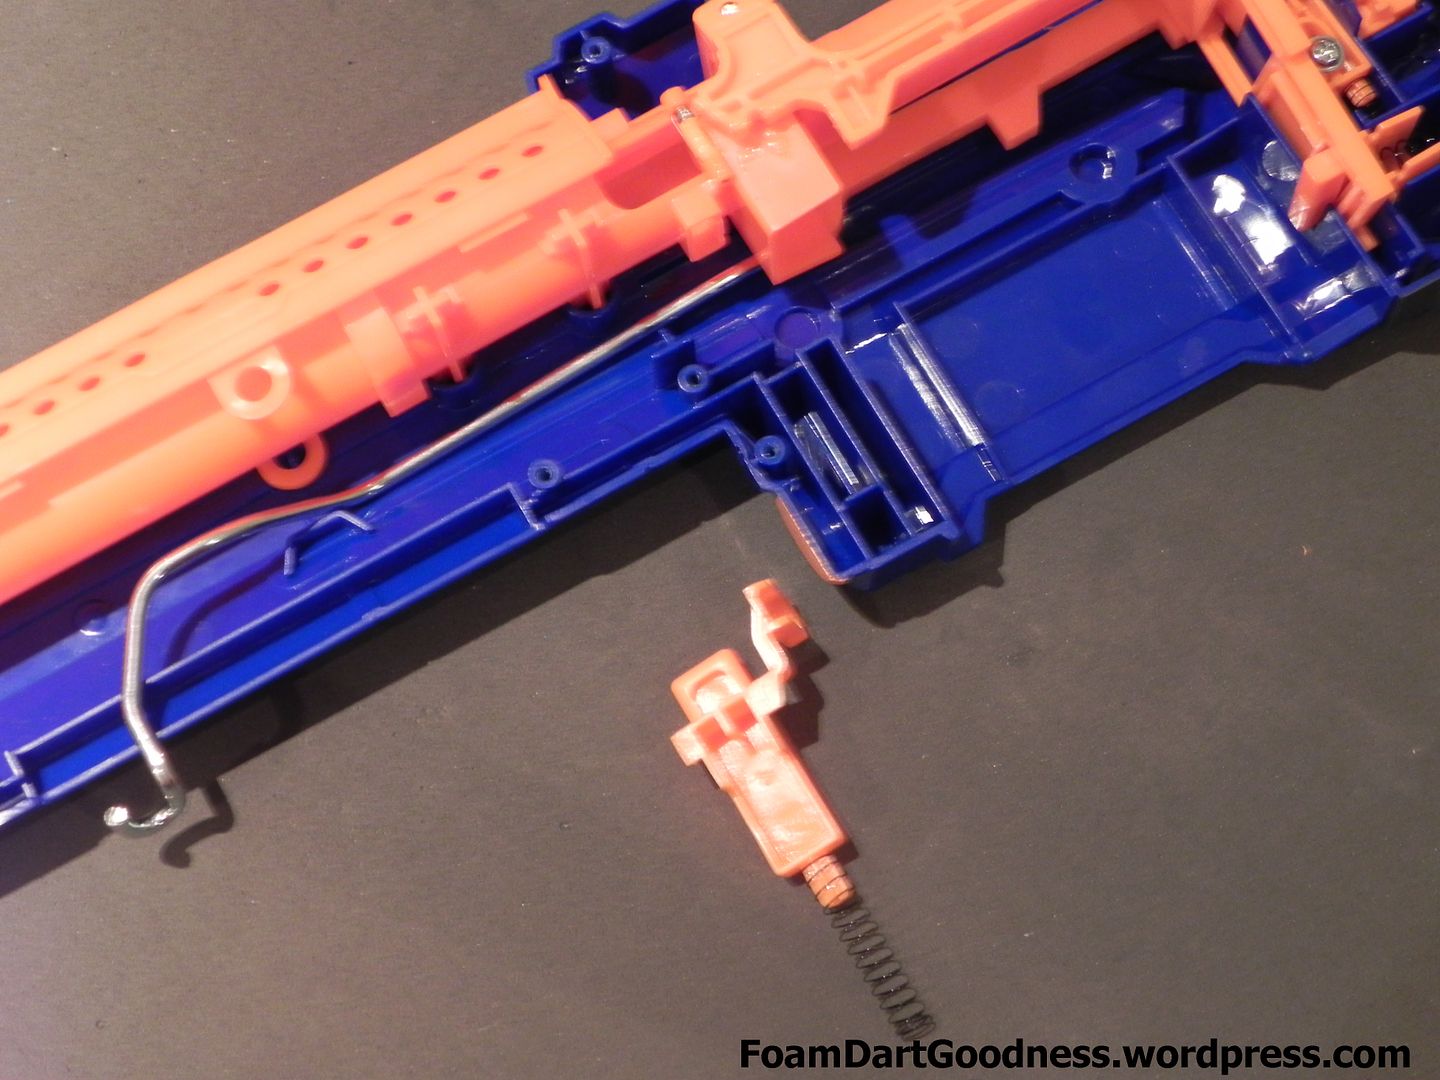
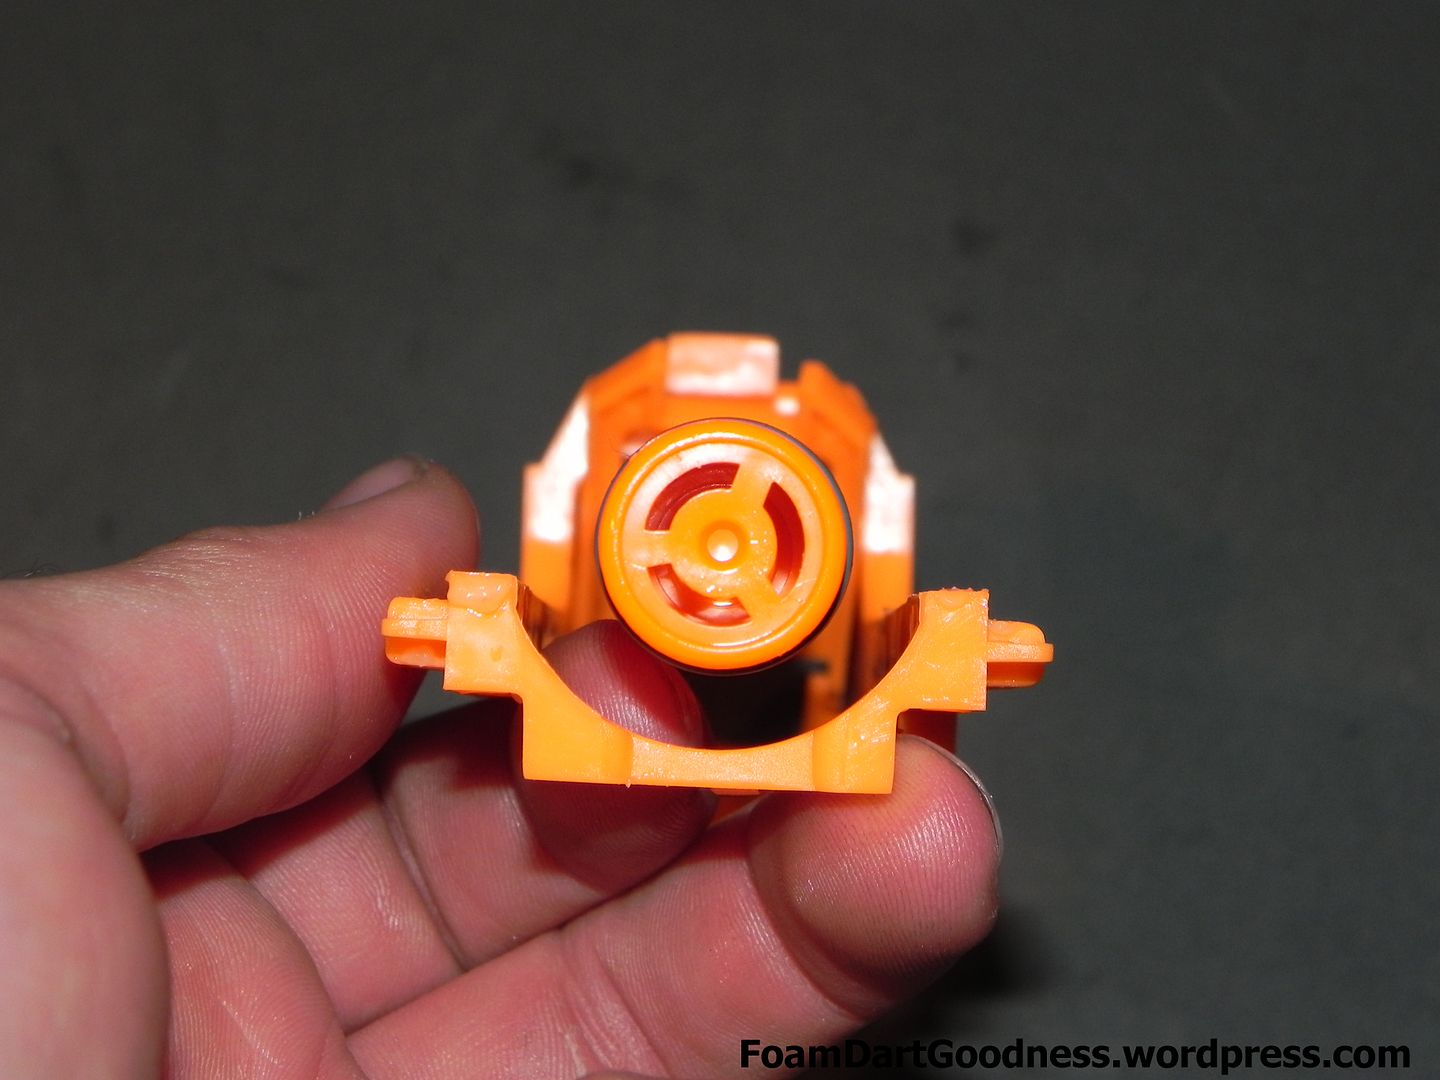
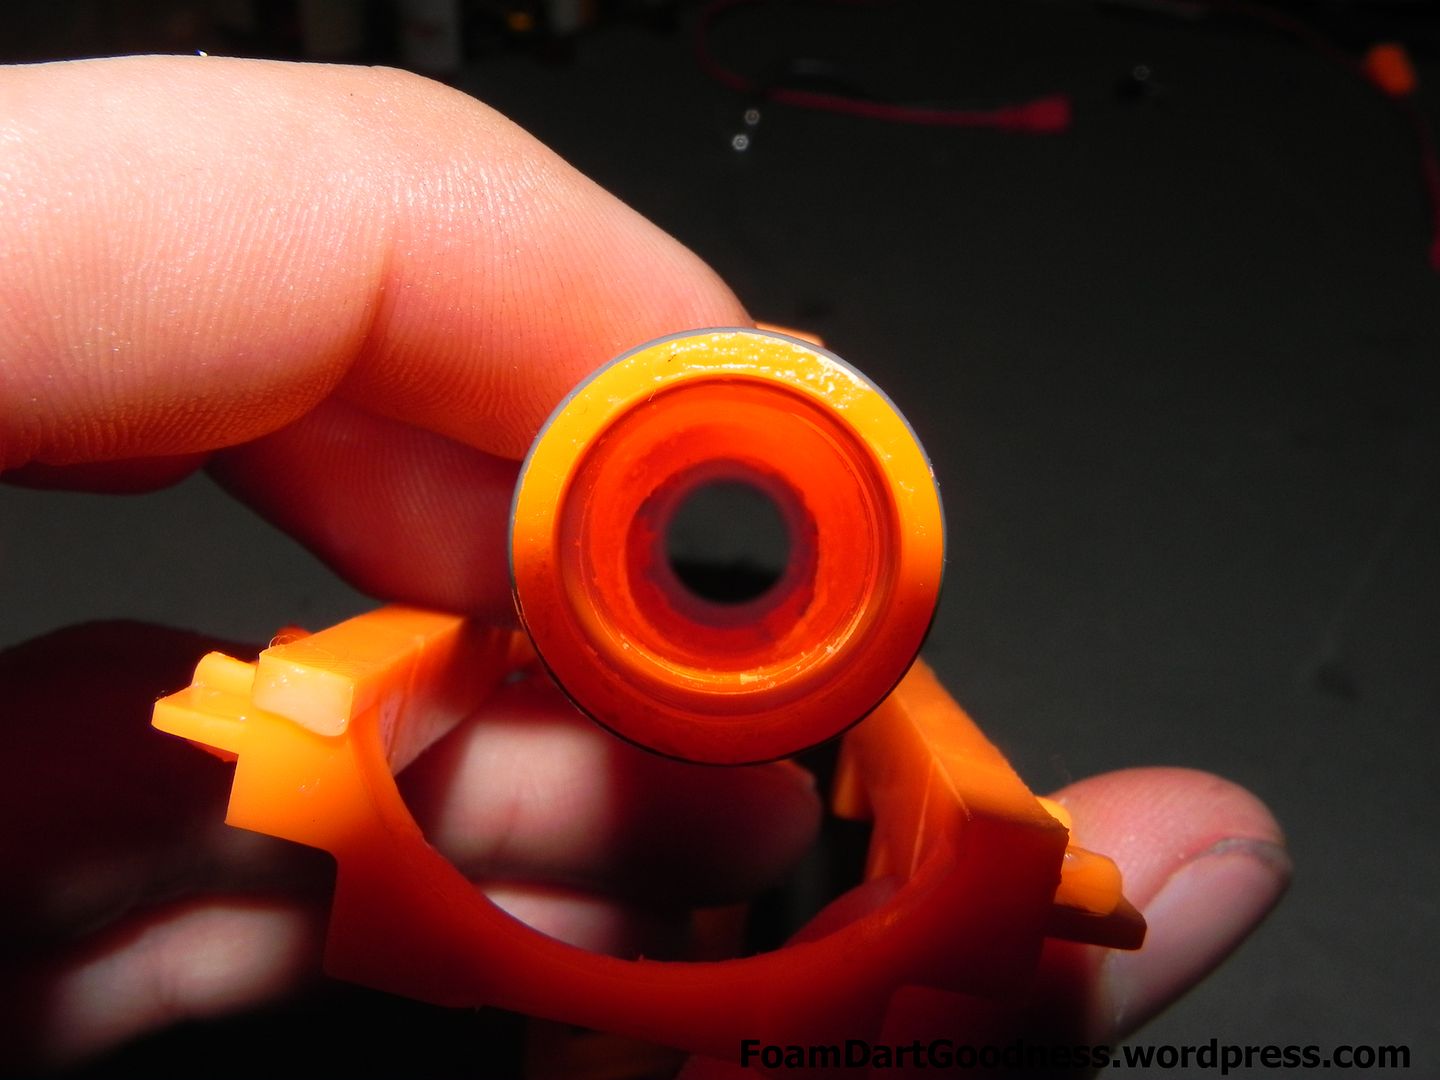
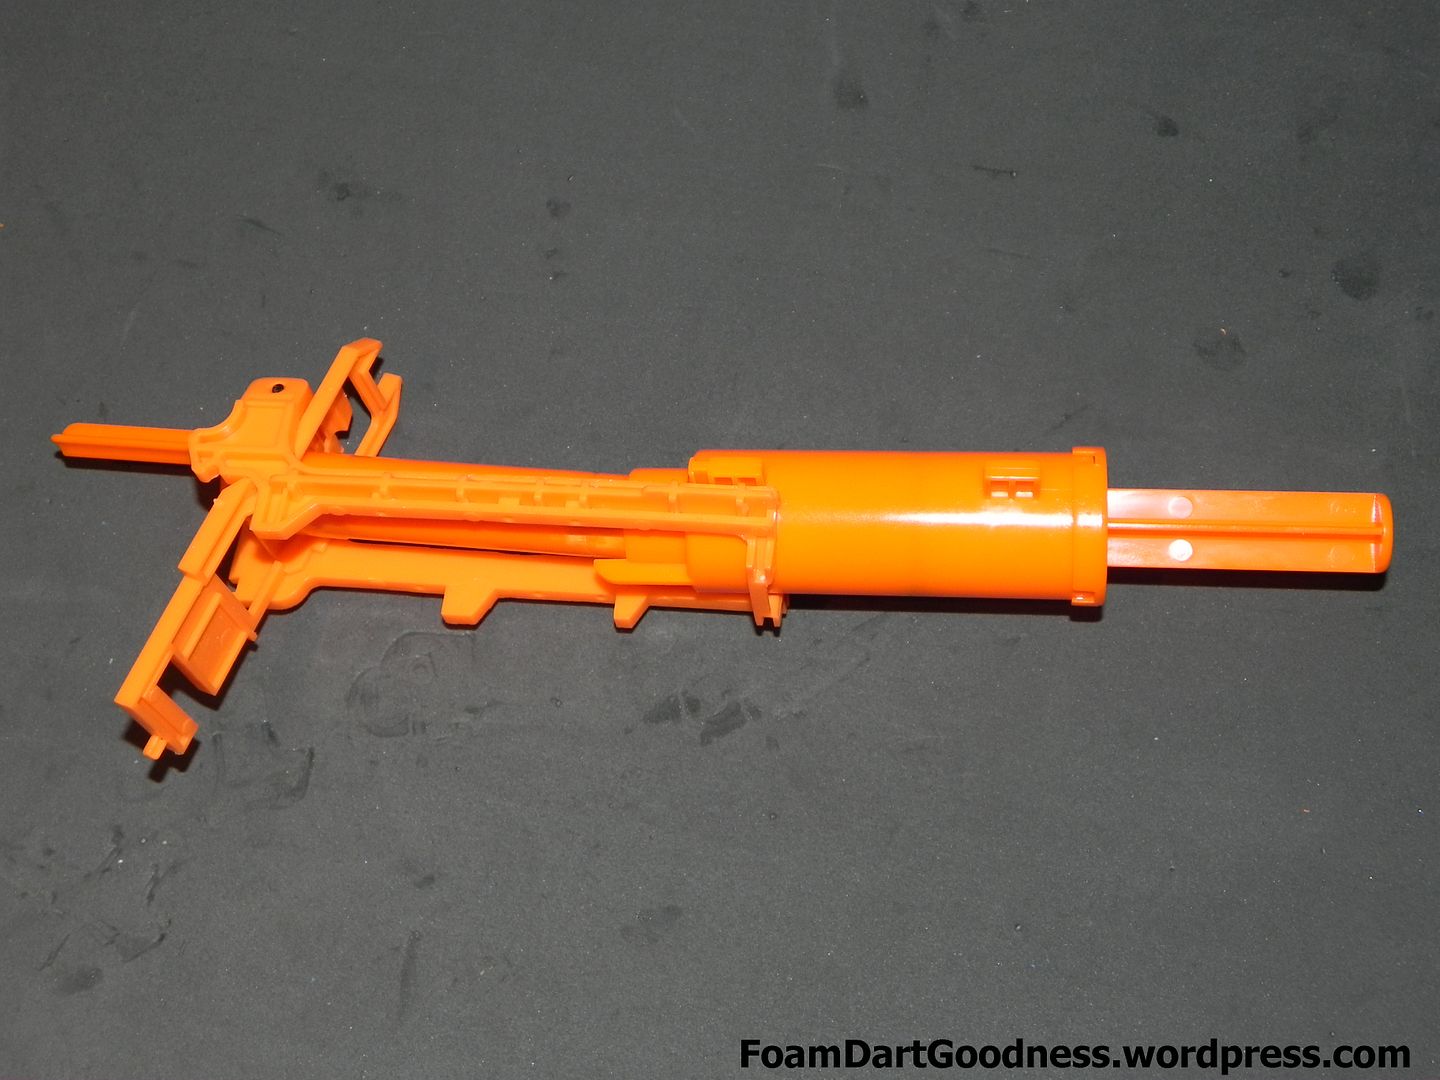
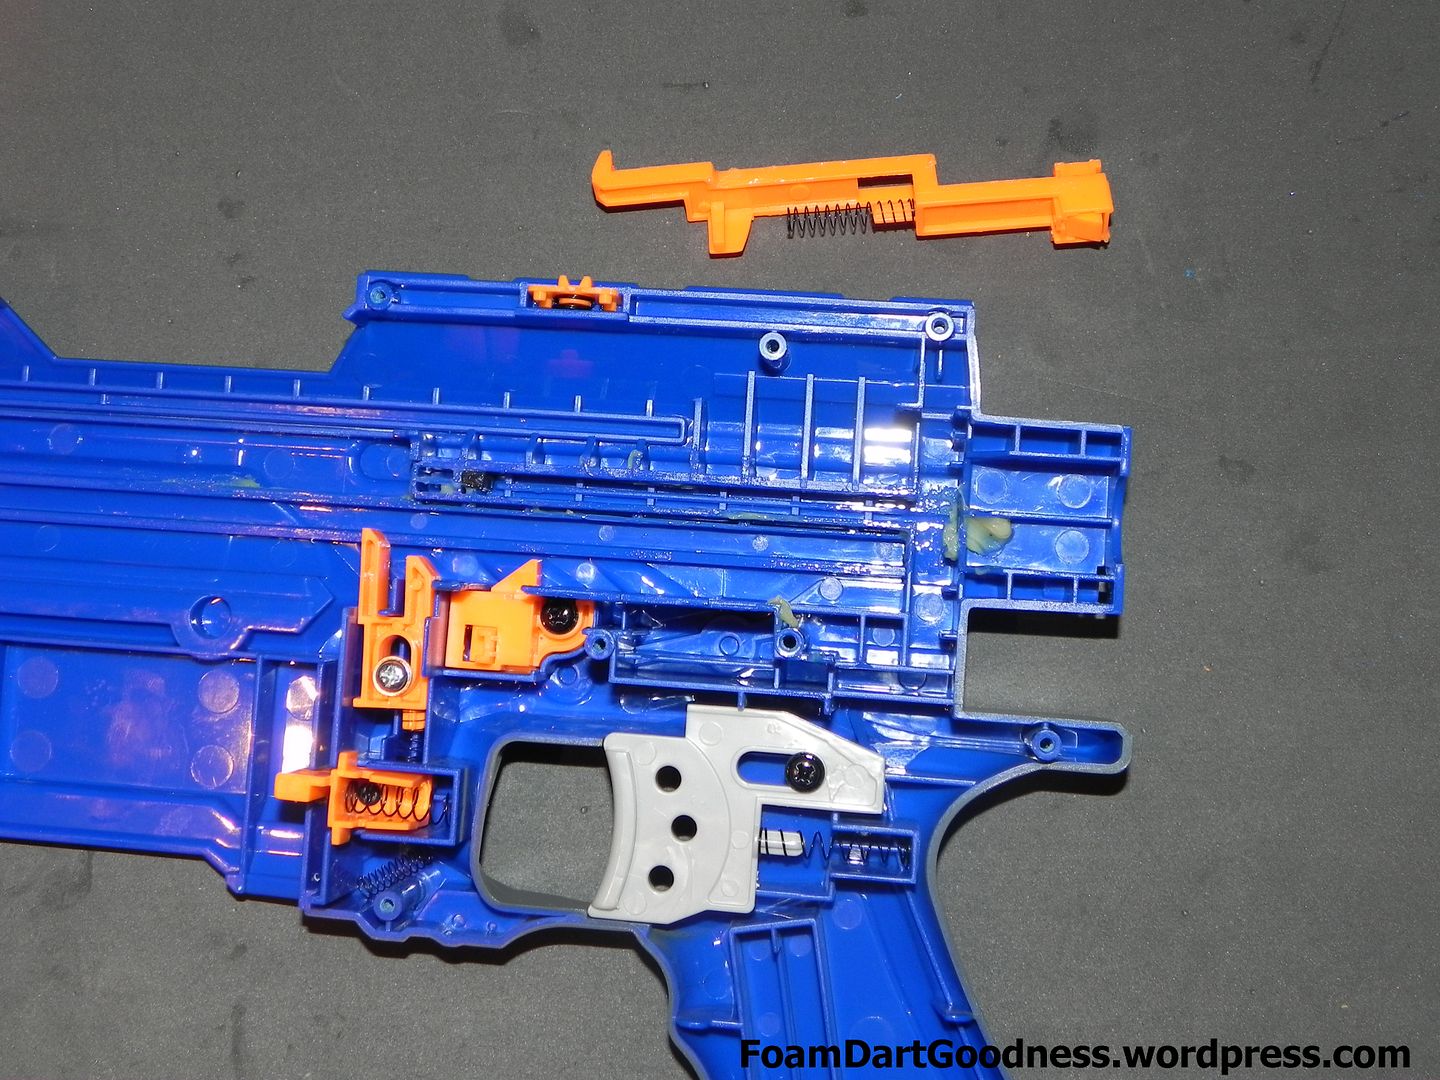
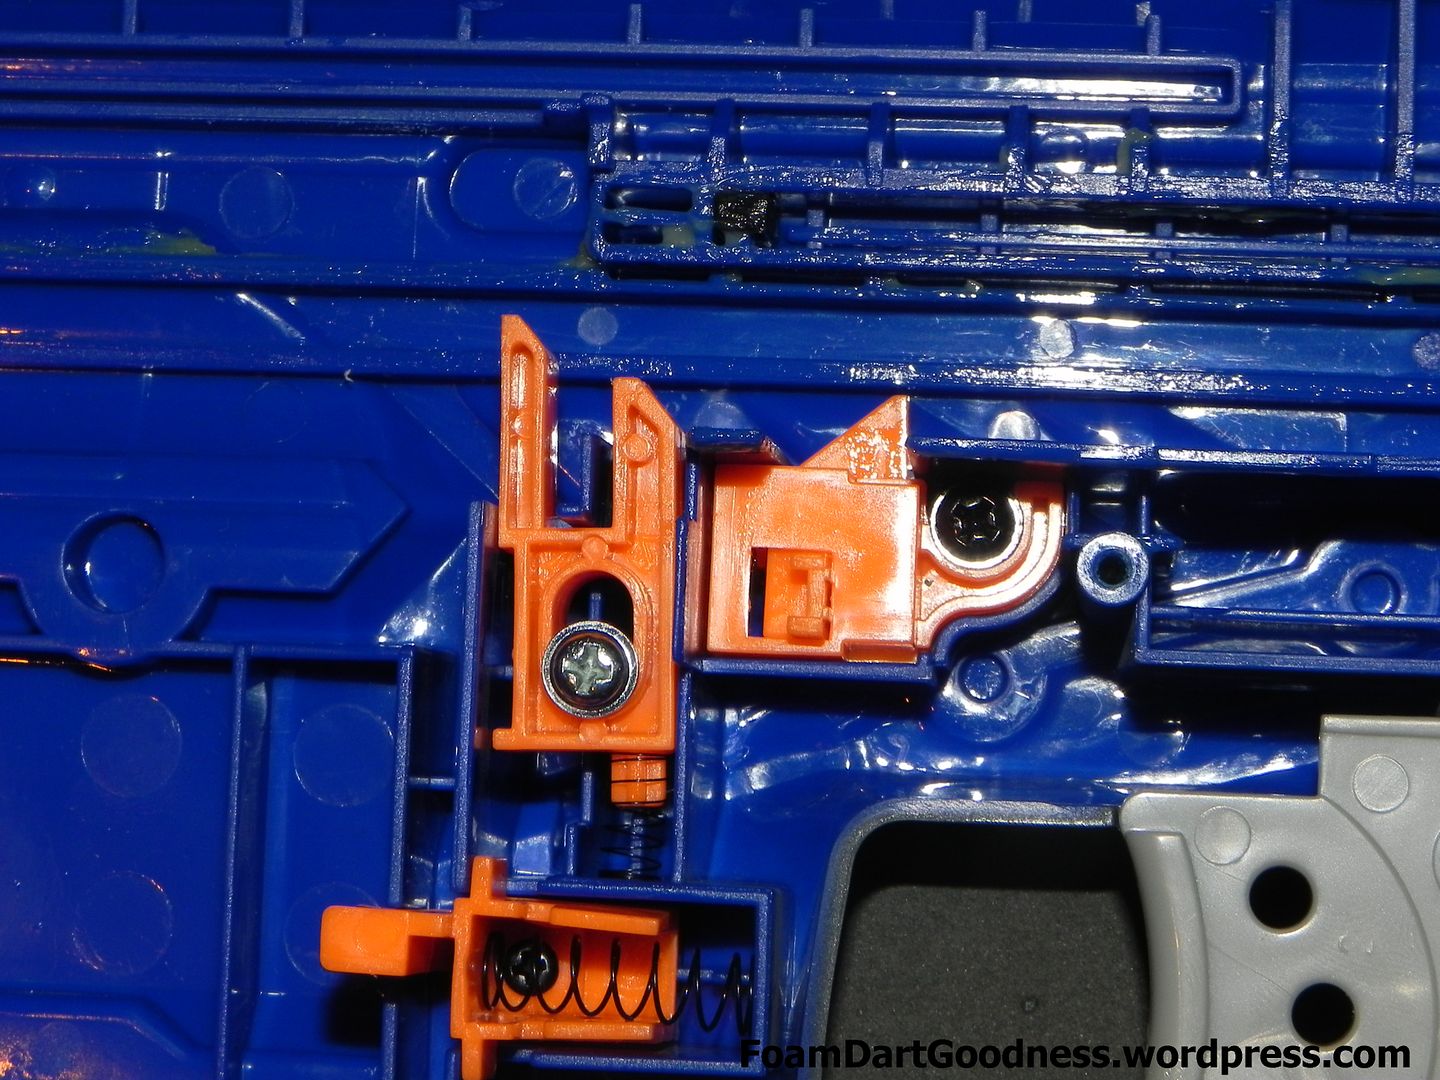
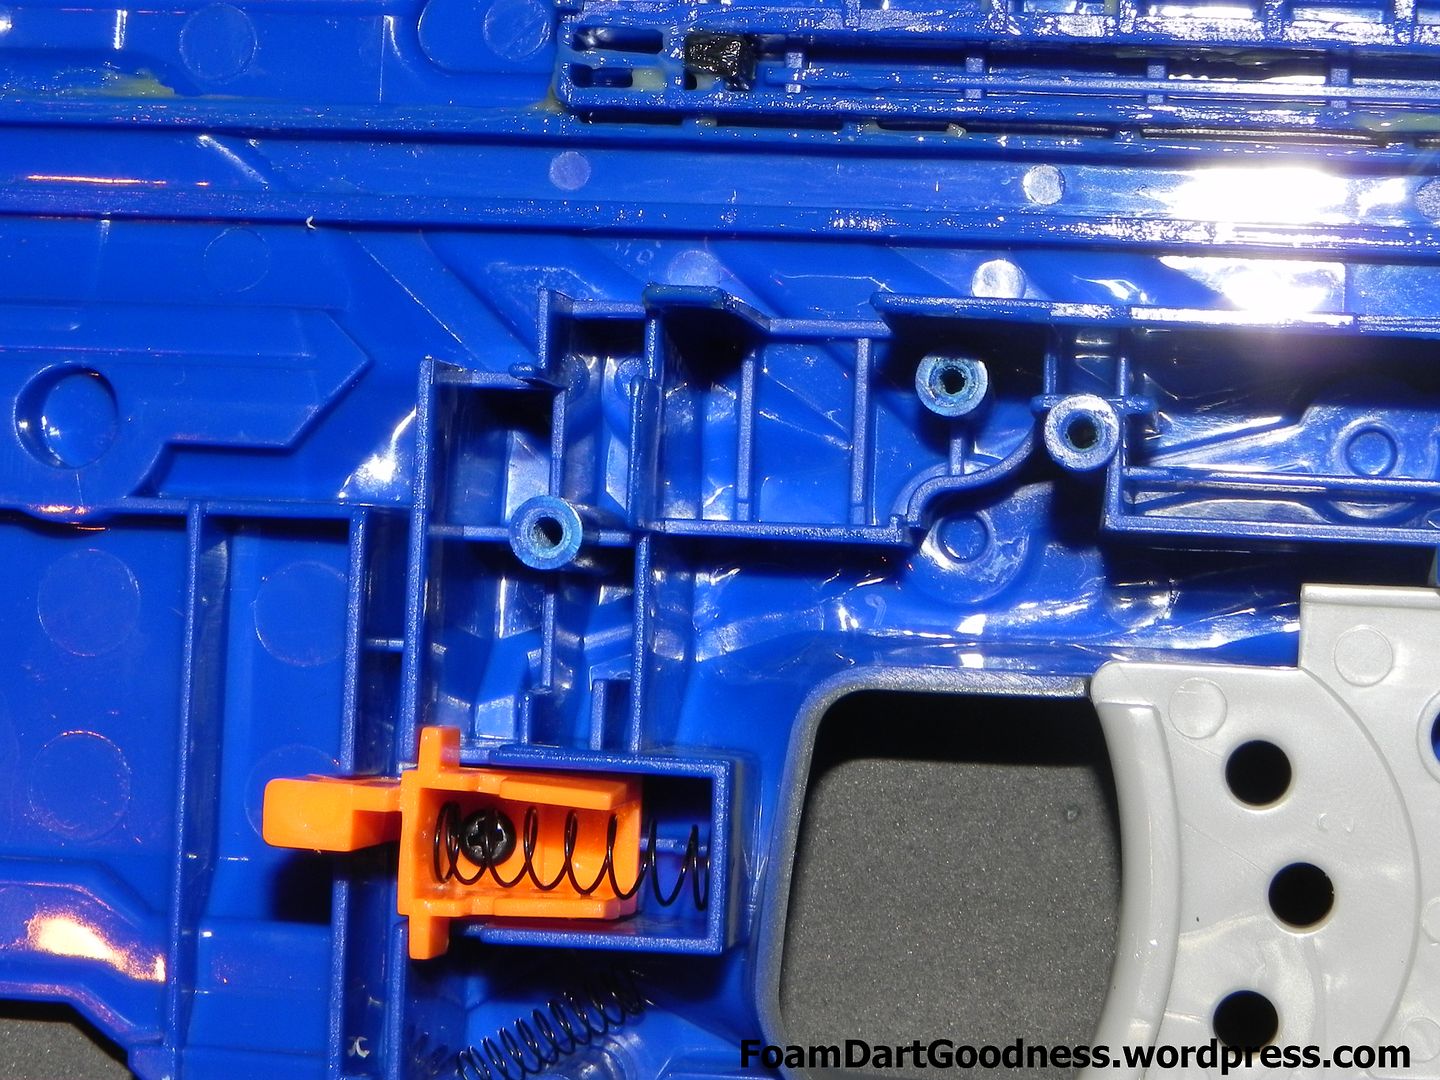
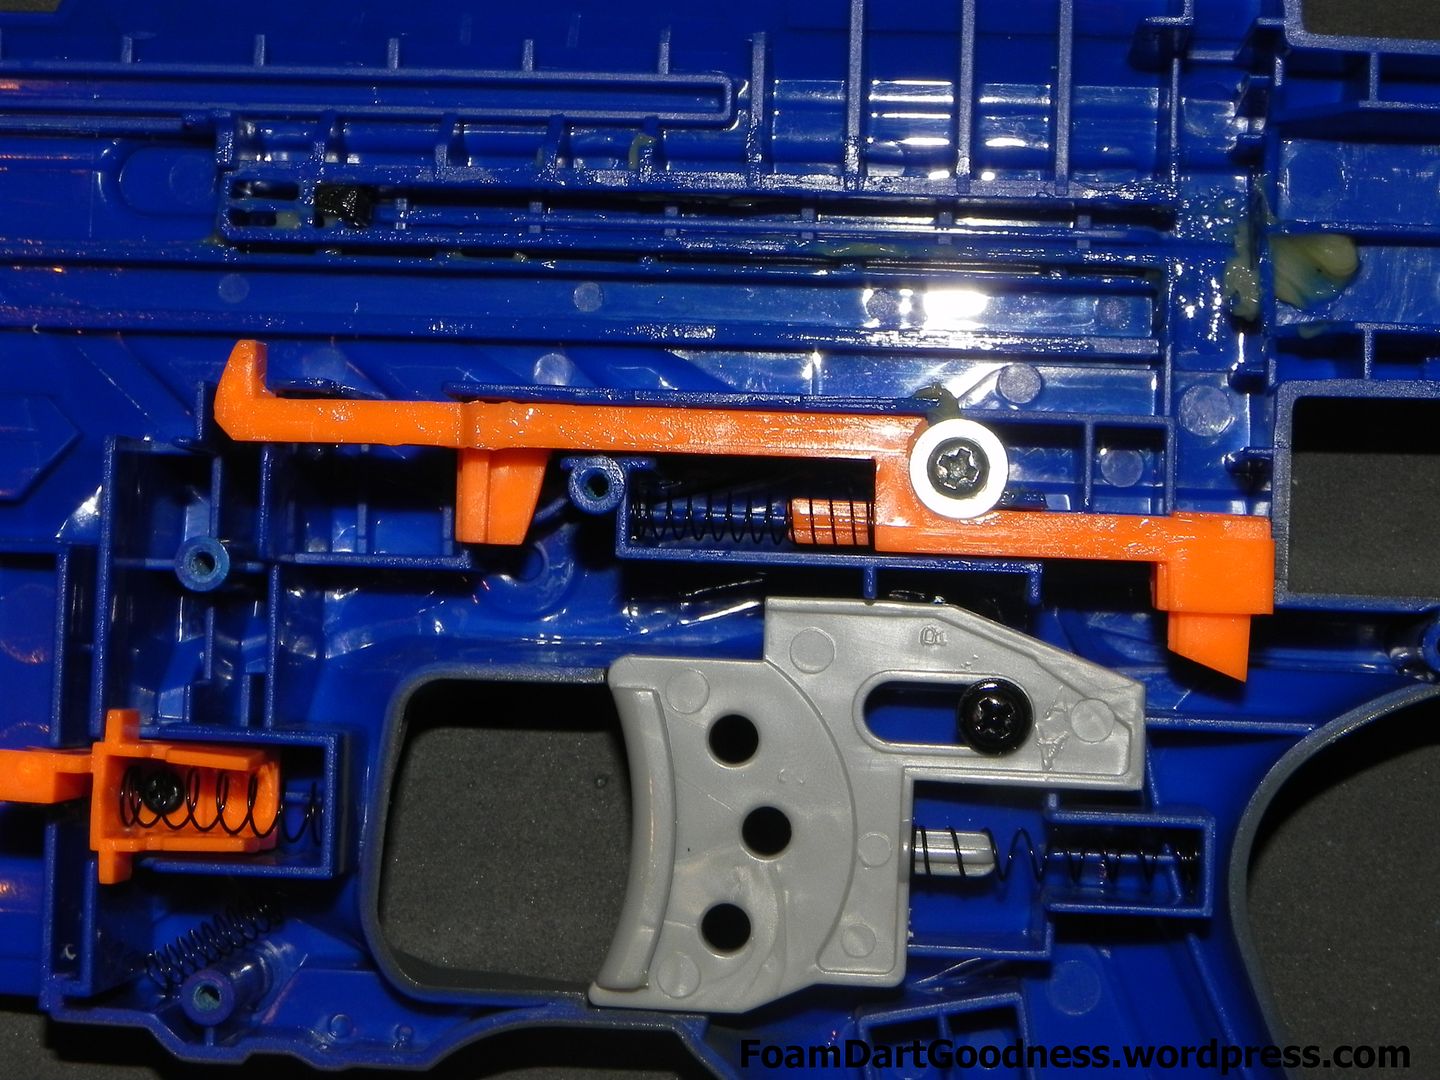
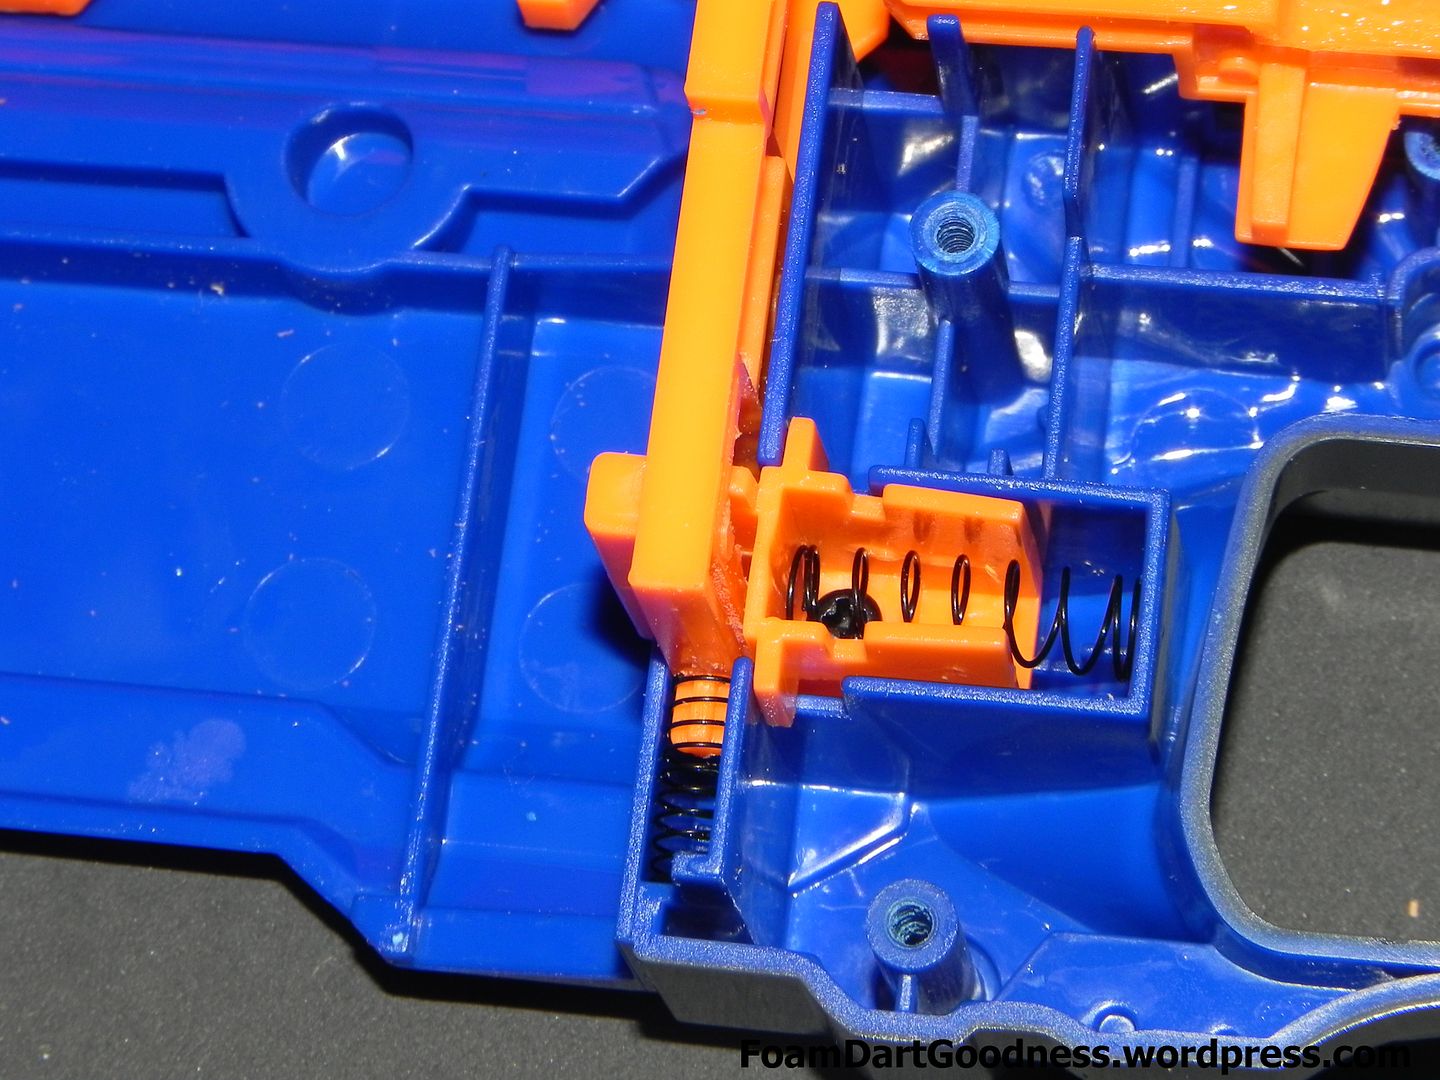
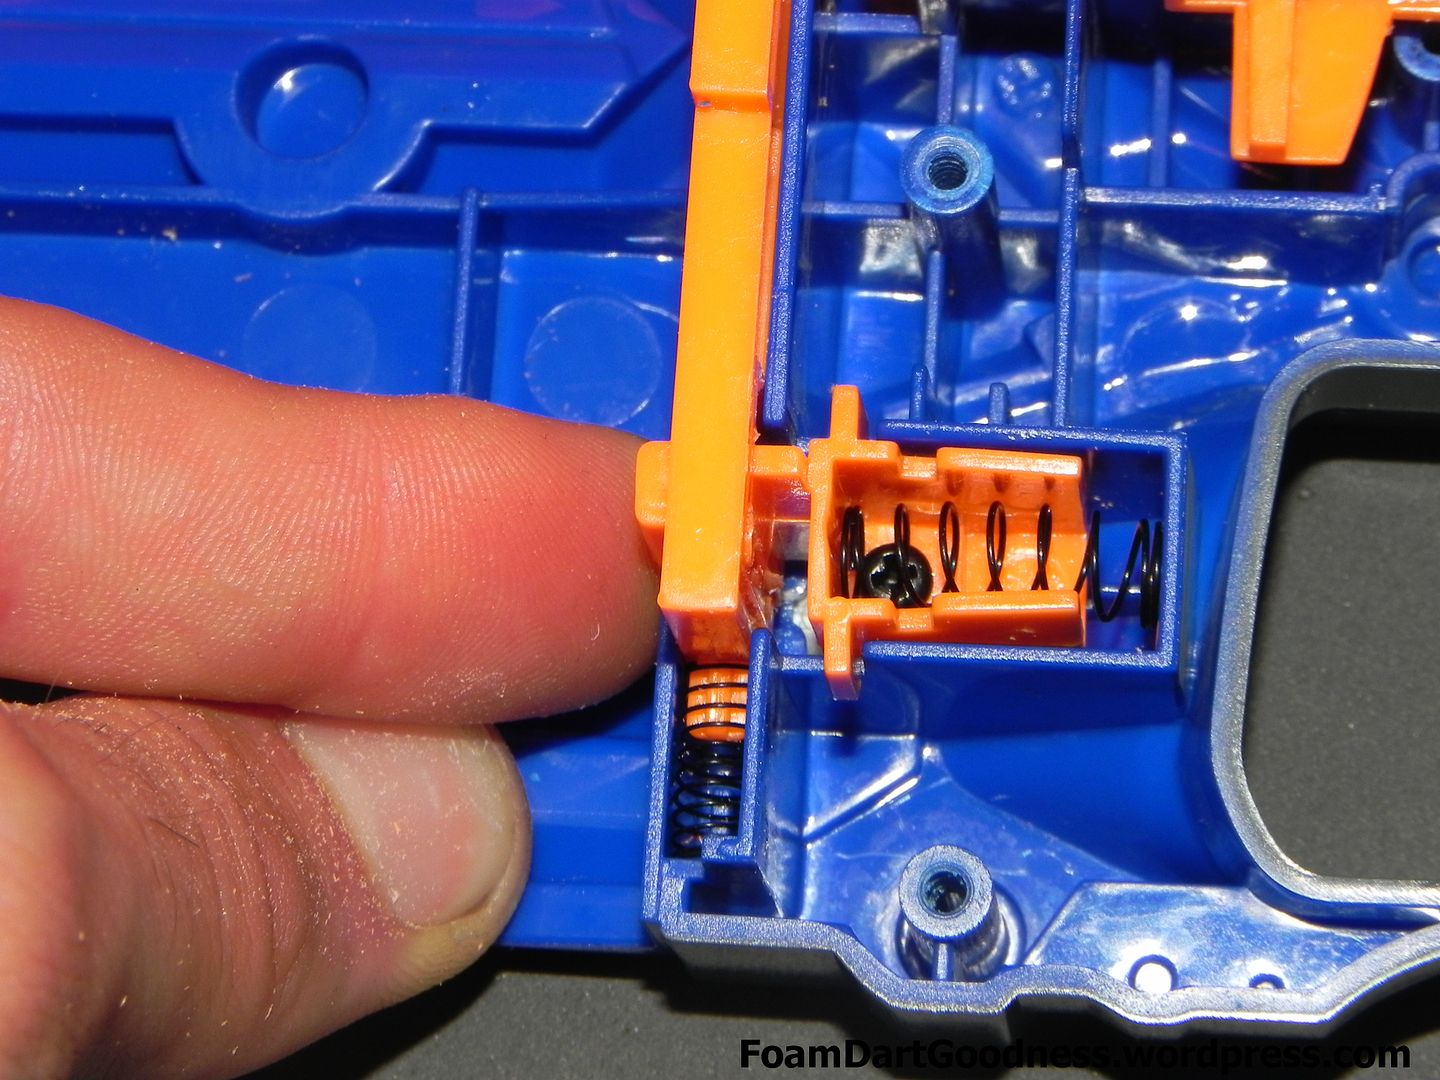
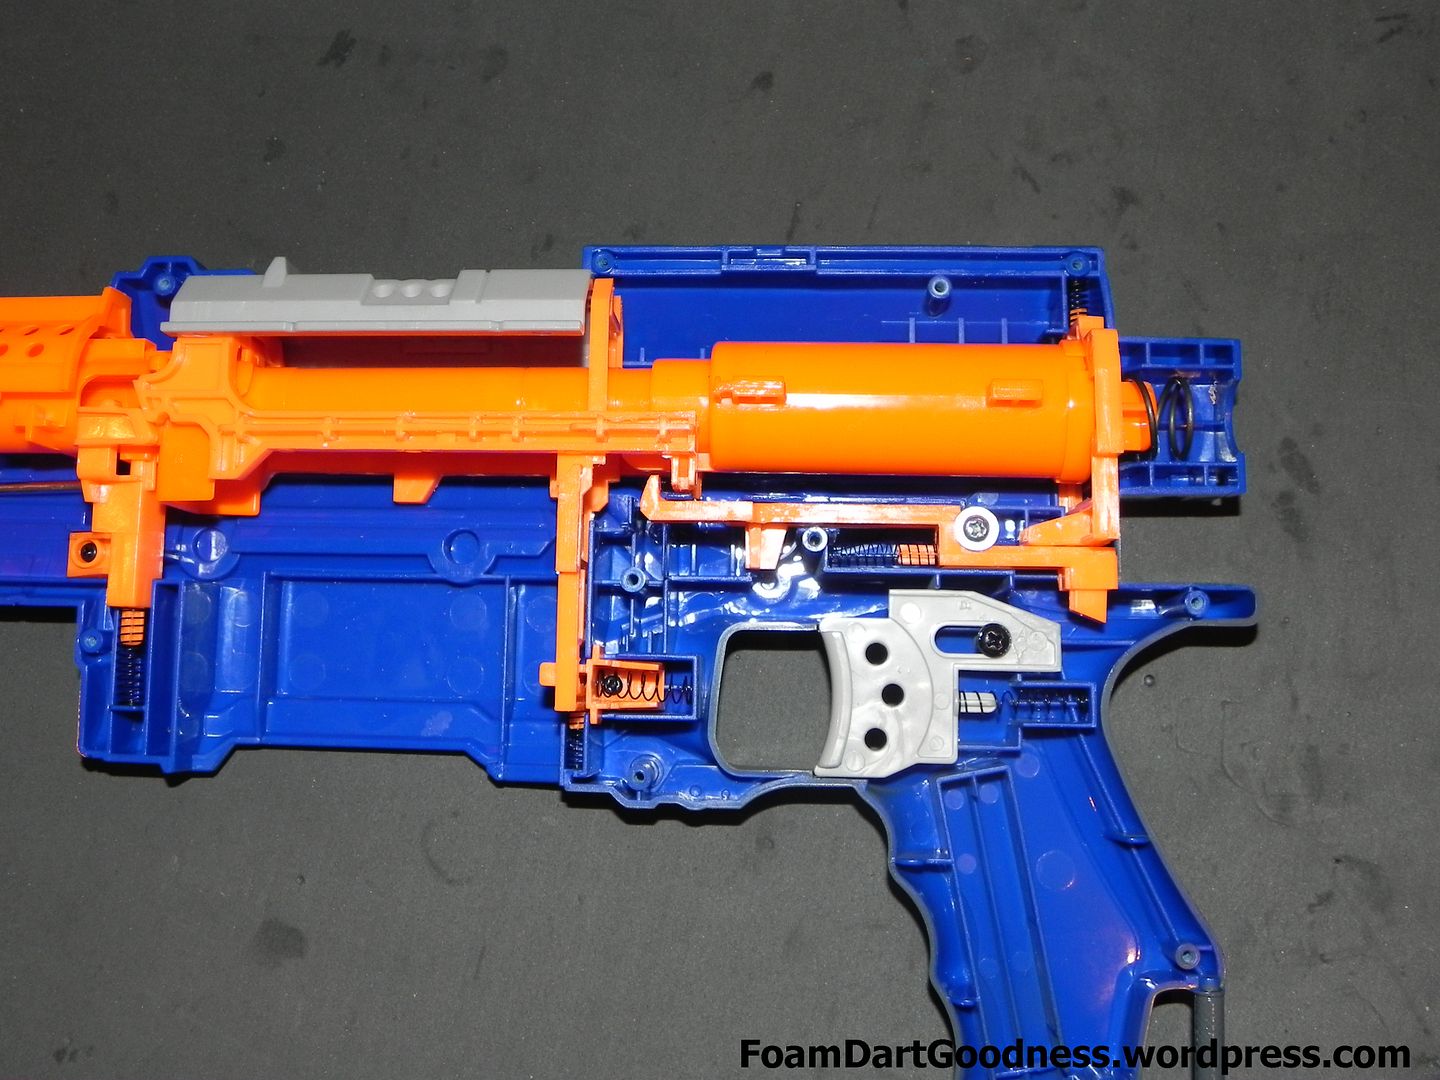
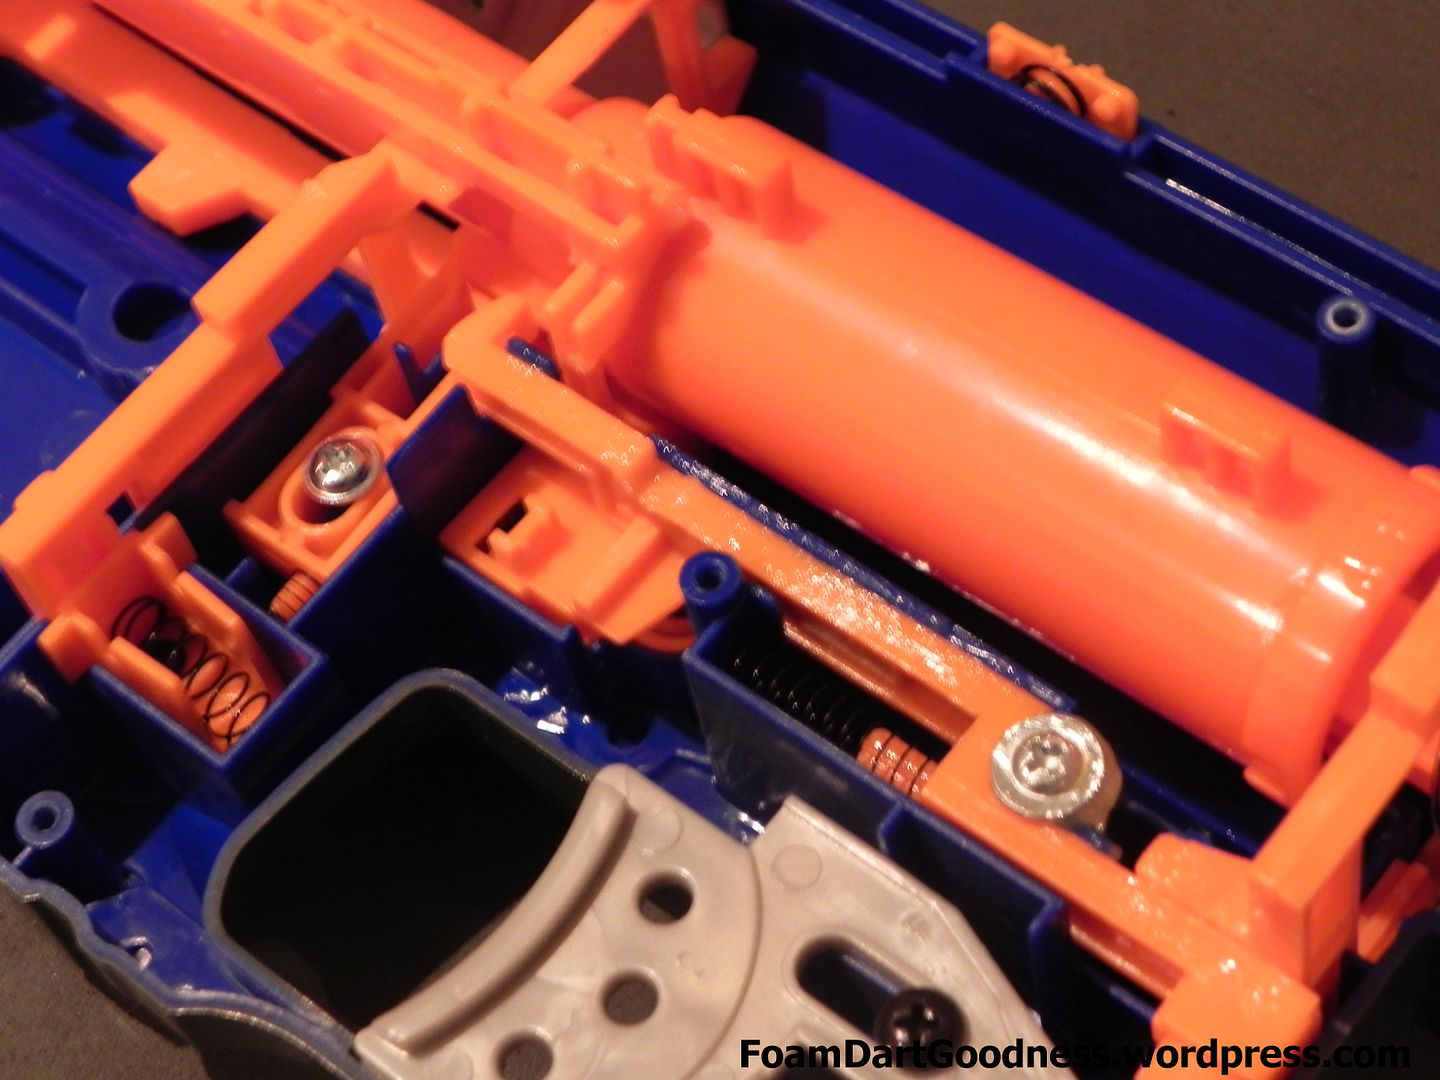
Hooray! The inside of the blaster.
As always, take a minute or two to have a good look around the internals and try to get an understanding of how each part works.
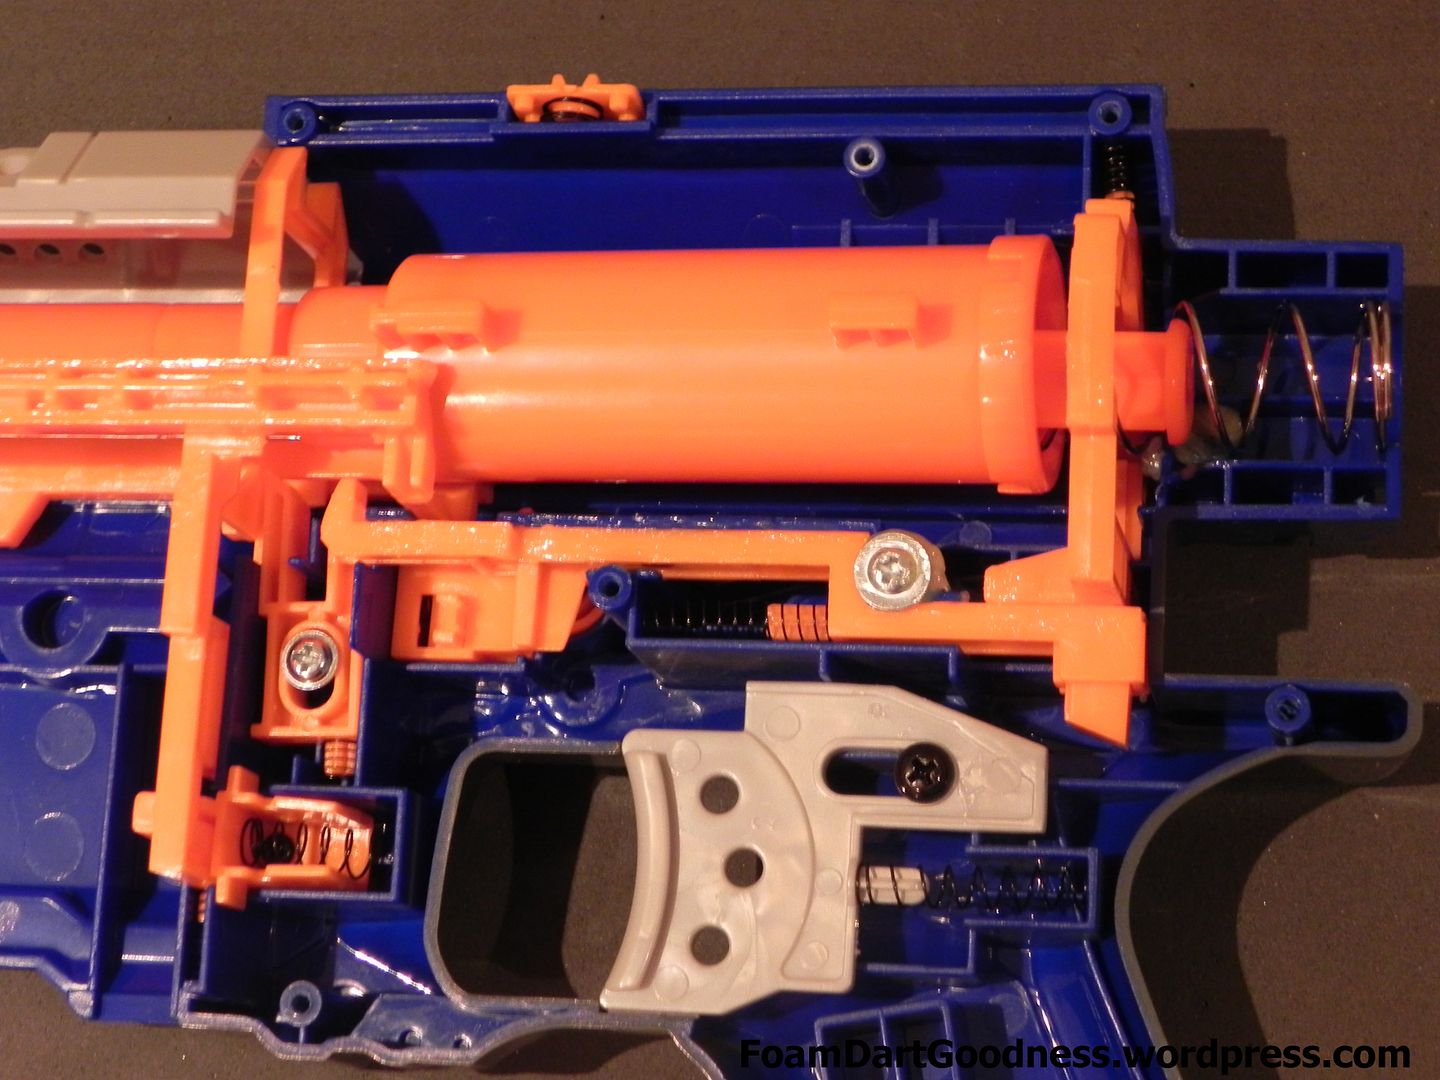
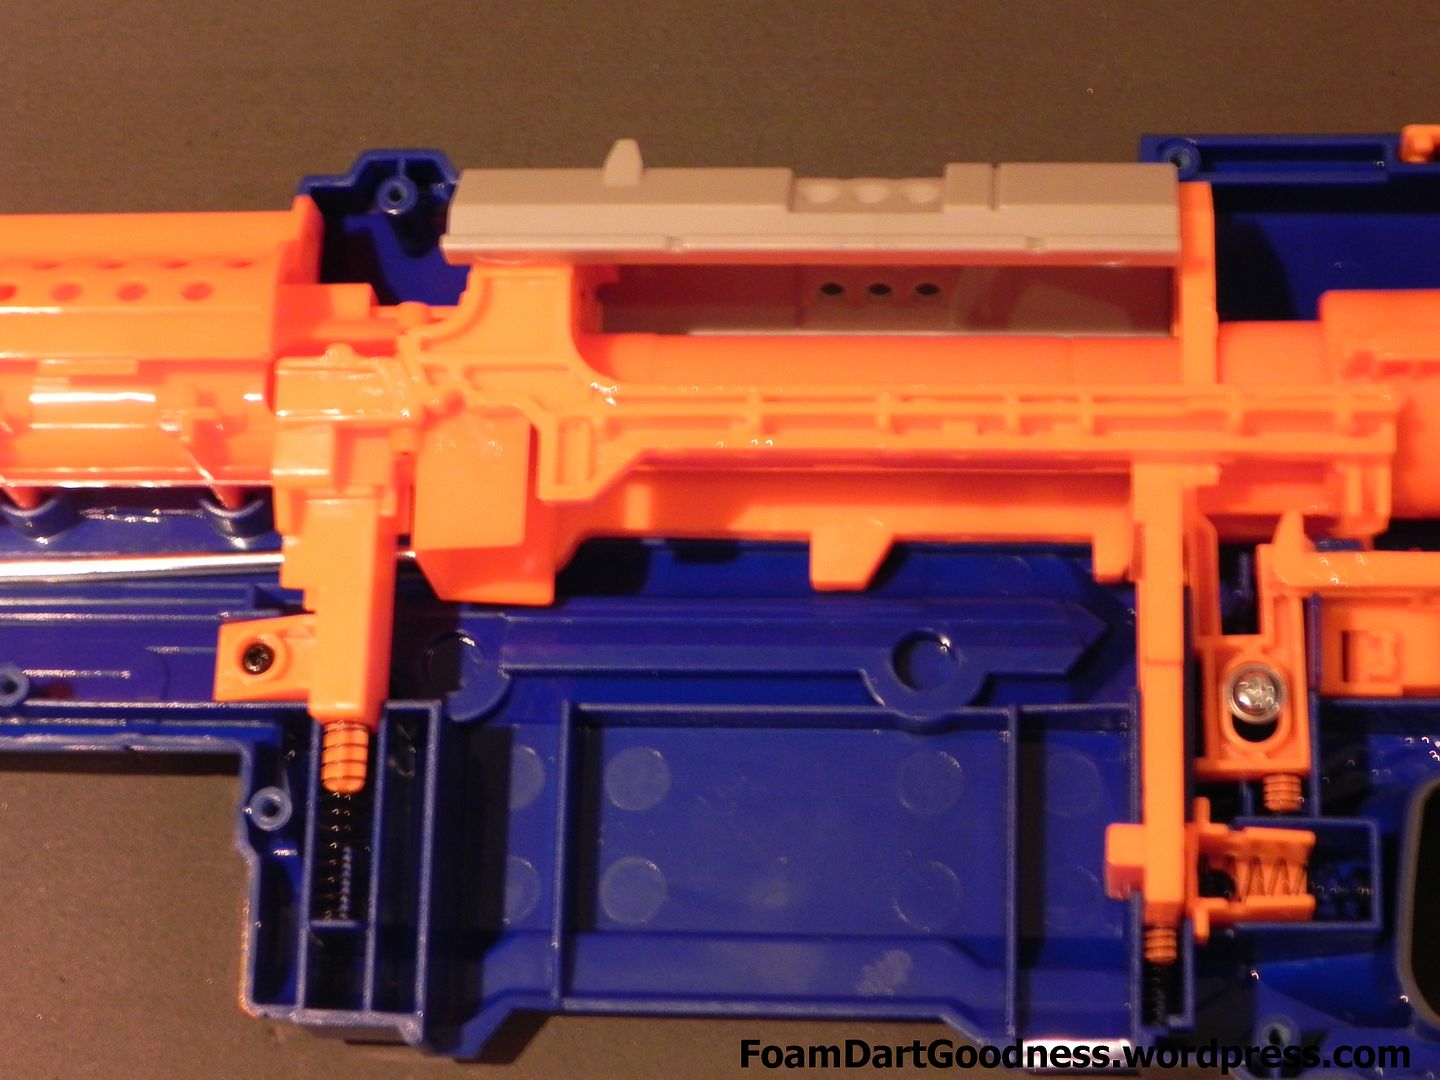
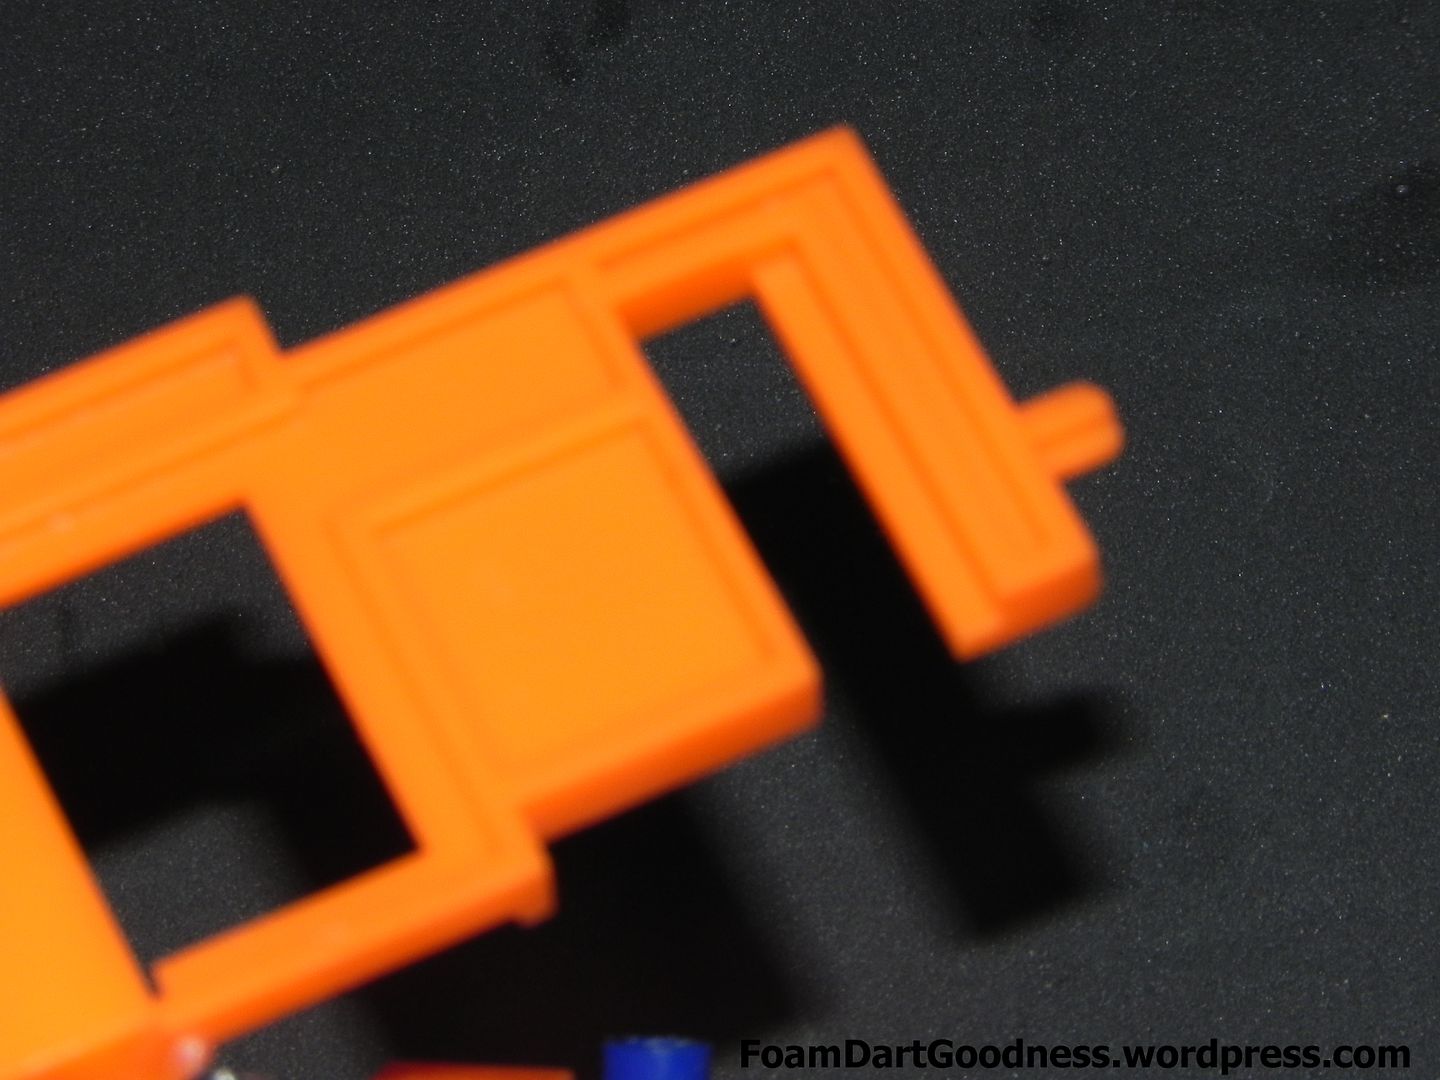
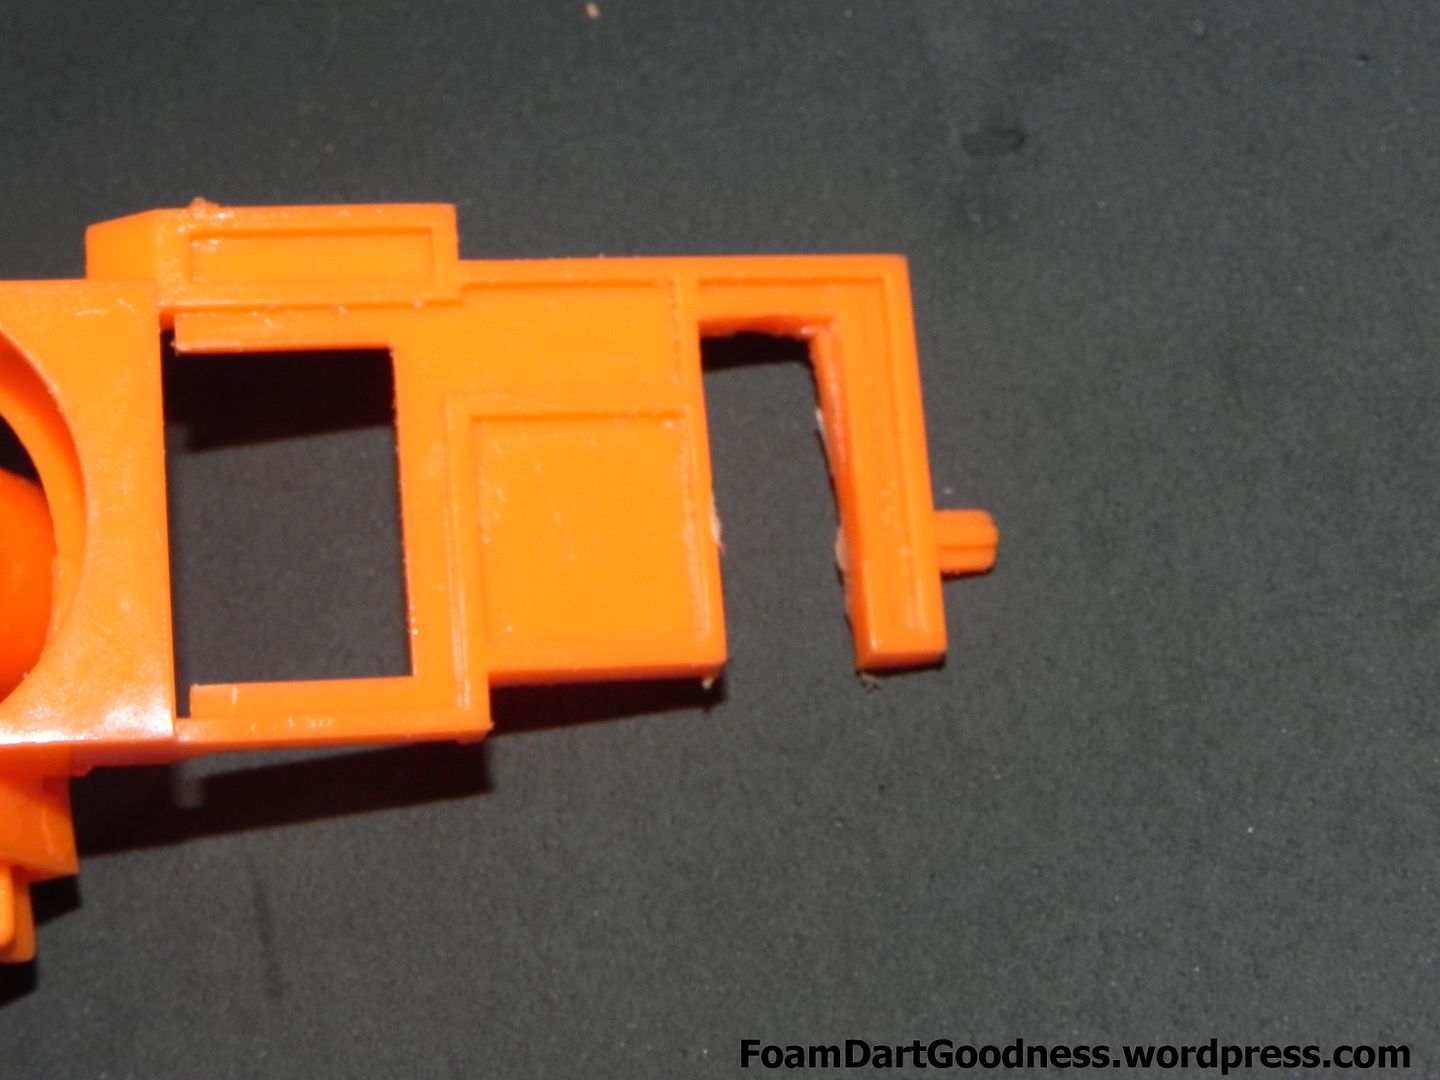
Ok then, on with the dis-assembly. Remove the jam door and the top shroud.