
Tools:
Basic tool kit
Hot glue gun
Dremel/rotary tool with cutting and sanding attachment
Butane soldering iron
Materials:
19/32" brass (5cm)
1/2" brass (3cm)
25mm conduit
20mm conduit
PETG
spring
As always, start by opening up your blaster. There are 2 screws located underneath the pump grip. Here's a look at the internals:
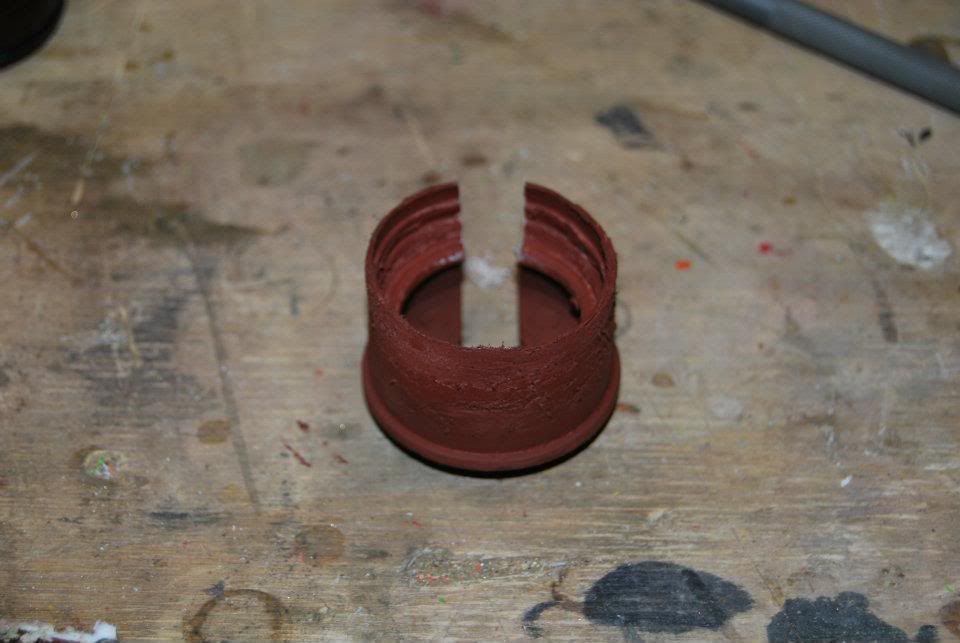
Cut off the ball launcher, on the last rib, like this, and hot-glue in a section of 25mm conduit to act as a coupler:
Get your piece of 19/32" brass, and wrap it in e-tape until it fits snugly in the 25mm conduit. Also, wrap the piece of 1/2" brass in e-tape, so it fits snugly inside the 19/32" brass. You could also nest it in 9/16" first, and epoxy all 3 pieces of brass together, and epoxy in to the conduit. But, it's not difficult for it all to be done with e-tape, and just the 2 pieces of brass.
Stick the brass in from the funnel end, and fill the deadspace up with hot glue. What we're building here, is a stopper for the dart. This blaster vacuum loads, and without this stopper, your darts will be sucked all the way in to the pluger tube. End result, squashed darts, and no firing.
Okay, that's it for the coupler. For the barrel, I've used a 30cm length of 20mm conduit, with 30cm Petg nested inside of that with e-tape. A couple of wraps of e-tape on the 20mm conduit, and it's a very snug fit inside the 25mm conduit.
Next is the plunger tube. Remove the plunger rod, head and spring. The stock spring is quite beefy, but I decided to add a spacer for a little more compression. There's different ways of doing this. I've used a small piece of 1" pvc, and the cap off of a 10L bottle of water. Cut out the groove for the plunger rod, and glue the spacer on to the stock spring locator:
Stock plunger seal is quite good, so I left it alone. I did add the spring from a Longstrike. It isn't long enough to add momentum through the entire travel of the plunger rod, but it will add power for at least 75% of the travel. Completed assembly:

And that's the majority of the performance modding done. Lube o-rings, re-assemble plunger tube etc etc.
Now, on to the aesthetic's:
Cut off the original buttstock from the PAS, then cut your Raider pistol grip to suit. With a bit of trial and error, this should be a fairly simple task. I held the grip on using a small amount of super-glue, then once I was happy with the placement, used a butane soldering iron to fuse/weld the two pieces together. I've found this to be a fairly useful skill for doing cosmetic mod's, it makes a fairly strong bond, and leaves the finish looking quite good.

Finally, linking trigger's. A rather pain-staking task to say the least. You'll need to cut-down both trigger mech's so that they mesh together while still functioning properly. On the first attempt (pictured) I drilled some holes, and used string covered in hot glue to make the connection between the two pieces. I wasn't happy with the end result, so I later replaced the string with some fishing trace wire. So far I haven't had any issues with it:

All that's left now is to re-assemble the blaster, and check that everything functions as it should. Once this has been confirmed, a little prep work and e-putty around the shell joins, then a paint job, and it looks like it came from the factory like this:

Now, I haven't had time to experiment with more spring compression, different barrel material/length, dart weight etc. but I'm fairly impressed with the results so far. I feel it's as accurate, if not better, than my LShot. Using custom-made blue foam darts, with stinger caps, I'm getting consistent flat ranges of 115ft approximately.
Increased ranges could be obtained using heavier springs, Before you go crazy, the plunger rod does not look overly strong in my opinion, so reinforcement/replacement would be advisable.
All in all, with the added bonus of vacuum-loading, and decent range, this is probably one of my favourite blaster's. The addition of the pistol grip and Raider stock makes it very comfortable as well.
Cheers,


