long time lurker, first time poster on this forum.
I'm a bit nervous, hope the banhammer doesn't hit me immediately.
As I regularly run into situations in NERF wars where I got my opponent directly in front of me and then the blaster produces nothing but that ugly sound of dry firing, it was time to put an ammunition counter into that gun.
So no long talk, here's a video of the whole thing in action:
http://www.youtube.com/watch?v=o8-s1d_Aohg
The stock cocking indicator of the longshot had to go to make room for the six yellow LEDs. A red LED was added to indicate the state of the gun.

The circuit uses a cheap Atmel ATTiny13 microcontroller for controlling the whole sequence. I'm actually still working on the software side of things a bit more so the blaster can be safely stored with a magazine inserted without draining the batteries.
Circuit is controlled by two microswitches in the LS shell:
- One is sitting in the magwell, it cuts the power to the circuit when the magazine is removed, essentially resetting the circuit when a new mag is inserted as well as preserving the batteries when the gun is not in use for longer periods of time.
- Second one sits in the rear end, being triggered by the plunger once it is in its cocked position. This switch does two things, first it is wired to the controller and signal when the gun is fired, second it will turn on the red priming indicator LED when the blaster is cocked.
All cabling is run through the top grip to the front and held in place by hot-glue.

The switches were put in place using a two-component epoxy putty. Of course I used too much of that stuff which resulted in lots of scraping and cursing (as well as cutting a few millimeters of the back of the sled assembly) in order to make the LS mechanism work again.
Here's close-up of the rear switch with a second, identical switch added for getting an idea of its size. I put a small nail through one of the holes in the switch in hopes of making the whole assembly more stable and durable - I could have just left it out. The epoxy putty sticks to the shell and switch so well it wouldn't have been necessary.

The circuit is powered by three AAA LEDs soldered in series and hot-glued directly to the shell below the faux barrel in the front. Yes, that will make changing batteries a bit of a hassle, but since power consumption is very low at about 30 milli-amps when all LEDs are lit, the batteries should last for quite a while.
The circuit itself if just a small piece of circuit board simply hot-glued to the empty space to the left of the magwell.
Edit: Here's the pictures of the assembled internals, as promised.

In the lower left, next to the magwell, is the (rather small) circuit board. All resistors and capacitors are SMD parts and therefore sit on the bottom of the board, between the pins, so they're not visible anymore.
The board could have been made even smaller by not including the pin header for programming, but I like to be able to do tweaks to the firmware later without having to take the controller out of its socket.
I gutted an old CAT5 network cable for the wiring. I actually like using those in most of my projects - they're flexible, easy to stuff in most nooks and crannies and still have sufficient diameter to carry enough current even for high-powered LEDs.
Two more detailed shots of the controller board and how the LEDs were mounted (just lots of hot glue really):


Finally, here's the circuit diagram, for those of you who might be interested in building this thing yourself:
(Please PM me if you are interested in the firmware, I'll send you the sourcecode then.)

Other than the electronics, only basic modding has been done so far: AR was removed and another spring added.
I'm planning on putting a PVC breach on that thing and then give it to a friend of mine for a paintjob.
(Brass breach is out of the question, unfortunately, because I live in Germany and it's impossible (or rather: impossibly expensive) to get the required brass tubing here.)
And because the question came up several times in the thread below: The counter will only count from six shots down to zero.
Yes, that means it will only "work" with six shot magazines, no drums, no 18 shot mags.
This is not a problem for me, as this blaster is meant for LARPing and not for NERF wars, so I don't need to use anything other than 6 shot mags in it.
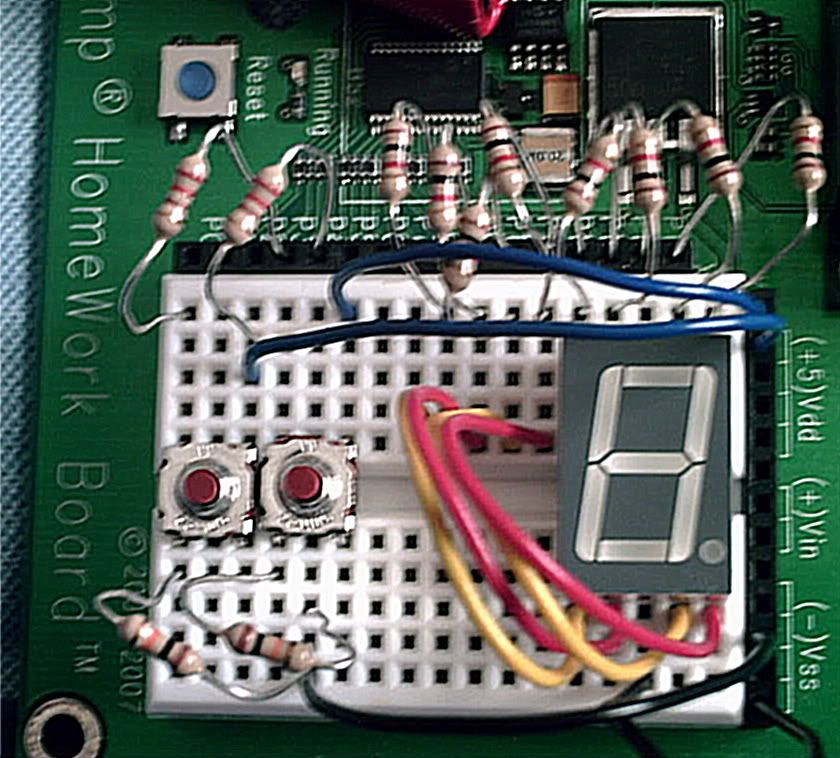
If you want to count more shots you'll need to put some 7-segment digits in place of the LEDs, but that requires a lot more wires (at least eight) to the controller than the current solution (three wires for LEDs) which might prove difficult to put into the grip handle on top of the Longshot.
I'll maybe do something like that to a friend's Stampede (when he finally lets me mod it) and then also add support for different mag sizes.
So, that's all for now. Hope you like it...
Best regards,
Shuzz
Edited by Shuzz, 18 February 2012 - 03:12 PM.


