
It's been quite awhile since I last posted a mod write-up, and so I decided I'd bring something fresh to the table.
I picked up the Rads 12 simply because I was intrigued by the turret rotation and priming systems of this blaster.
Seems that Buzz Bee put quite alot of thought into this, and came up with this clever idea.
12-shots with a relatively compact, small-sized turret.
However...
Stock ranges are crap. It averages about 20-25ft, using the stock Buzz Bee darts.
The darts that come along with it are the "rubber body" type of Buzz Bee suction darts. You know, not the soft foam ones.
Right. Before we begin, as always, here's a list of what you need. (Rather, what I used.)
- Dremel with Sanding bit / drum
- Hacksaw
- PETG (variable length; will be explained in the write-up)
- Small O-ring, harvested from a spoilt laser pointer
- Goop
- Superglue
- Screwdrivers. Philips and flat head.
So let's start.
The first thing to do is to remove the screws on the luger-style priming handle.
Then, find your own way of removing the priming handle.
I "eased" it out one side at a time.
Sorry, no pics of this because I didn't wanna risk stretching or breaking the plastic. You'll understand when you try it.
Then, go ahead and remove all the screws of the shell. They're all of the same size.
Now, customary internals pic.

Here's some good news for all you paintjob fans...
There's ZERO stock paint on this blaster shell.
The different colored segments of the shell are all made out of moulded plastic, and they can easily be separated. No more masking woes! haha.
Alright here's a look at the trigger and catch mech:
"Rest" Position:

"Squeezed" Position:

The catch mech is pretty damn good, I highly doubt you'll need to make any changes even if you upgrade the plunger spring.
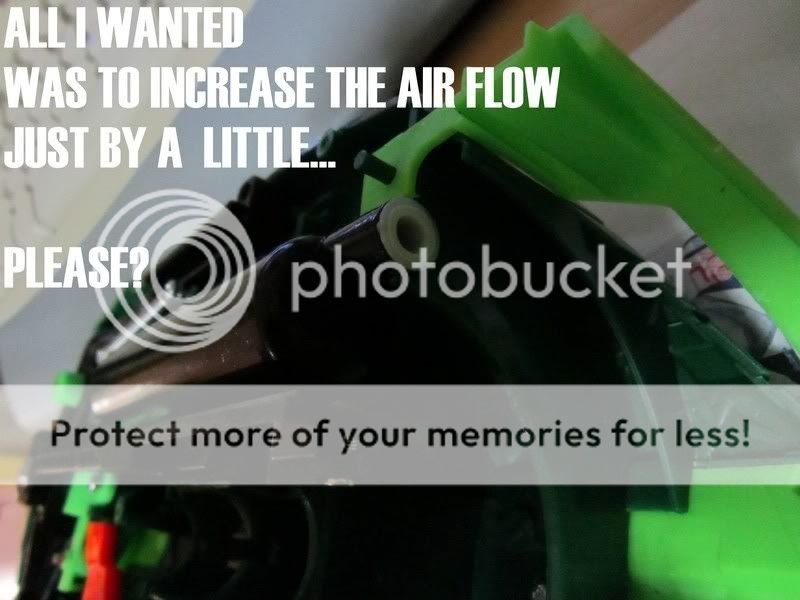
Next up, take a look at the plunger-to-turret seal area:

The seal is honestly, pretty crappy. You can't really tell from this pic. But trust me, it's pretty crappy.
Yes, there's very little tolerance in that entire area. It's gonna be pretty hard to improve the air output of the plunger. You'll see in the next pic.
After seeing this, I was a little disappointed because it meant that any performance improvements made to this blaster was pretty limited due to all the restrictions.
Here's a look at the air output area:
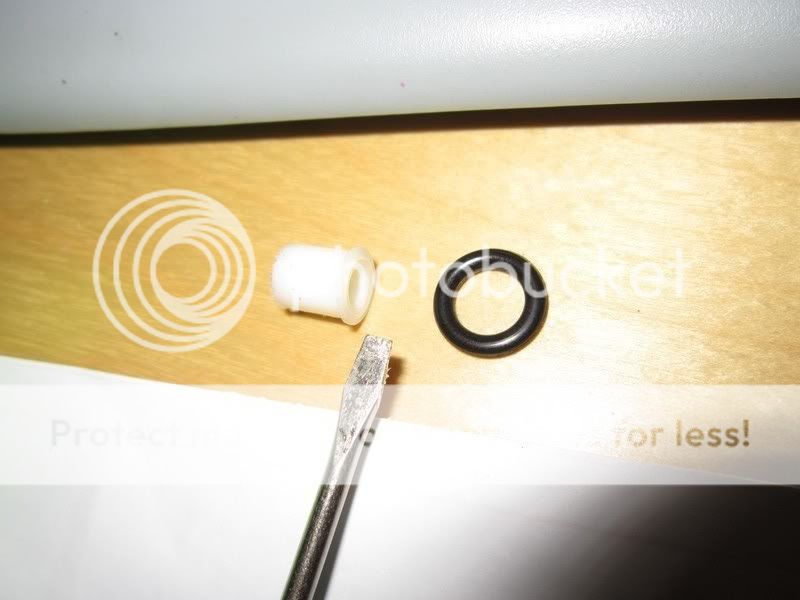
Now grab your flat head screw driver and ease the rubber seal out.

Here's a pic of the rubber seal, alongside the small O-ring that I harvested from a spoilt laser pointer.
(I believe that you can harvest similar O-rings from spoilt laser painter modules too.)
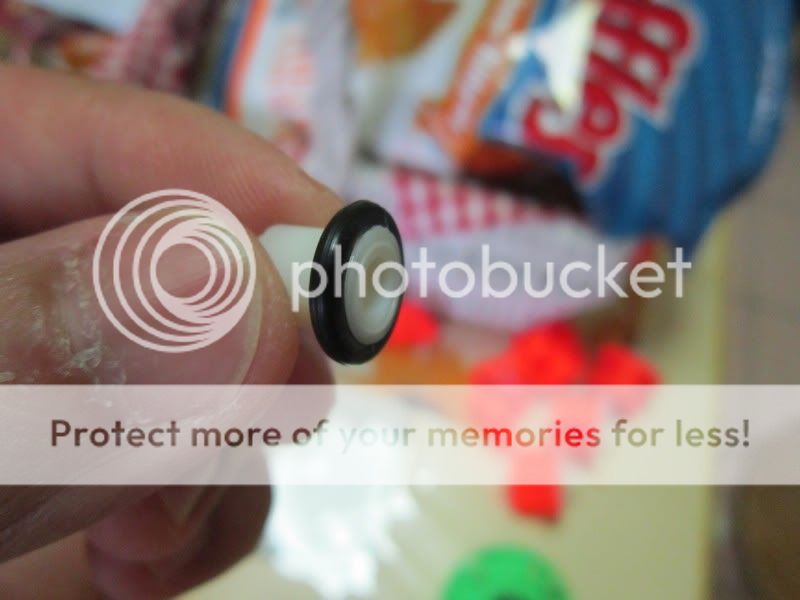
Next, apply some superglue just behind the lip of the stock rubber seal and slip the O-ring on, and you'll get this:
And now, to remove the plunger assembly:
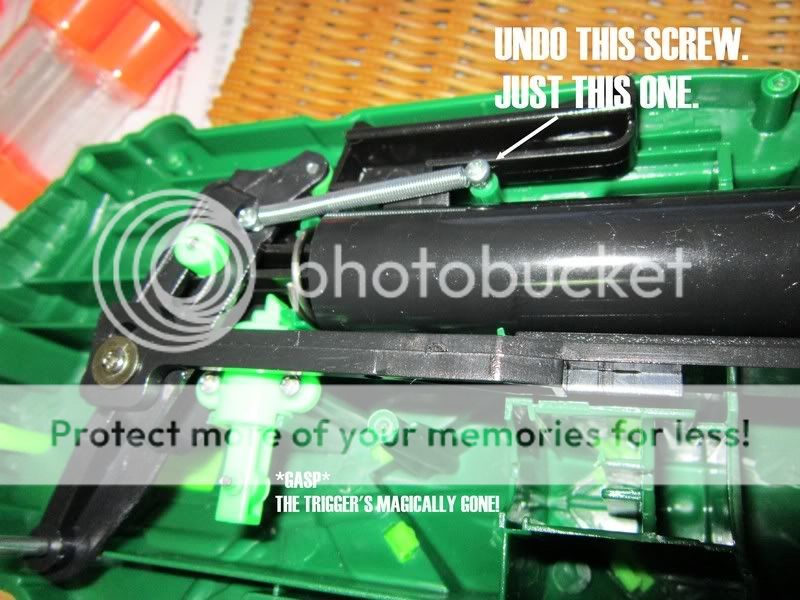
Take note of this:

Be careful not to lose the pin that's located just behind the trigger.
-------------Please do not post yet---------------


