Step 4:
The pickup line for the 2k needs to be close to the base of the pump tube, to
receive a full "stroke" of air each pump. That's where you'll drill the hole
for 1/4" OD tubing. Clean up any debris that might find its way into the
pump tube. Crumbs of plastic will destroy your pump's oring quickly.
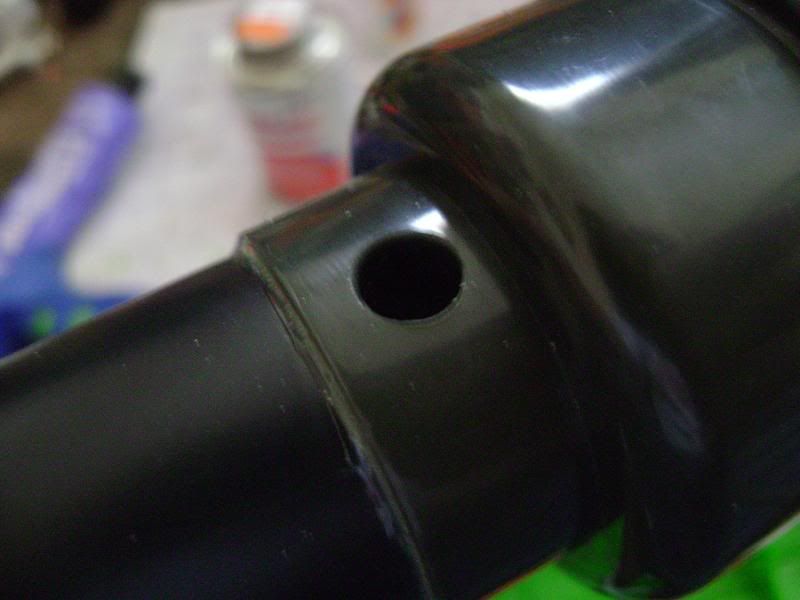
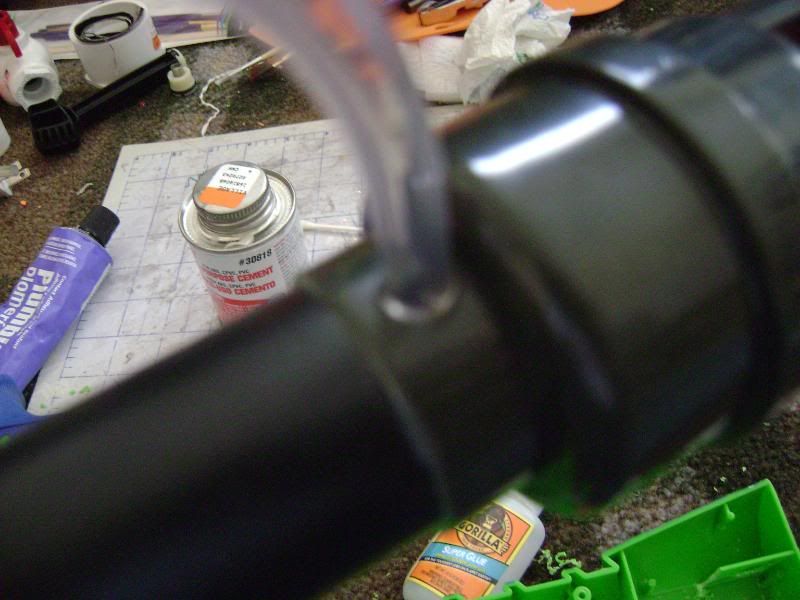
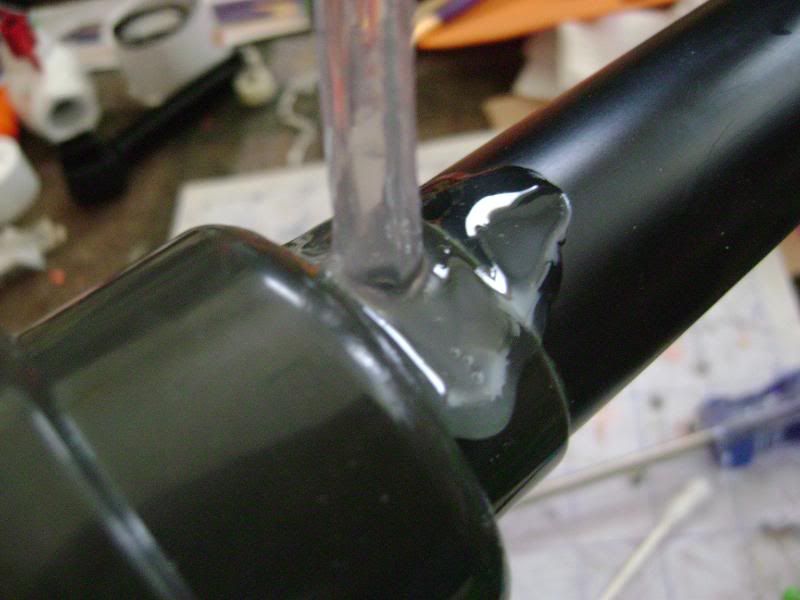
I followed my usual routine of tacking the tubing in place with super glue(I
use Gorilla brand exclusively), then following-up with some Oatey's red can
PVC/CPVC/ABS cement. Goop could be an alternative sealing method, but I hate
the long cure time and the solvent in PVC cement will "weld" the tubing in
place.
Step 5:
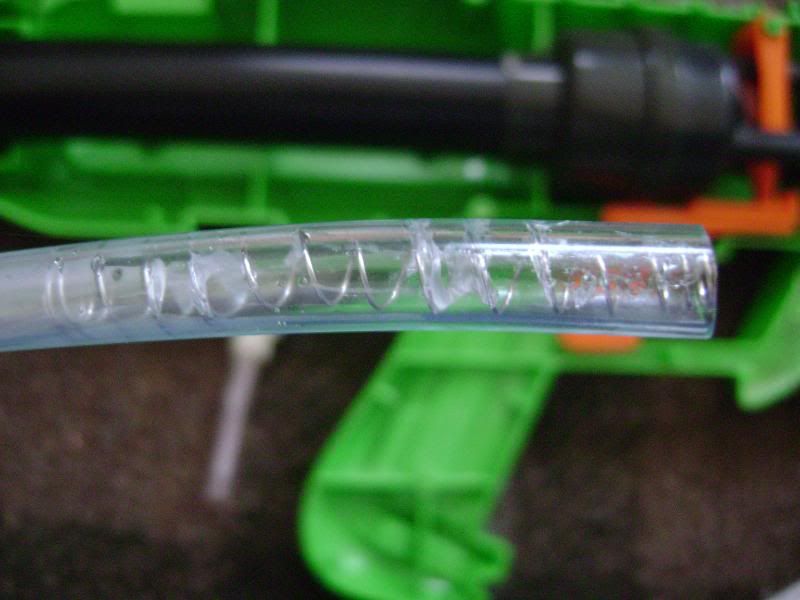
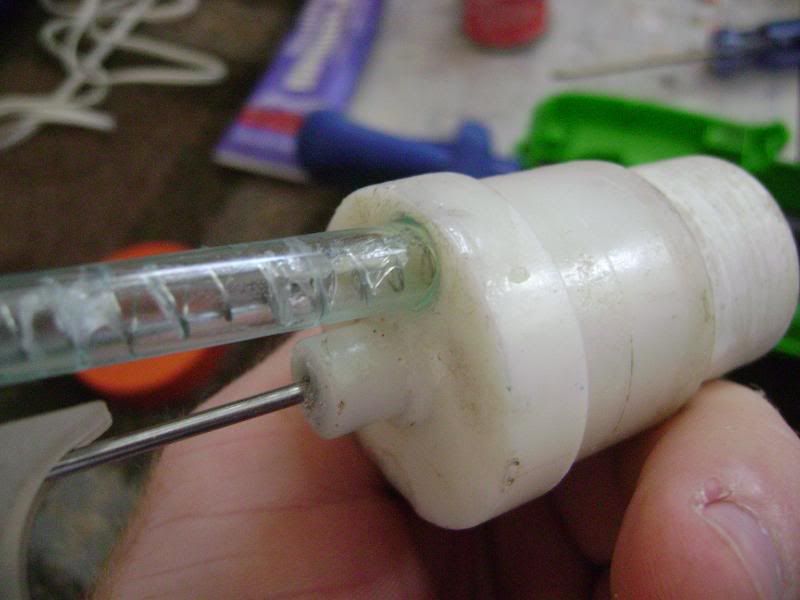
While that assembly cures, use the same process to attach tubing to the 2k
tank. I also added a narrow diameter spring to the tubing here, to prevent
pinching of the line when bent. Pinched lines won't allow air into the tank
efficiently.
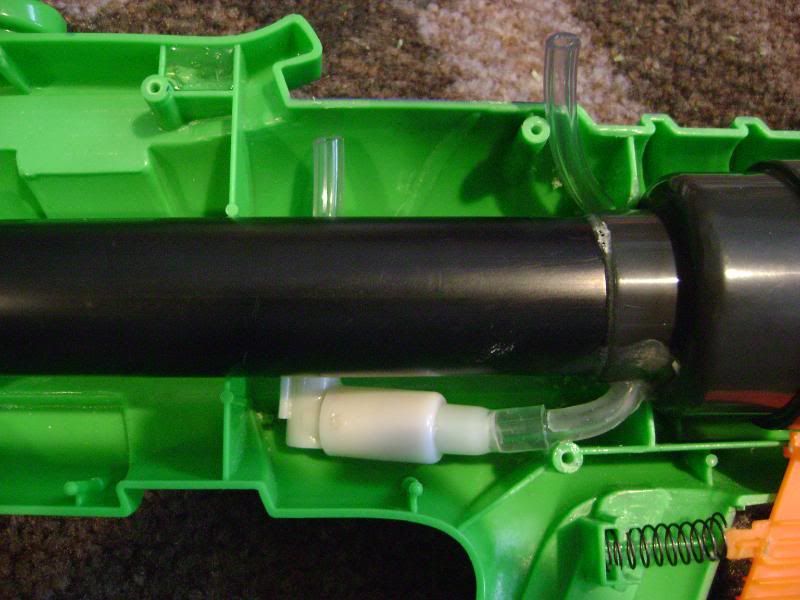
Here's the check valve in place on the line from the pump tube. The check
valve is necessary to prevent both tanks from emptying each time you fire
one. In this particular case, the 4B has a check valve in the base of the
pump tube, so we only need to add one to the 2k's input line. Obviously you
want the valve's flow oriented into the tank.
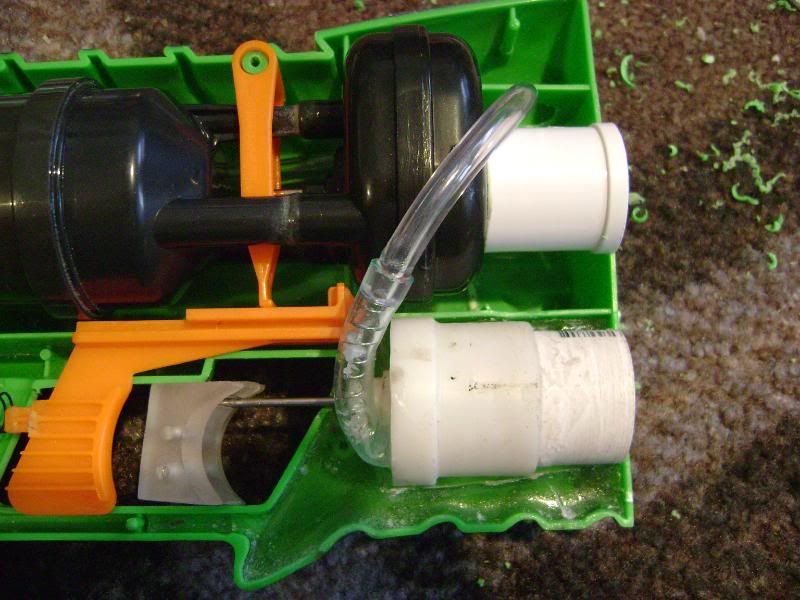
Step 6:
A little creative routing gets the tubing from the 2k tank to the rear of the
shell. I drilled a hole through the bulkheads, larger than the tubing to
allow movement. Debur the holes to prevent unnecessary chafing. Be sure no
lines are pinched, and that no lines impede movement of the trigger assembly.
And finally, all linked up.
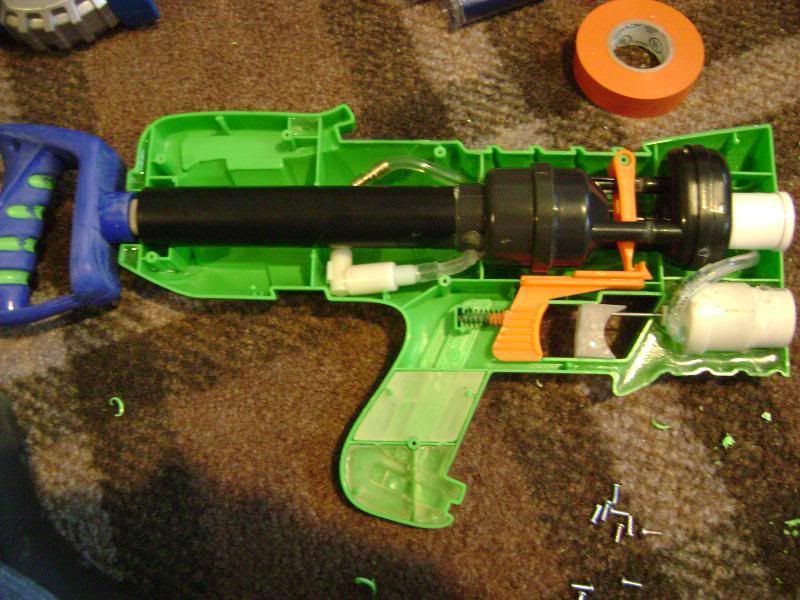
This setup is efficient, but doesn't provide "lethal" pressures to the 2k
tank; so it's a great backup or "mercy" shot rather than launching a full-
bore 4B shot to someone point blank.
It was fun partnering with Lucian on this little project. He had a fun
concept and I was glad to be part of bringing it to fruition.


