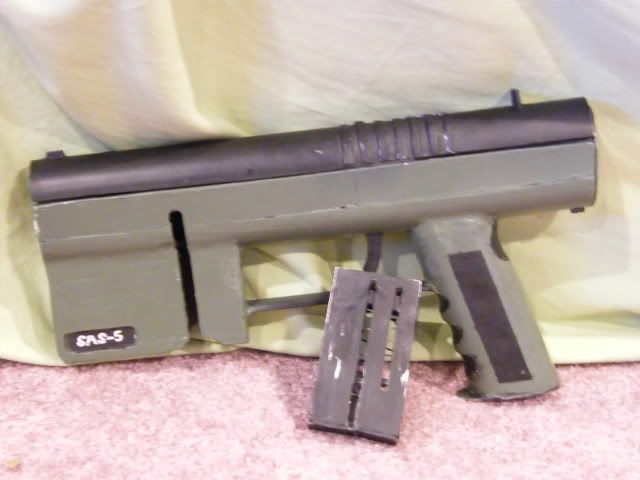
SAS-5 with magazine removed
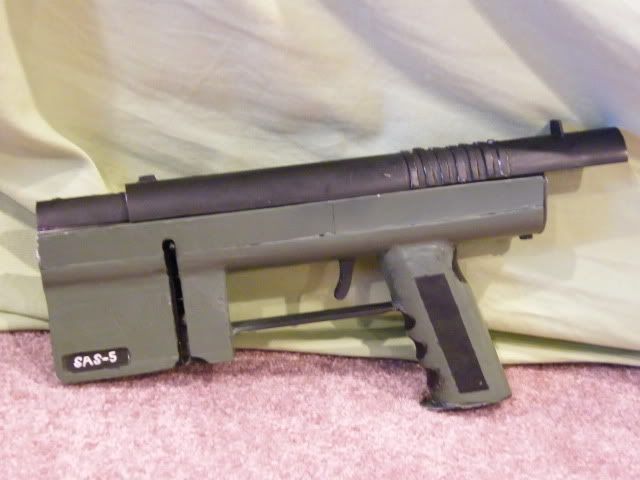
Slide pulled back. Notice there is no protruding plunger components like in boltsniper's bs-9 (which,yes, was the inspiration for the SAS-5).
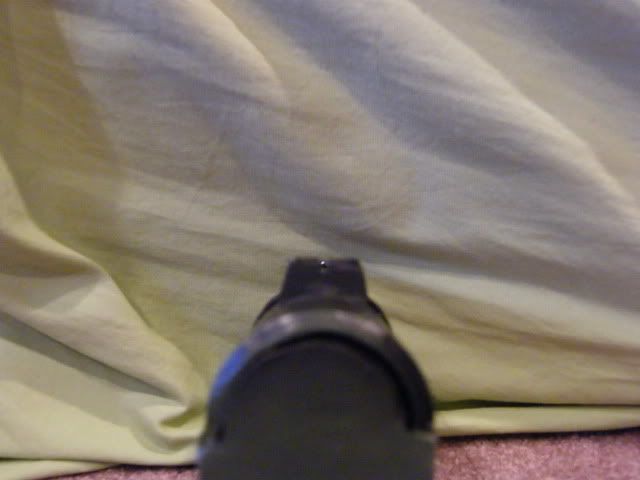
And here would be a look down the sights, sorry not the best picture quality
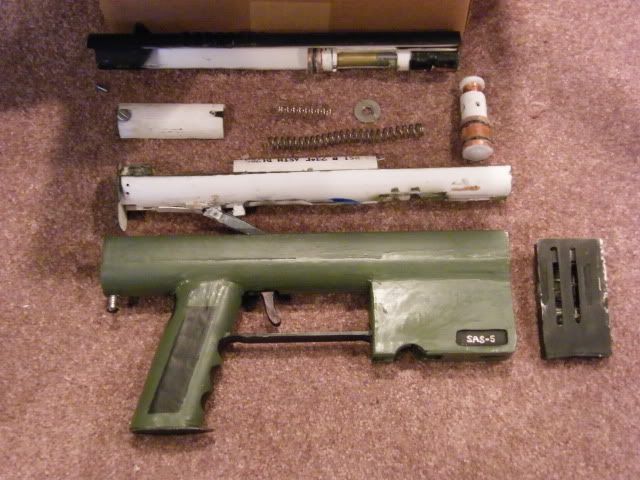
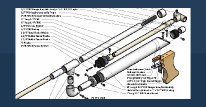
THis is the SAS-5 fully disassembled making it much easier to maintain than the LDR.
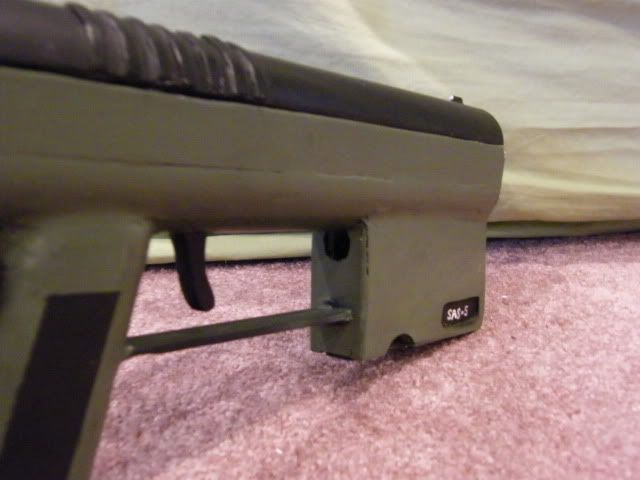
Here is the hole for loading darts, the slit on the left side of the SAS-5 seen in above pictures is for pulling down the follower to perform this method, which is only 1 loading method. The other is removing the magazine and stacking the darts, then putting it back in the magazine well (like shown in the first picture).
Trigger Mech Detail
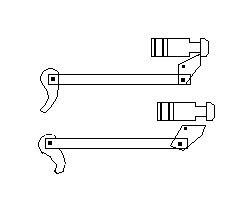
The following pictures are a look at the sear and the rod that pulls the sear in each stage of firing.
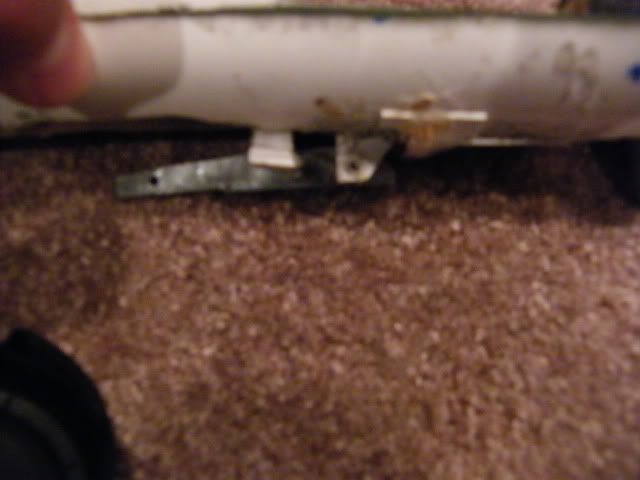
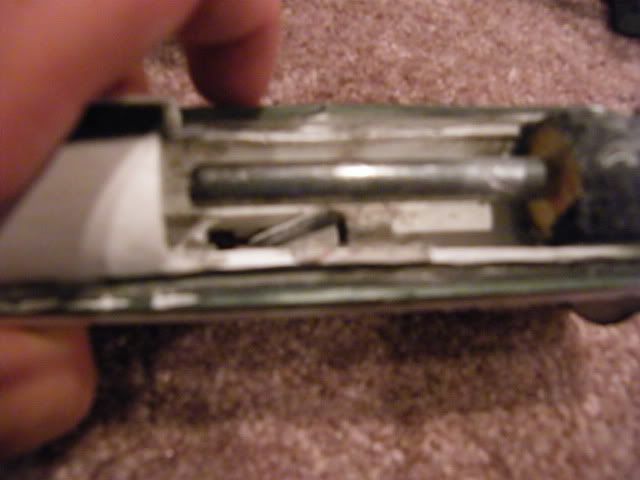
This is it in the locked position that will catch the plunger (picture 1: pull rod picture 2: sear/catch)
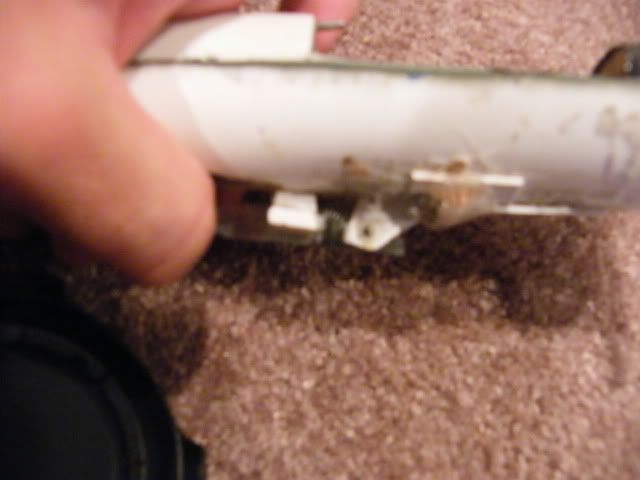
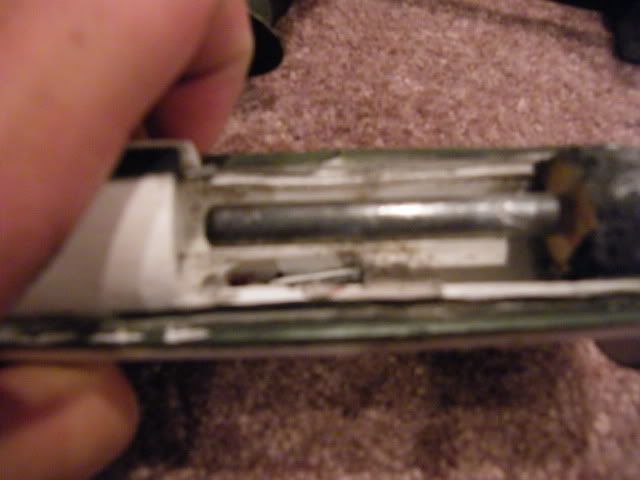
This is the sear when the trigger is pulled, the pull rod goes forward and the sear lowers, releasing the plunger.
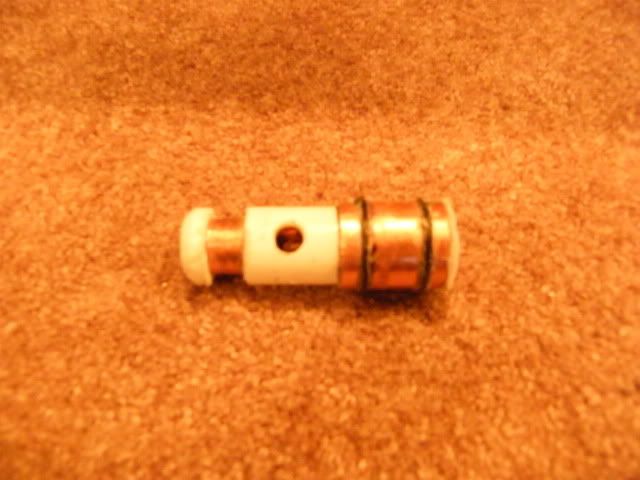
And here is the plunger, pretty self explanitory
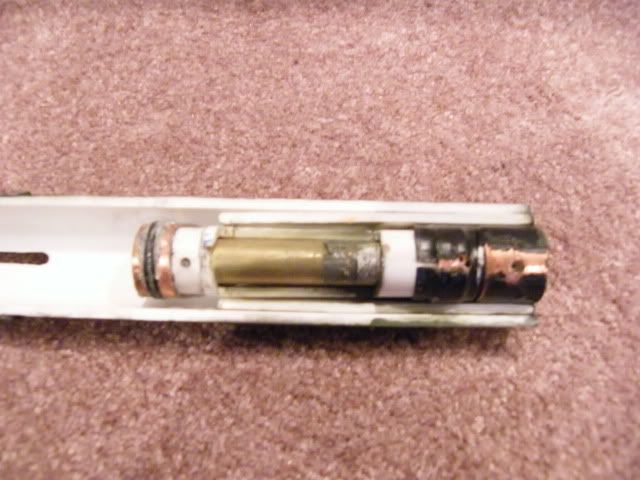
Bolt/Breech Closed
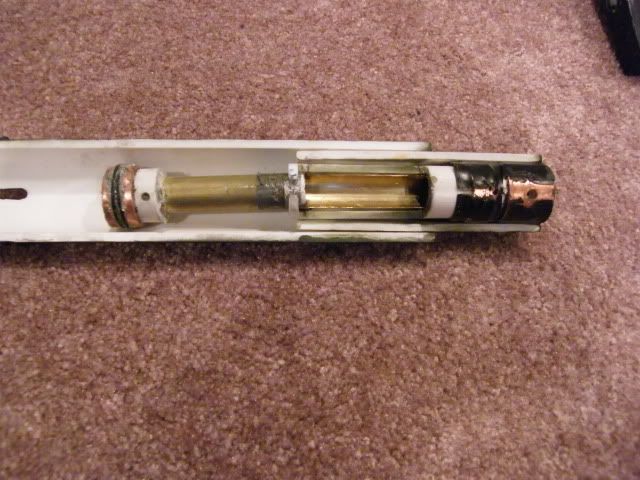
Bolt/Breech open
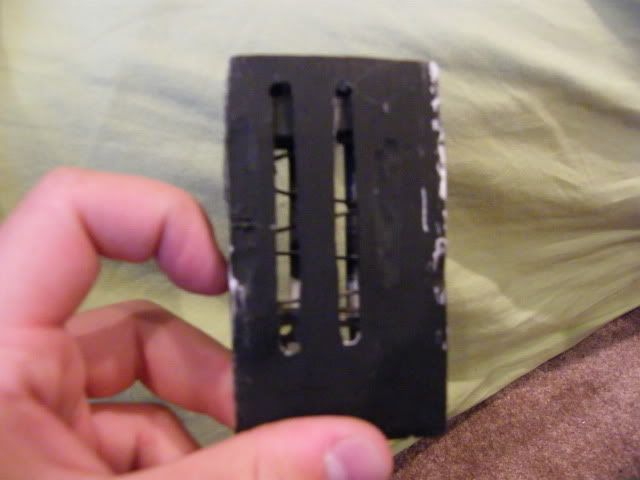
Here is the magazine, if you look into the slits you can see the wave type of spring, which eliminated the need for any type of a spring guide. I made this spring myself, which is a tedious process.
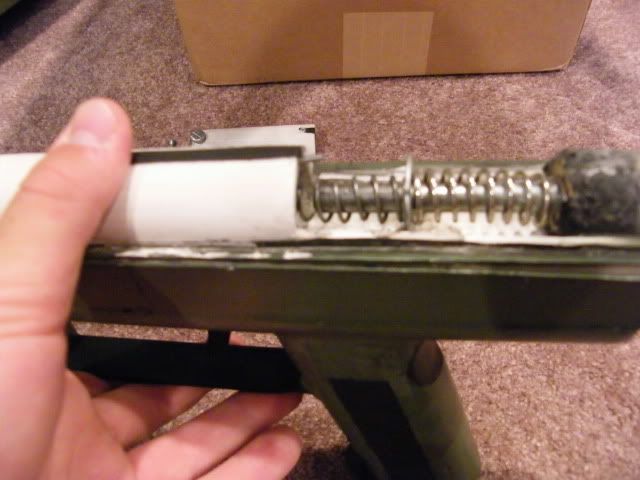
Here is a picture of the springs loaded on the guide, again self explanitory
I hope you guys will like this, I don't think I left anything out but if I did feel free to ask any questions. There will be a video coming soon as well.
Note: The paint job this time around shouldn't be testing the legal limits, so I hope you appreciate it. The scheme was taken from another persons paint job online, but I don't remember who. Either way, I liked the scheme and it fit the SAS-5 well.
-Ricochet


