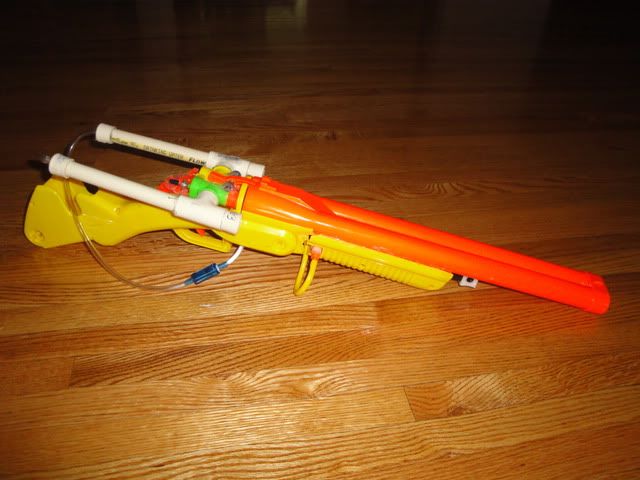
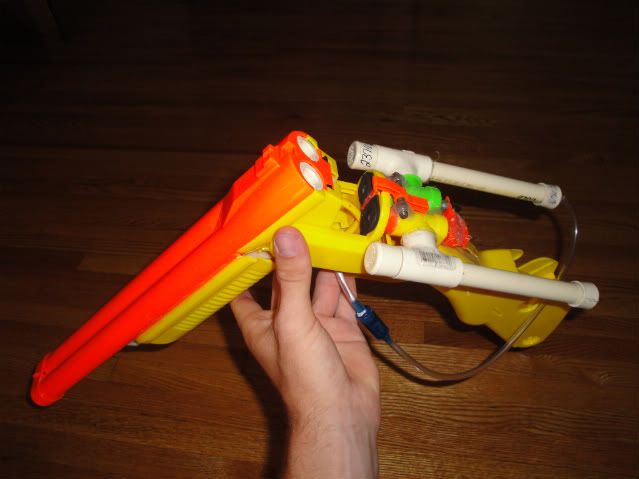
Main Objectives:
1. Functional break action loading system
2. Keep ability to fire both barrels independently
3. Ranges of at least 50 feet
4. Be cheap
Secondary Objectives:
1. Look as close to stock as possible
2. Be aesthetically pleasing
All objectives were met, minus the subjective opinions that it is not aesthetically pleasing.
Business:
1. Get air tanks
I chose the Super Soaker Deluge tanks because they were small enough to not require a total shell overhaul for the DS and were cheap. Any other tank could be used I guess, you would just break the "Cheap" objective and it would require some extra structural steps.
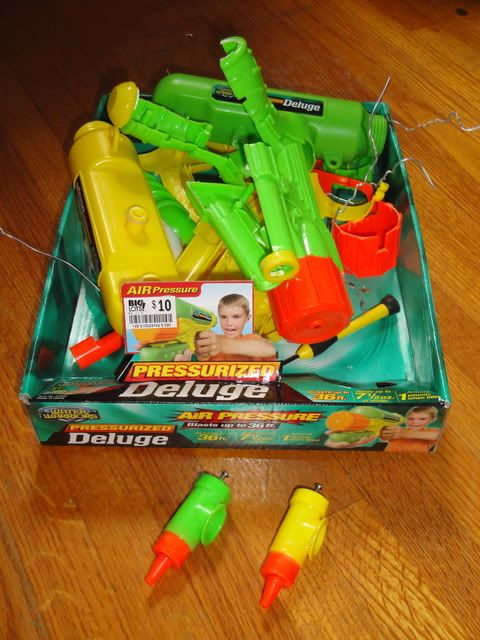
First disassemble the pair of Deluge blasters and salvage the tanks. Also save the triggers, we will need those later. The rest is unneeded for this mod.
2. Assemble tank expansions
I did not test these tanks without expansions, but based on size I figured they were worthless without the extra volume. I used cpvc and various cpvc fittings to create my tank expansions.
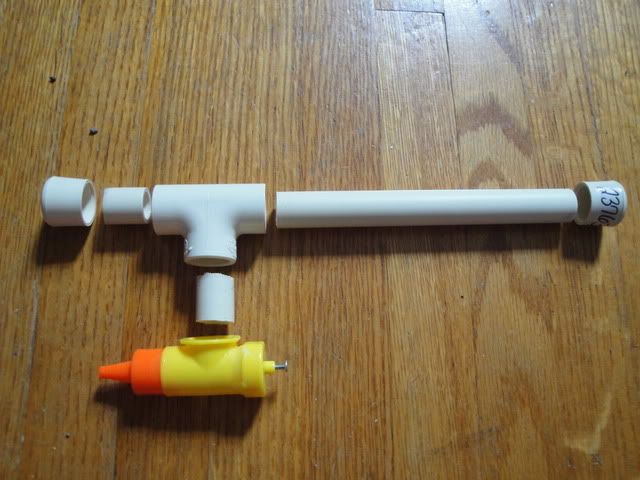
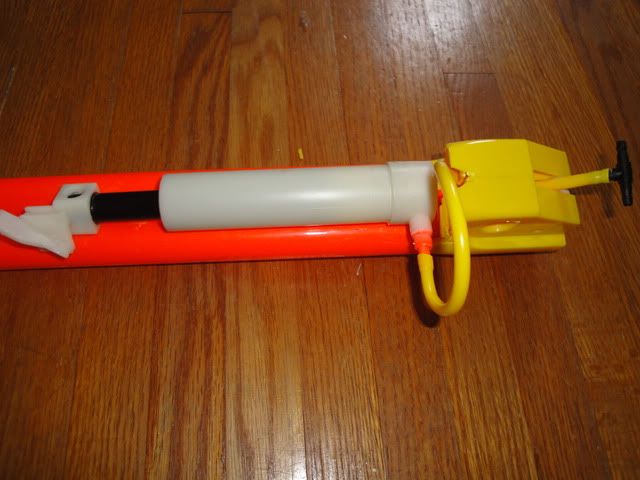
This picture shows the expanded view of my tank expansion. The length of the expansion could be changed if you wish.
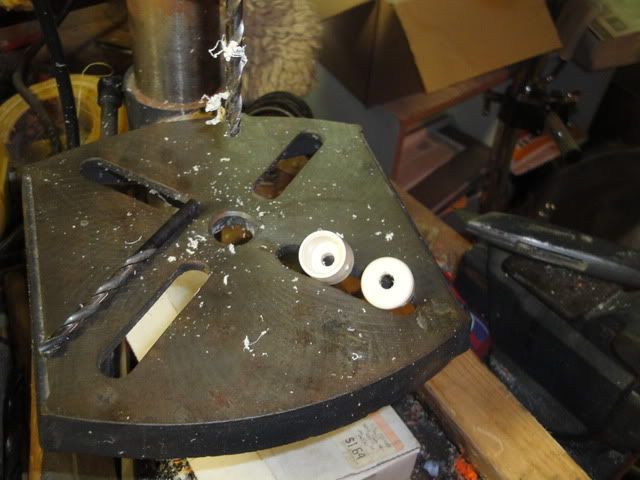
Drill 1/4 holes in 2 of the endcaps for the air input. These endcaps could be used as the front of the tank expansion, or the back depending on how you want to run your tubing. I chose to do mine from the back because originally I was going to run my tubing internally.
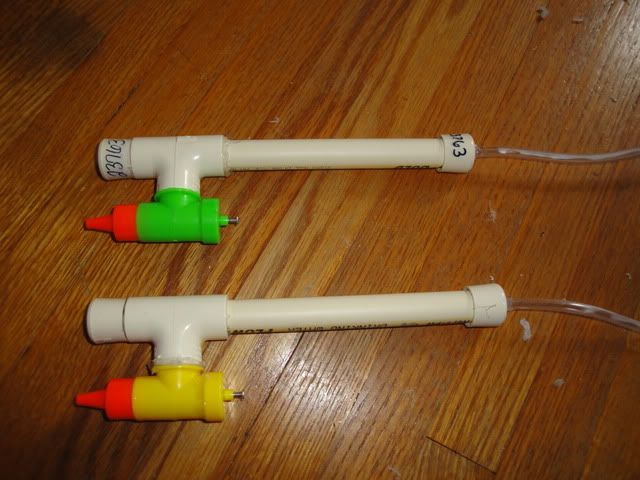
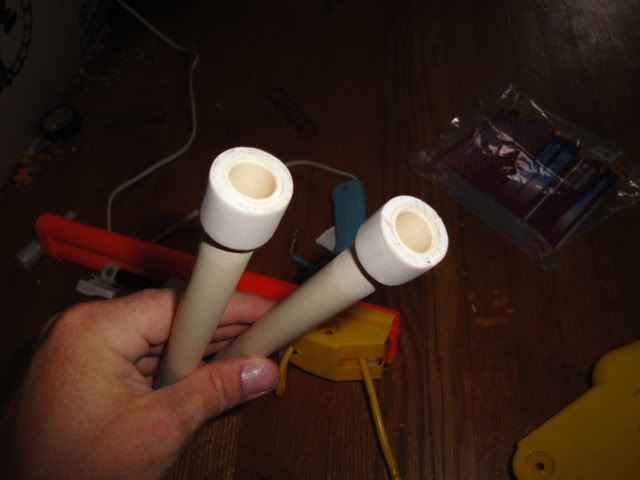
Glue your tank expansions together and attach your 1/4 tubing to the end using whatever glue/attaching process you like the best. I used superglue for the joints, then sealed over those with hotglue.
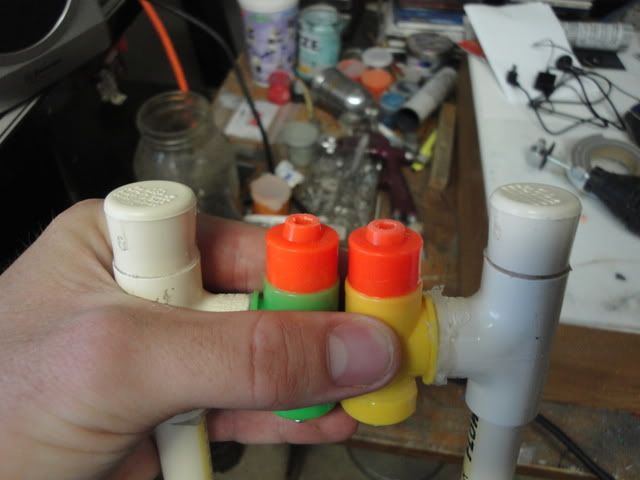
Next cut off the nubs on the end of the original tanks. Leave a little more than 1/8 inch of the nub so that it fits nicely into the double shot plate. (This will become clearer in the next picture)
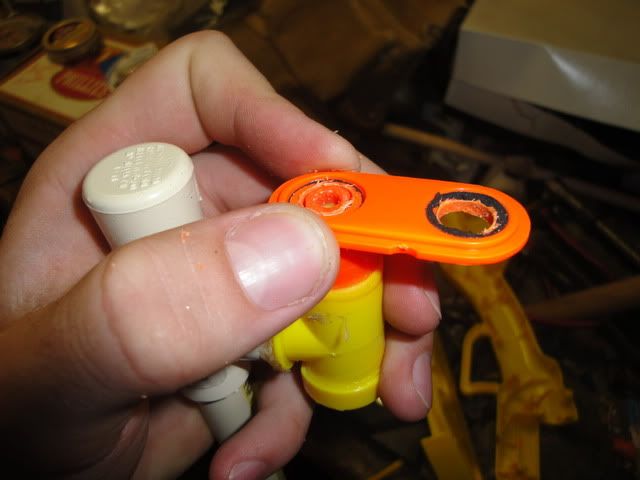
I forget which bit I used, but drill out the orange plate from the DS until the tank nubs fit nicely in it on both sides.
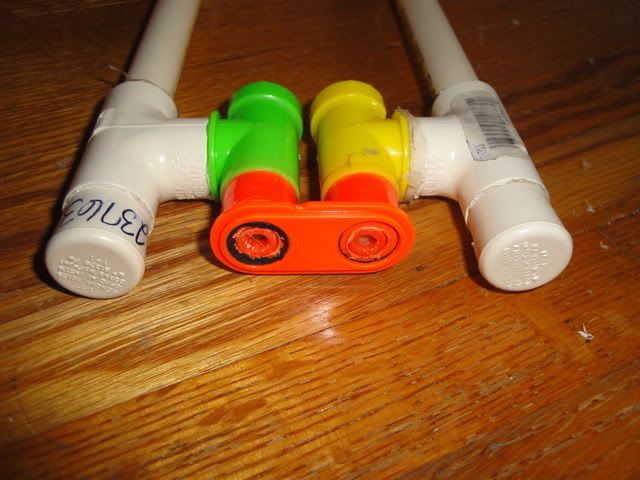
Glue the tanks onto the plate. It should look like this when finished.
3. Preparing the DS shell for the tanks
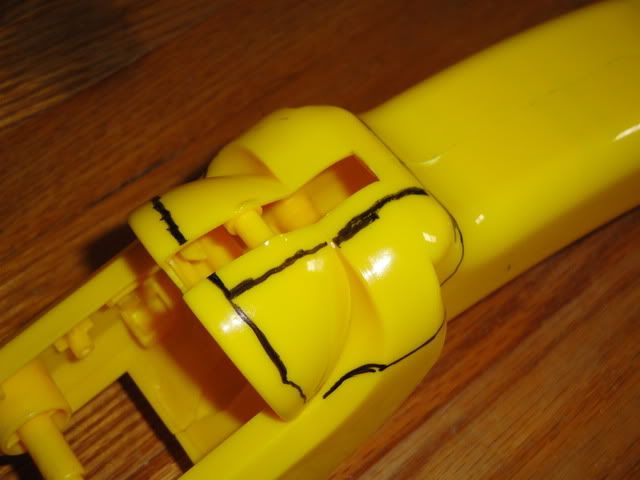
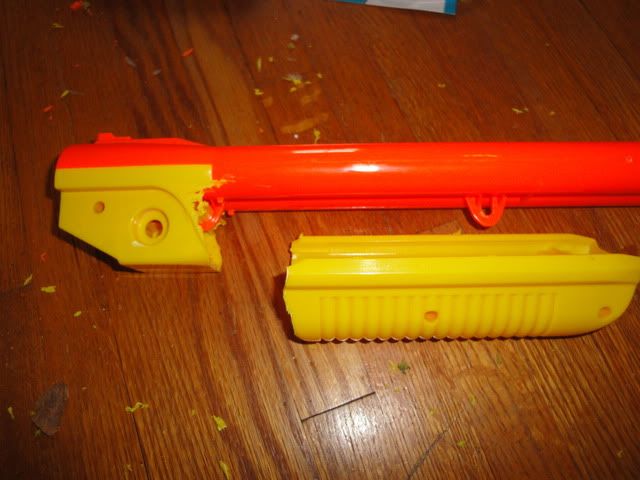
Mark off your DS shell, and cut it with your cutting disk on your dremel. If you have no dremel.....a hacksaw MIGHT work here. (NOTE: The black line down the middle of the piece I am cutting off is obsolete. Cut along the bottom line)
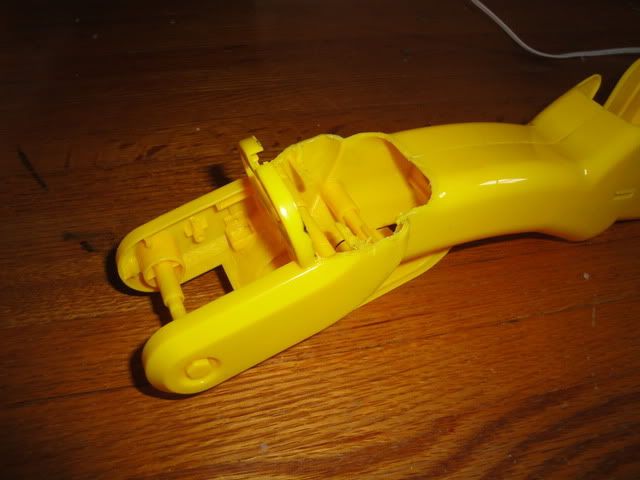
This is what the shell should look like after cutting. Clean the edges up with an exacto if you so please.
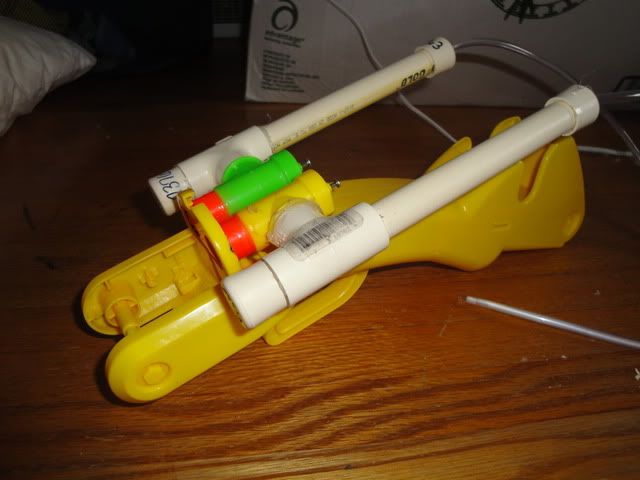
Dry fit your tank assembly in the newly cut shell. If the sides of the DS shell need to be cut down slightly to accommodate the expansions do so with a knife. The tanks should be supported by the shell though, not just hanging on the front plate.
4. Trigger assembly
DISCLAIMER: Before I say how I did the trigger, I would like to say that there are probably better ways to do this part of the mod. Mine was a lot of guess and check and the finished product is still inconsistent at times and finicky.
First get the pair of triggers from the Deluge blasters.
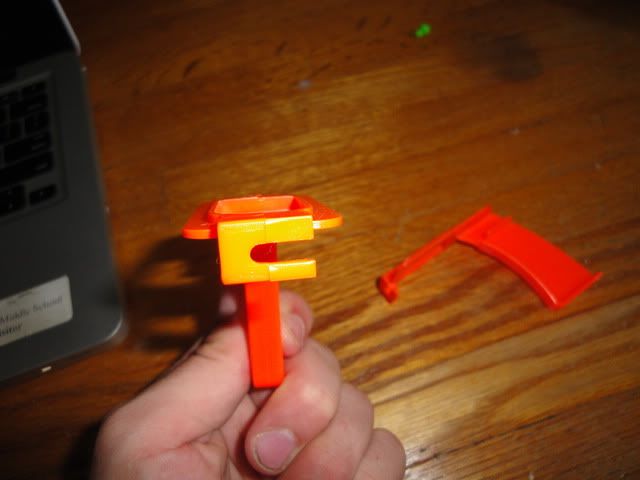
This piece of the trigger pulls the tank pin. Cut the "U" peice off the rest of the trigger. Do this for both triggers.
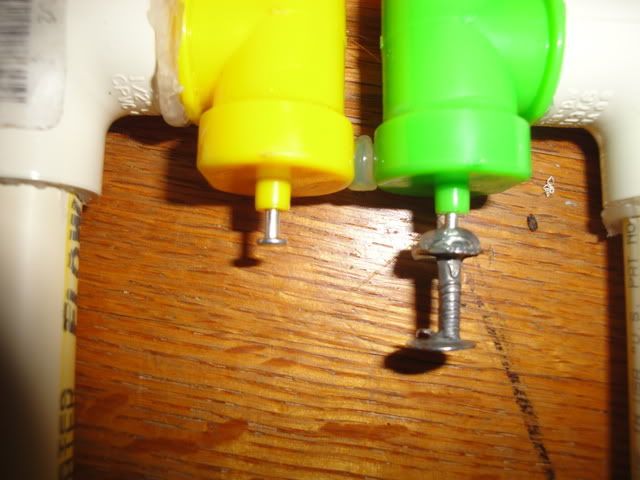
Next, I had to extend the trigger pin on one of the tanks so that I could have the independent trigger pulls. I used a nail, but there are probably countless ways to achieve this same effect.
The next part of the mod is difficult to describe because I just used the guess and check method to cut what needed to be cut, and glue pieces where they needed to be glued. Like I said earlier, if you try to recreate this, this is probably the part where you could find a better way to rig the trigger. Good luck to you. Hopefully my pictures help to show how I did mine, and I will try to describe what is going on as well.
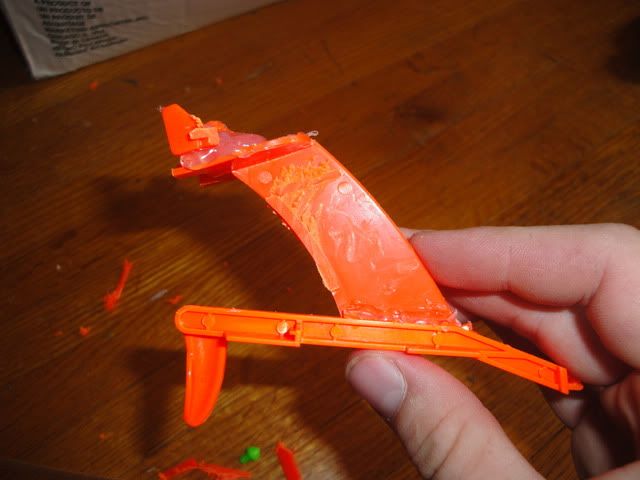
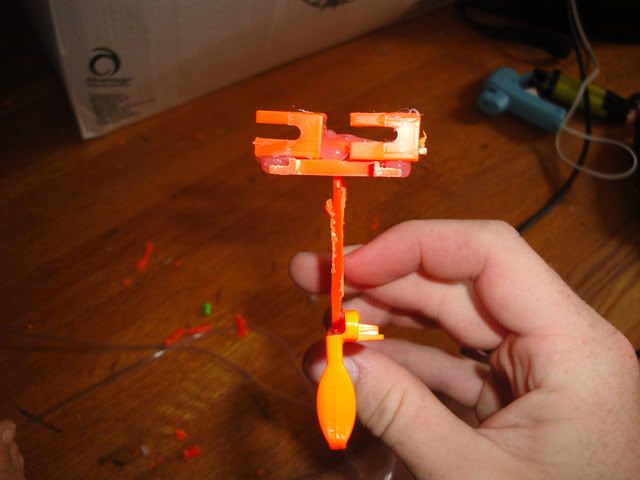
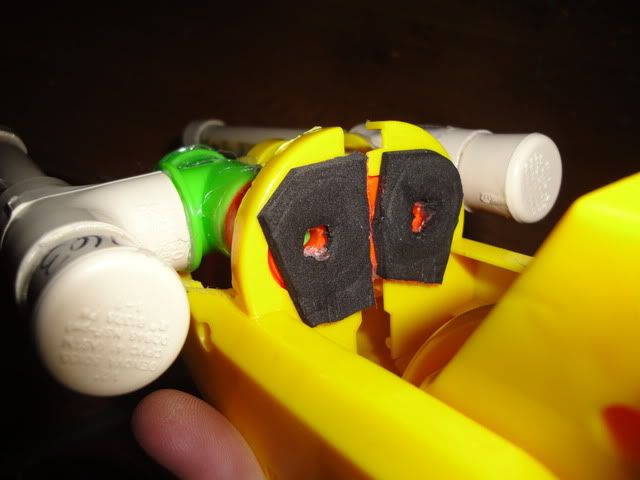
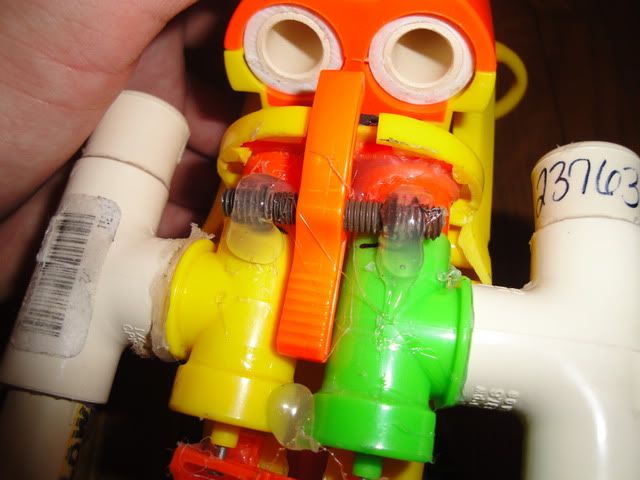
Essentially what has happened here is that I used the rest of the Deluge trigger and glued that onto the doubleshot trigger. I had to cut the Deluge trigger at an angle so that when the DS trigger is in the blaster, the "shelf" that holds the "U" pieces is parallel to the tank pins. I then dry fit the "U" pieces on the "shelf" so that one pulled the first tank pin immediately, and the second "U" was staggered back about 1/8 inch behind the first one.
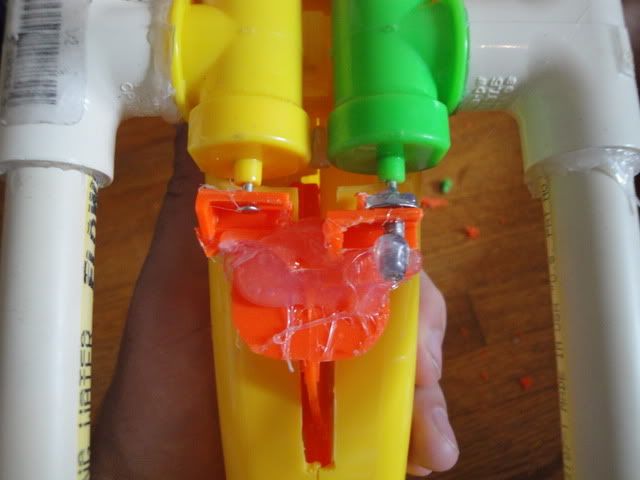
You can see in this picture that the first "U" (left side) is ready to immediately pull the pin when the trigger is pulled. Then the second "U" (right side) must travel about 1/4 inch before it starts to pull the second tank pin.
CONTINUED DUE TO PICTURE LIMIT! DON'T POST


