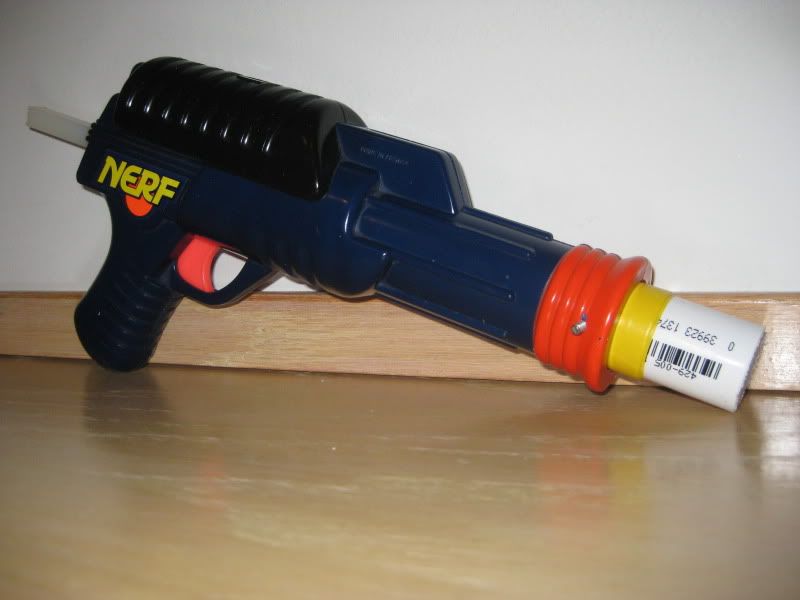
I had to hit him with something first, though.

Open up this bitch. Notice the paper next to it. I used that to sketch the shape of the shell, and then put the screws in the paper where to correspond to their spots in the shell. It's a great way to stay organized.
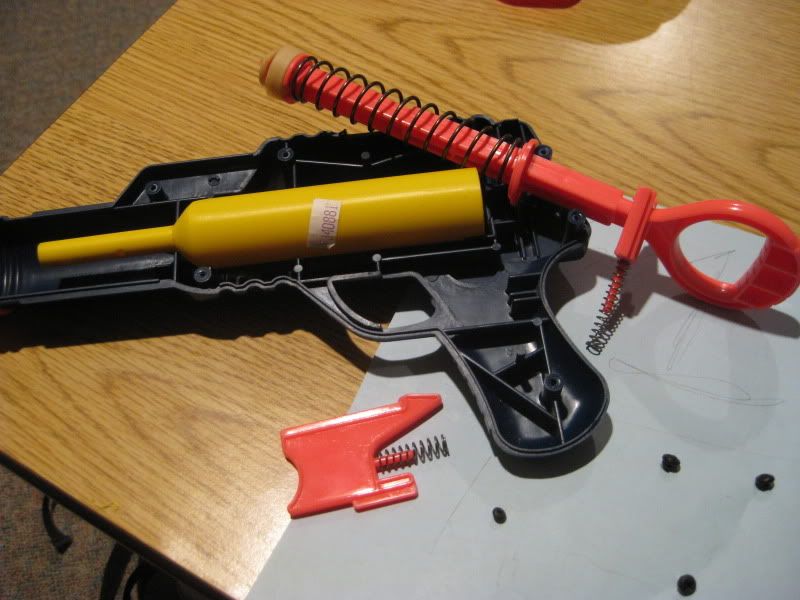
So, the first order of business is to replace the plunger tube. I used 1" thinwall PETG, which is available at Petco and Petsmart. There's a problem though:
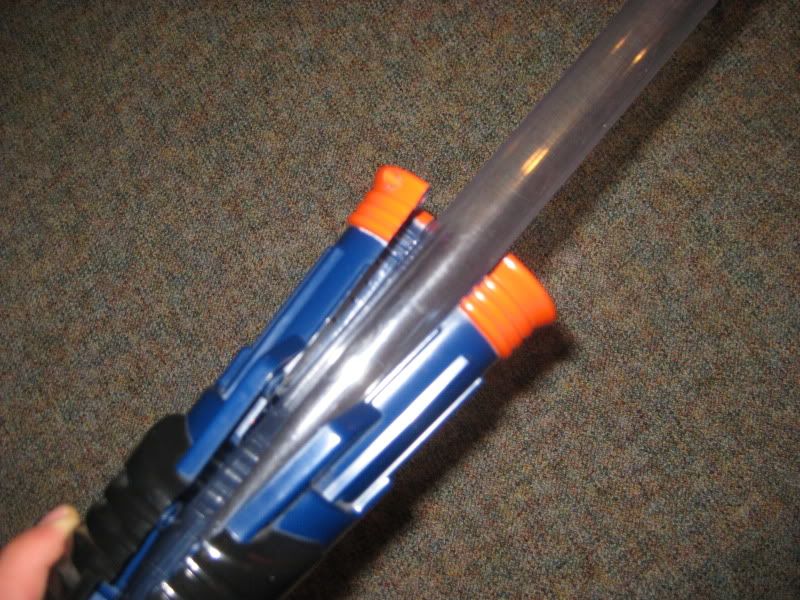
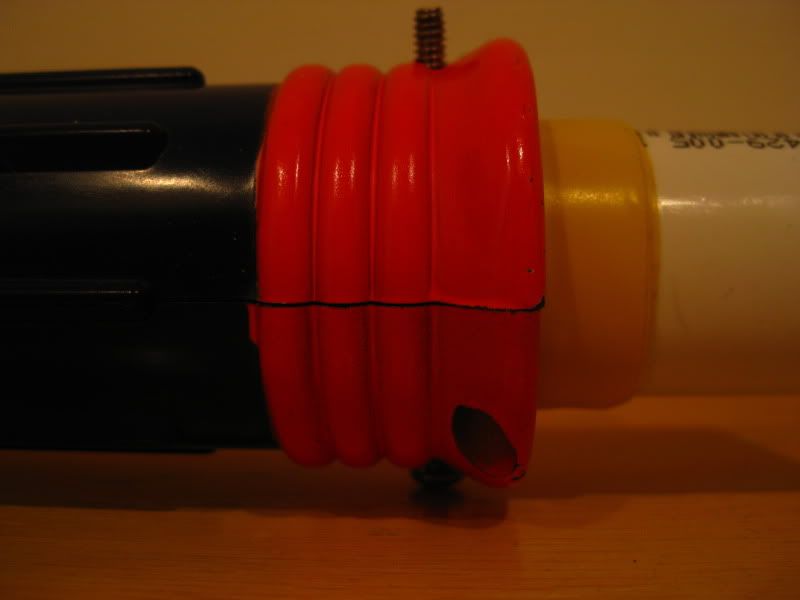
There are ridges (one on either half of the shell) that need to be sanded down for the tube to fit.....so sand those down until the tube fits!
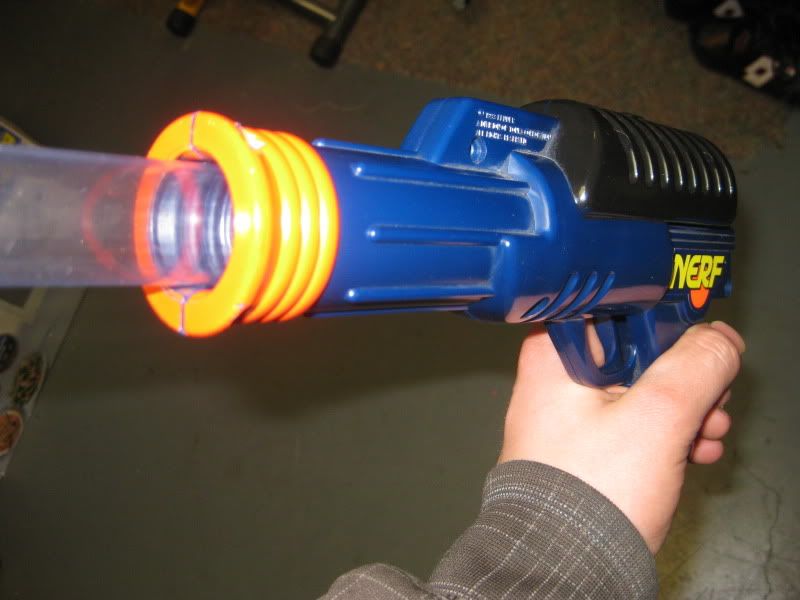
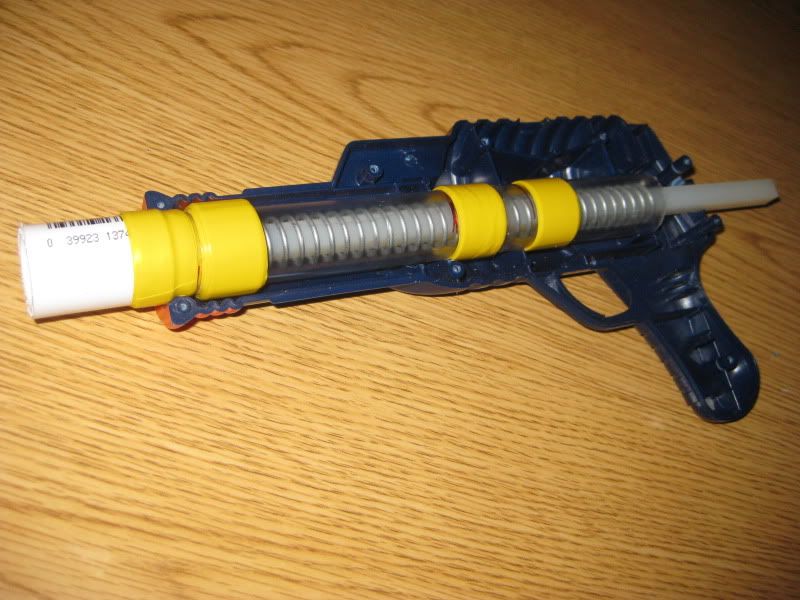
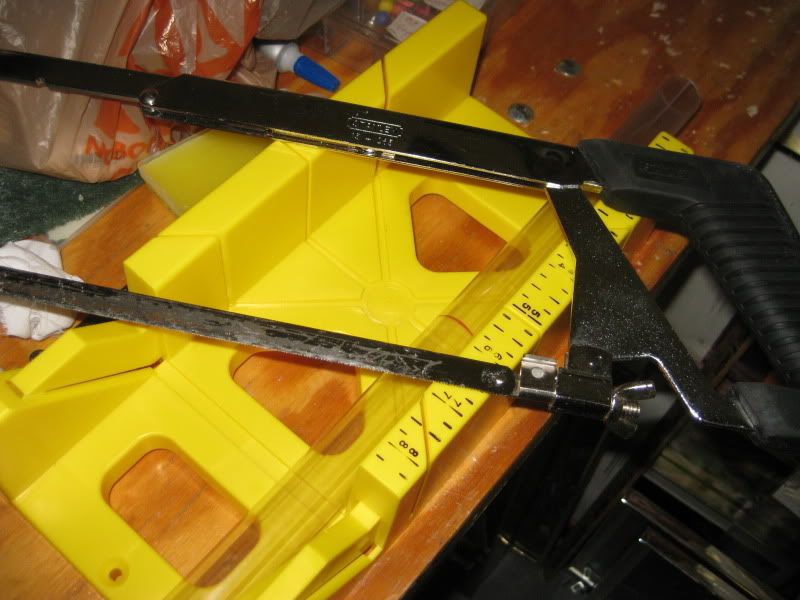
Success! Next, place the tube in shell so it's up against the back spring rest area and everything. Mark the end of it, flush with the very edge of that orange tip on the shell. Cut at the mark. Hacksaw+Mitre Box works great. I believe I cut it to around 8".
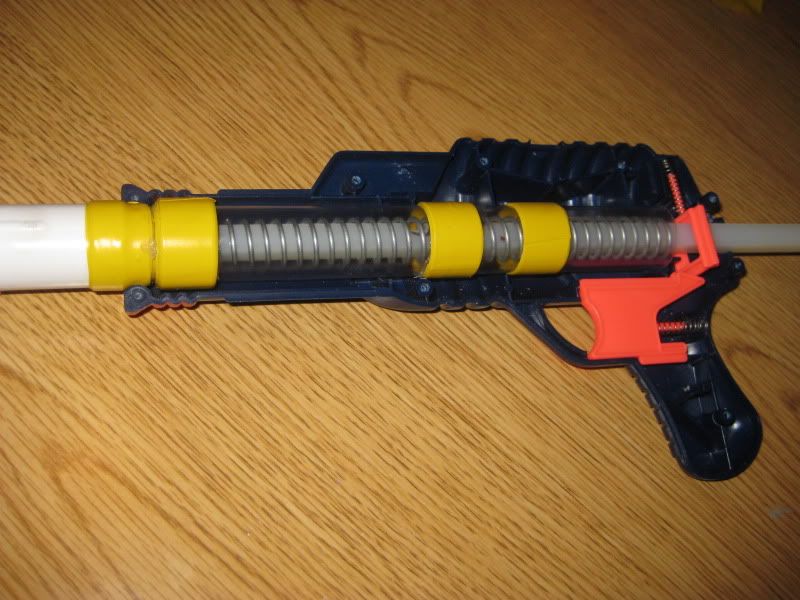
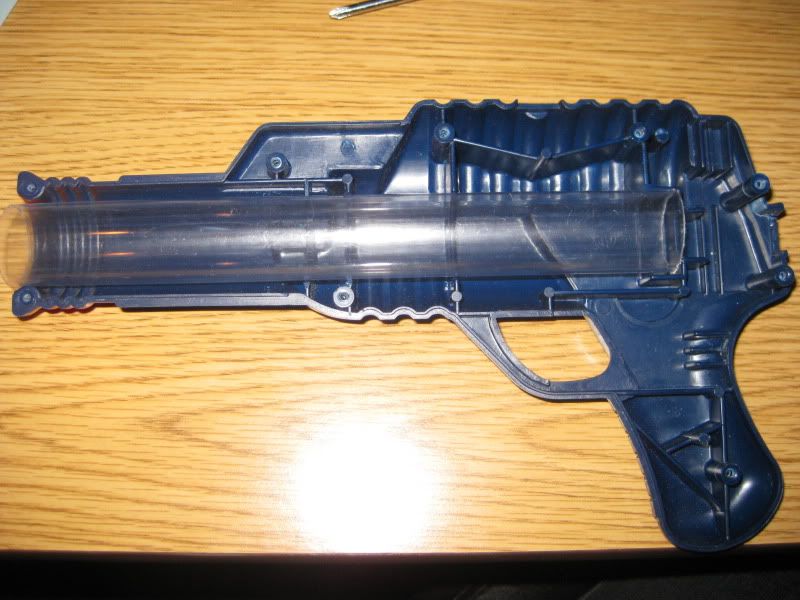
Here it is placed in the shell:
Next, grab a 1/2" PVC coupler and a short length of 1/2" PVC. I used SCH 80 PVC and it was around 1 1/2" long. Use solvent weld to connect the coupler to the length of PVC.
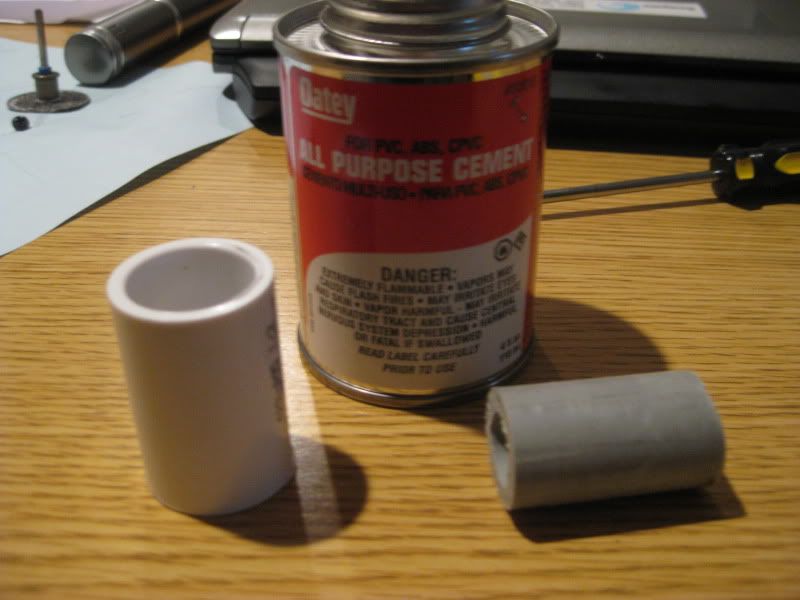
Make sure that the length is long enough to fit all the way into the coupler, as well as have space to wrap E-tape around it. Next step is to wrap E-tape around the PVC until it fits snugly into the PETG.
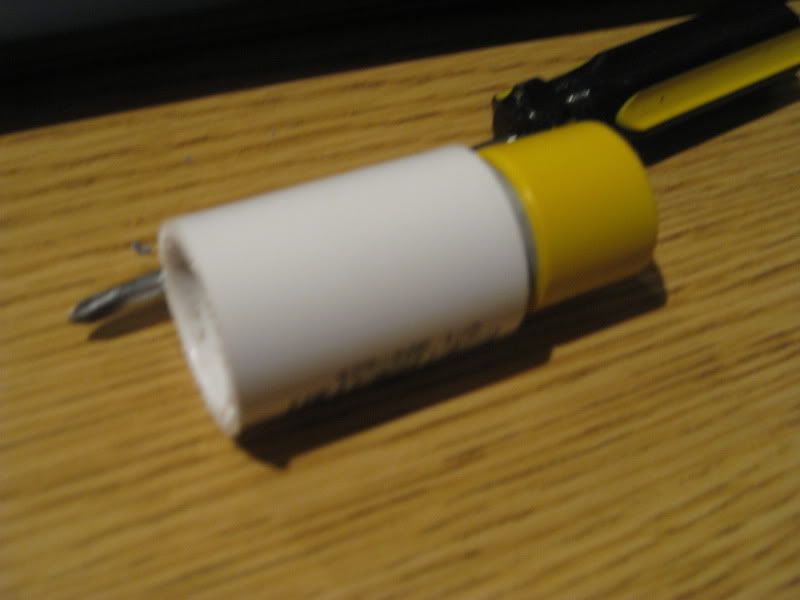
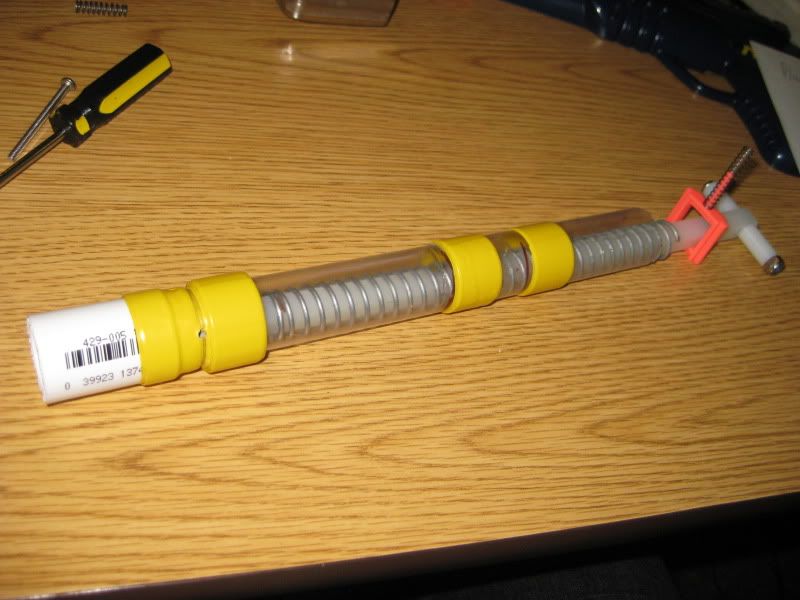
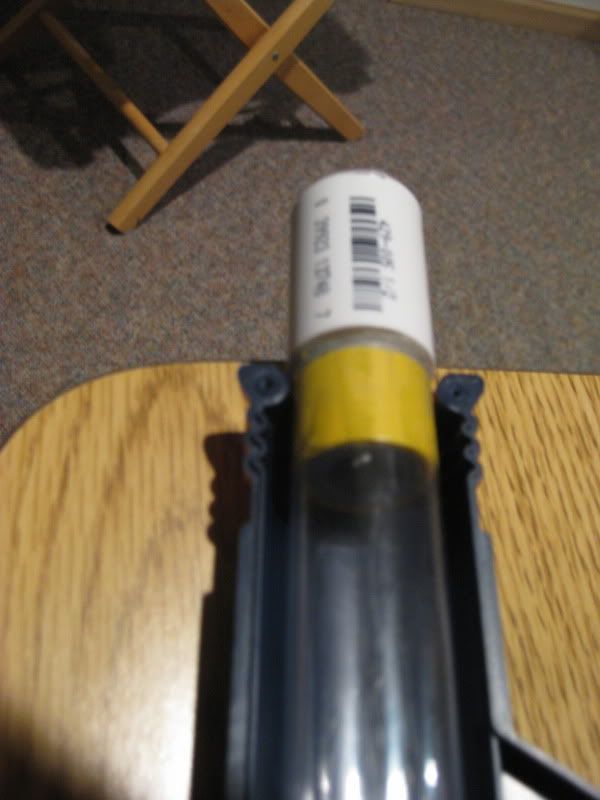
Glue the Coupler assembly into the plunger tube. I used solvent weld, again, but I recomend using Plumbers Goop instead.
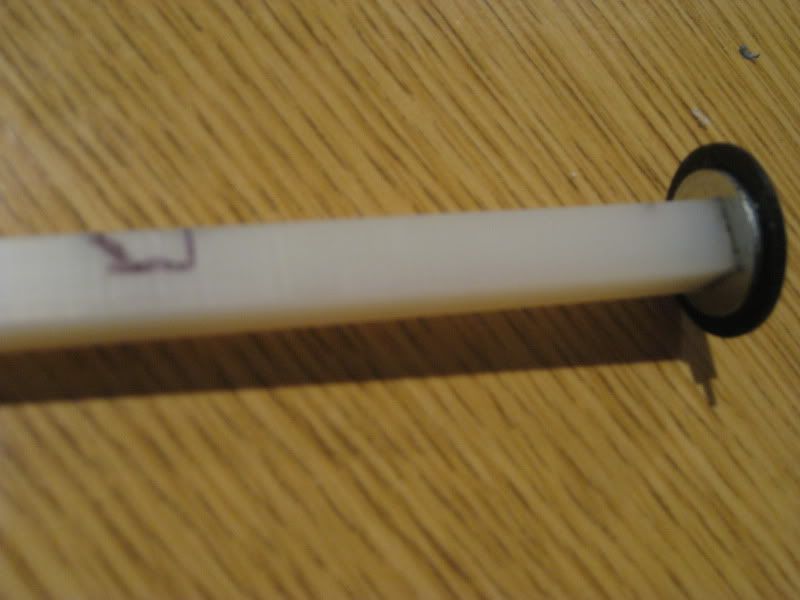
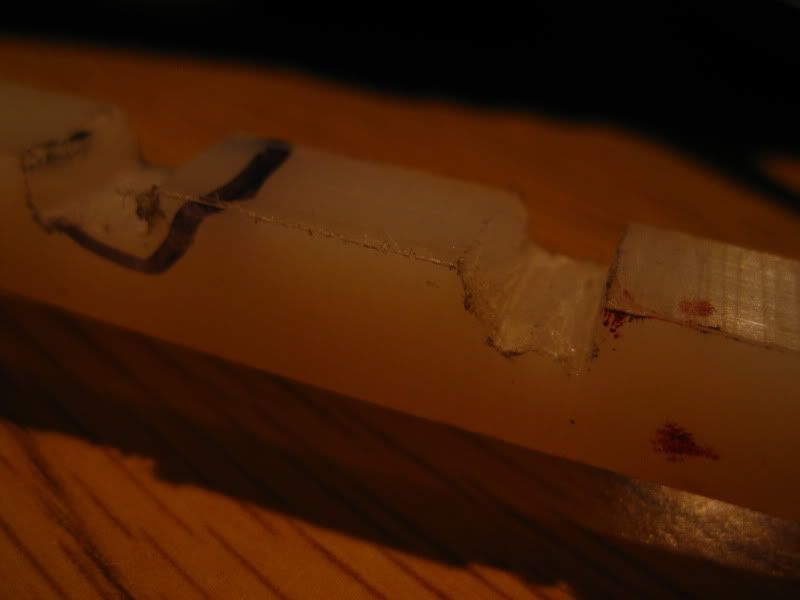
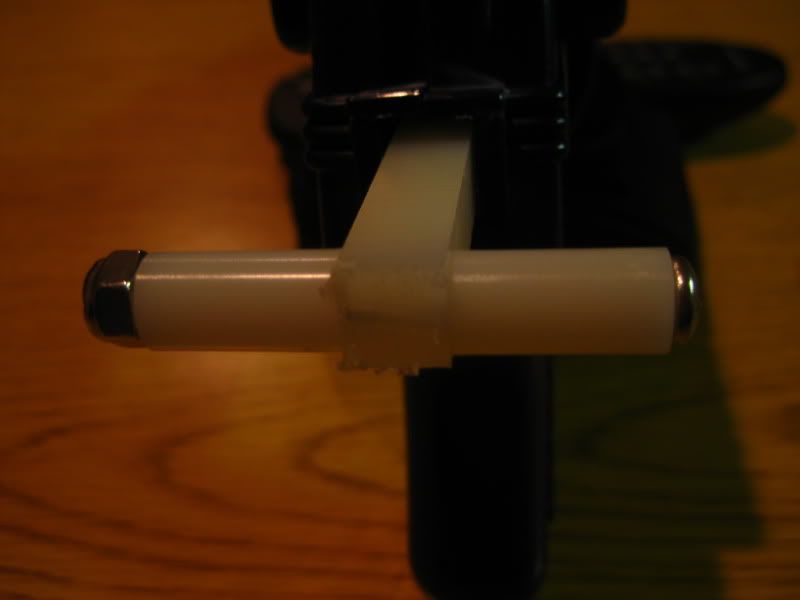
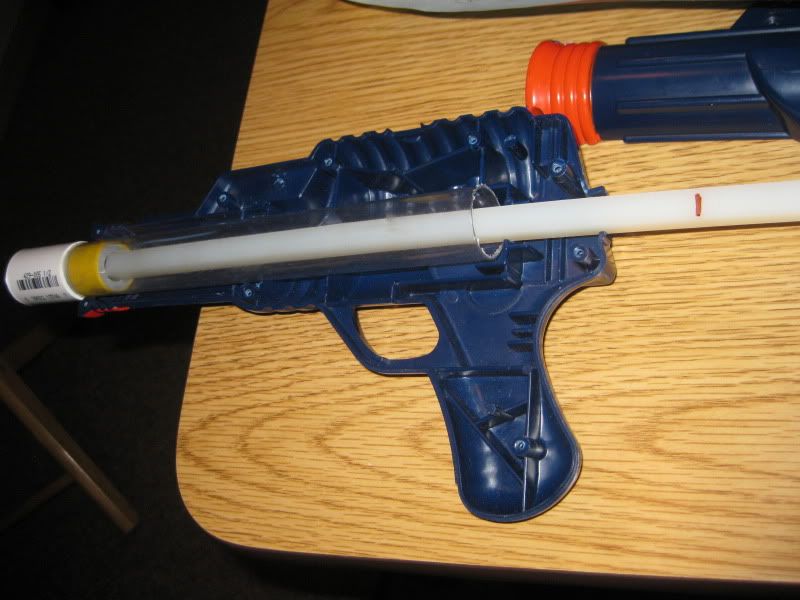
Stick your replacement plunger rod in the blaster. I used 3/8" Square Nylon rod from McMaster. Mark the rod where it sticks about 1.5" out of the back of the blaster. Cut it at that mark. The total length of mine was 9.75".
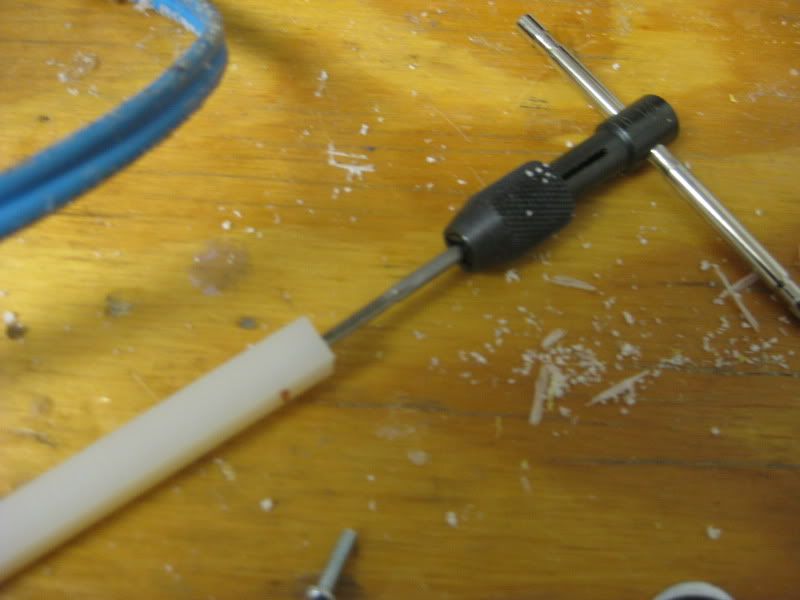
Drill a 6-32 hole in the center of one end of the rod. Make it as straight and centered as possible. It shouldn't be more than maybe an inch or so deep, in most cases. In the words of BustaNinja, "I'd tap that". Use a 6-32 tap, obviously.
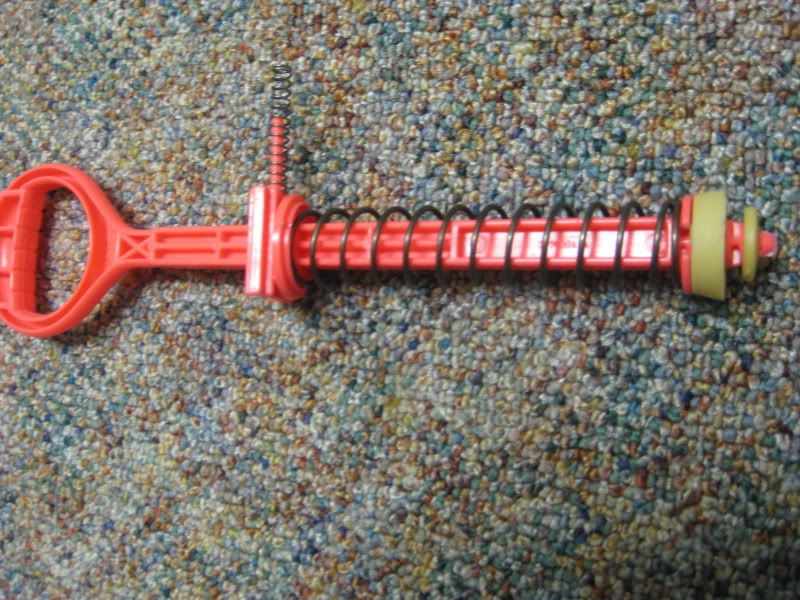
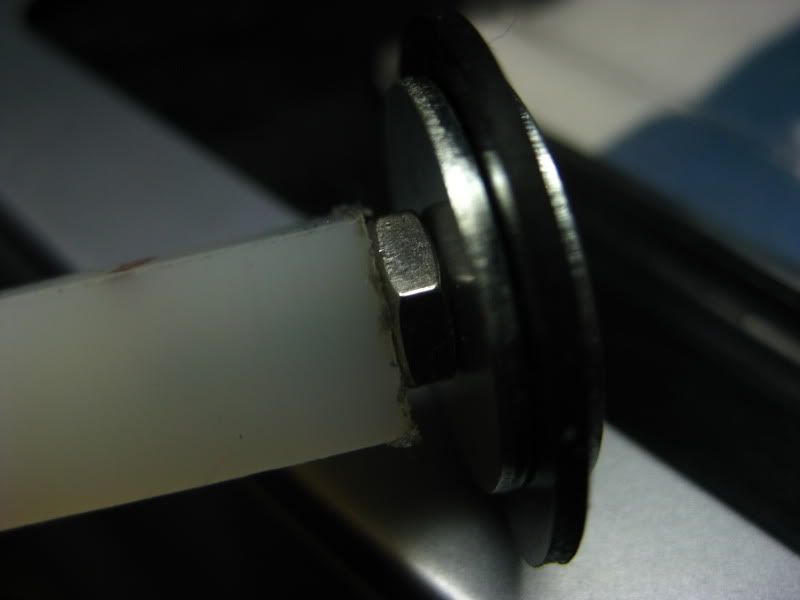
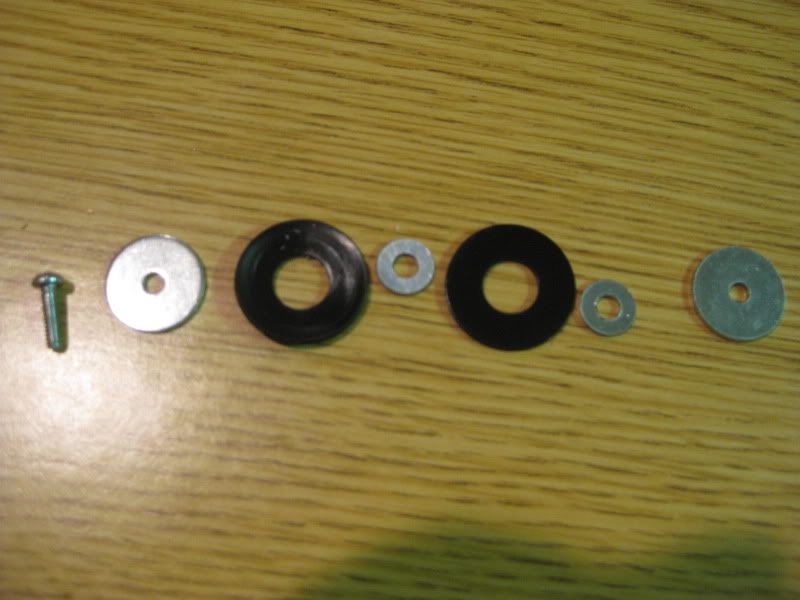
This is the plunger head assembly. Originally, it just had one rubber washer (and one of the corresponding 8-32 washers that goes inside of it), but I decided to add another of both. I'm not sure if it really helps or not, but I'll give it a try. The parts needed for this are: A 6-32 screw, 2 3/4" OD 1/8" ID Washers, 2 8-32 washers, and 2 1" OD 3/8" ID Rubber Washers.
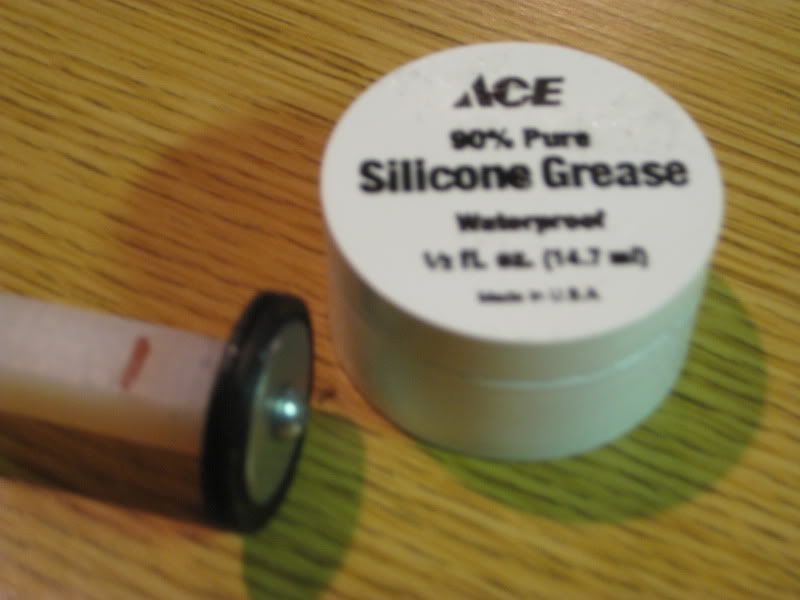
Attach the plunger head assembly. Also, use Ace Silicone Lube. It's awesome stuff. I do warn you though, that it shares a very similar consistency to semen, but no worries.
Edited by venom213, 19 March 2010 - 11:52 PM.


