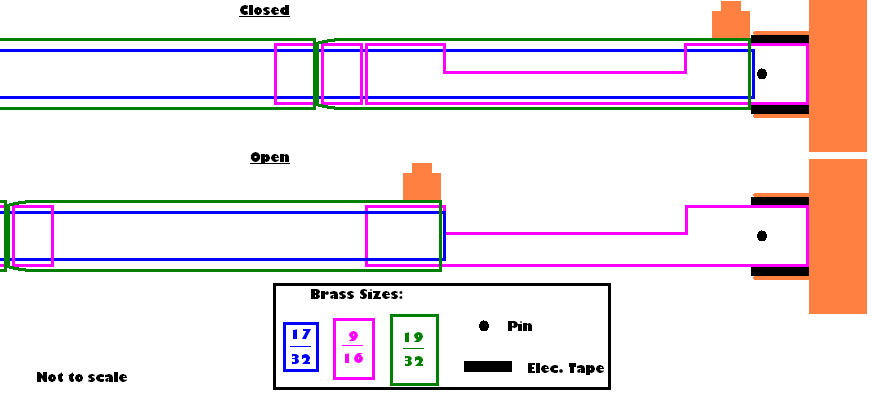
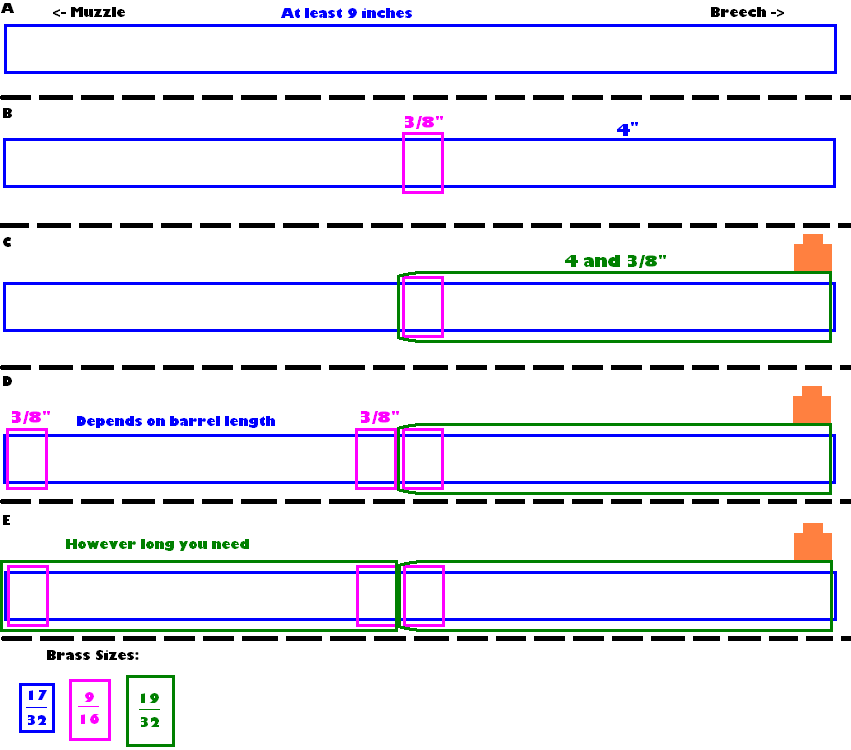
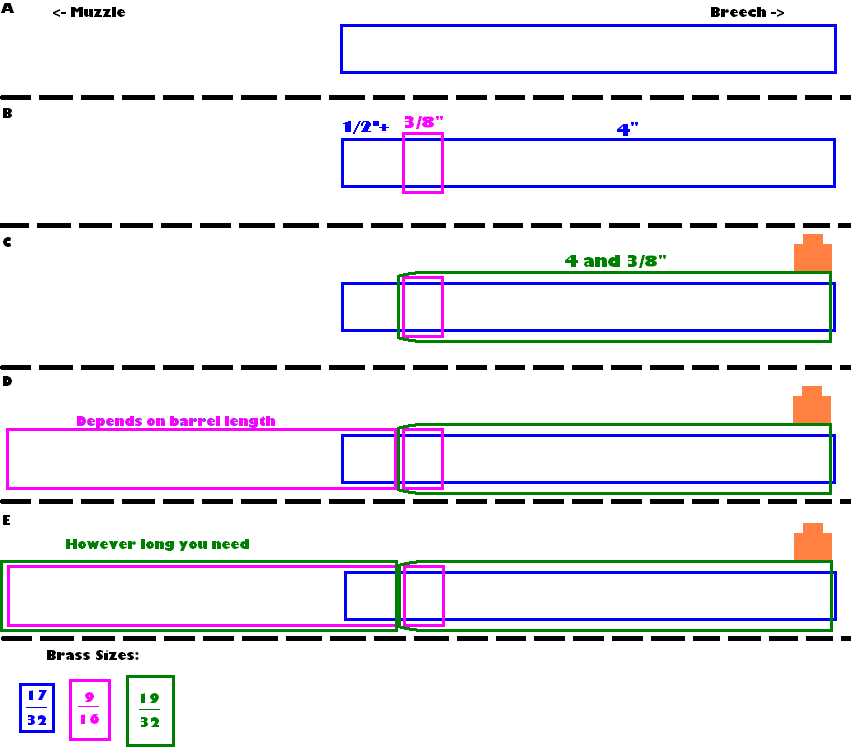
Several people have created Xbow-style LSes, which I and others have called “Longbows.” As far as I know, Balisticjoe was the first to post a Longbow online. I had been working on a version before that, and (if I remember correctly), Sputnik was, as well. We weren’t done, though, so Balisticjoe definitely deserves props for being first.
Nearly a year ago, I posted a video of my own version http://www.youtube.c...v5ggZPuGrM]here[/url]. It still needed work, but I set it aside in favor of other projects. Recently, however, I finished the modification.
In this writeup, I will include instructions on how to:
- Give the LS a Xbow-style plunger rod
- Make a
- Build and attach a stock that allows for the comfortable use of the new, Xbow-style plunger rod
These modifications do not rely on one another, so you could do just one of the three.
By the way: No, the breech doesn’t work with N-Strike clips (as far as I know). I built this to mimic the functionality of the Xbow: a single, long-range shot.
X-bow Style Plunger Rod
LS Parts needed:
- Plunger rod
- Catch
- Spring rest (the part that screws onto the plunger tube)
- Plungeer head (Optional)
Other Materials required:
- 0.5” Alminum tubing (get this from the bar stock section of Home Depot, Lowes, etc. It’s 0.5” OD with an ID of about 0.4”)
- 0.5” CPVC (must fit over 0.5” Aluminum)
- #8-32 threaded rod (aka All-Thread)
- 3x #8-32 nuts (you may wish to substitute one with a cap nut)
- 2x #8 split lock washers
- Fender washer (or other priming handle)
- several #8 washers (Optional)
1. Open up your LS and take out the plunger rod. While you’re at it, remove the bolt from the plunger tube (you’ll need to cut it, of course)
2. Cut off the “catch knob.” You may notice that the catch knob already has a 0.5” hole in it. Using a drill or dremel, extend this hole so that it goes all the way through the catch knob.
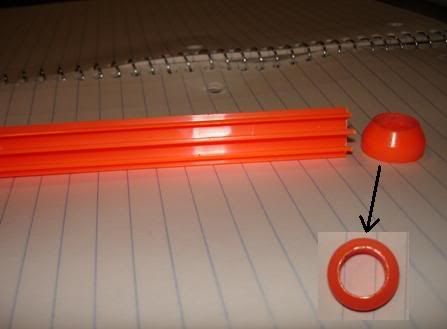
It should now be able to slide onto the 0.5” aluminum tubing:

3. If you want, you can make a replacement plunger head out of metal and neoprene fender washers (like here). I used the stock plunger head, instead. To do so, first cut the ridges off of the back of the plunger head like so:
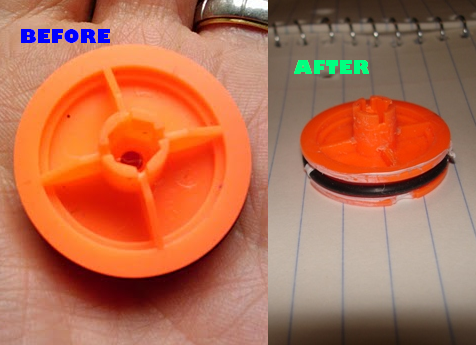
It should now be able to slide into the 0.5” aluminum tubing:
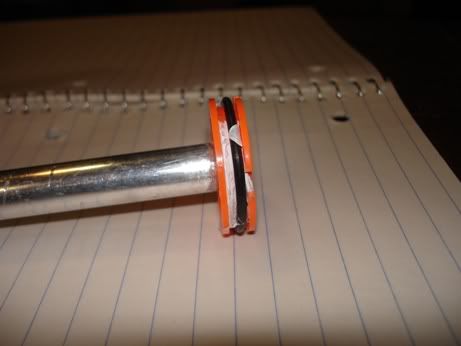
4. Measure the length of the new plunger rod: Put the plunger head into the aluminum tubing (Note: if you’re planning on adding any padding to the plunger head, do it now). Put this assembly into the plunger tube, then put the plunger tube into your LS.
I recommend cutting the aluminum about an inch past the back the LS.
5. Measure the length of the rear CPVC spacer: Put the plunger head, spring rest, and catch knob onto the newly cut down aluminum tube.
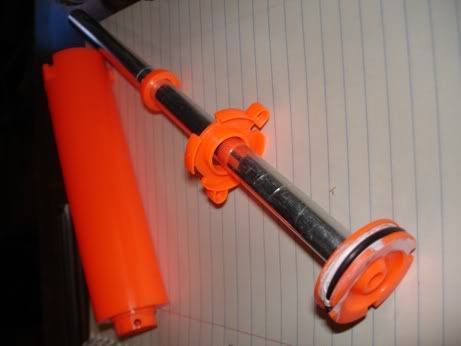
Insert this into the plunger tube and screw down the spring rest. Slide the catch knob all the way down.
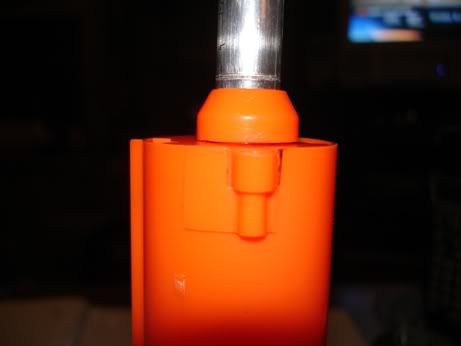
Now measure the length from the end of the aluminum to the back of the catch knob. Cut a piece of CPVC that is this length and slide it onto the aluminum. (Note: Depending on your piece of CPVC, this may actually require a hammer.
6. Cut a second piece of CPVC that covers the rest of the aluminum (the part in front of the catch knob).
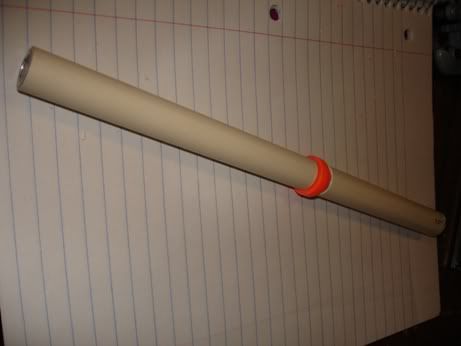
7. Put the plunger head (stock or Captain Slug’s washer sandwich) onto the #8-32 threaded rod. Put a nut behind it, and the following in front of it (in order):
- #8 washer
- #8 split lock washer
- #8-32 nut
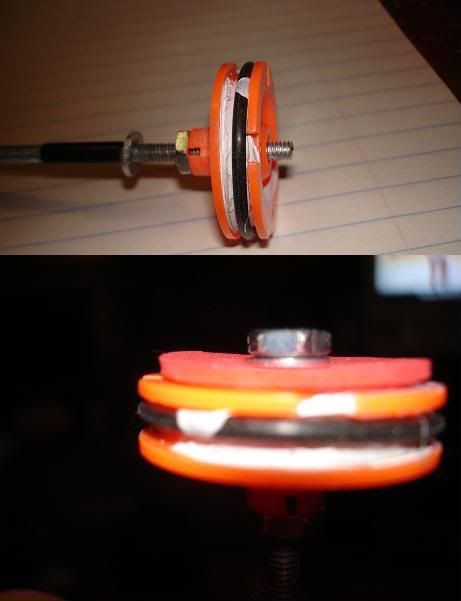
As you can see, I put a piece of craft foam (for cushioning) on the front of my plunger head.
You may also want to add a few #8 washers or nuts onto the middle of the threaded rod. The #8 nuts and washers fit well inside the aluminum tubing and thus help prevent the threaded rod from bending.

Once you’re done with that, you can slide the threaded rod (with plunger head) into the aluminum/CPVC assembly

Make sure you put the plunger head on the flat side of the catch knob.
8. On the other end of the plunger rod, add a priming handle. I used a 1.25” by 3/16” steel fender washer. Secure it with another lock washer and #8 nut.

Then cut down the threaded rod so that it is flush (or nearly so) to the nut.
9. Before your final assembly, put the following onto your plunger rod:
- Spring(s)
- Spring rest
- Catch
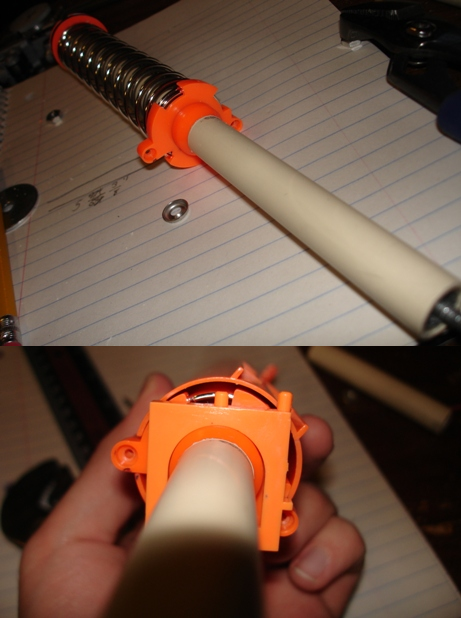
Make sure you put everything on the right way, too. You should be able to disassemble it if you need to, but it can be a bit of a pain after you’ve tightened down the nuts.
Then you can insert the whole thing into the plunger tube and screw the spring rest onto the plunger tube.
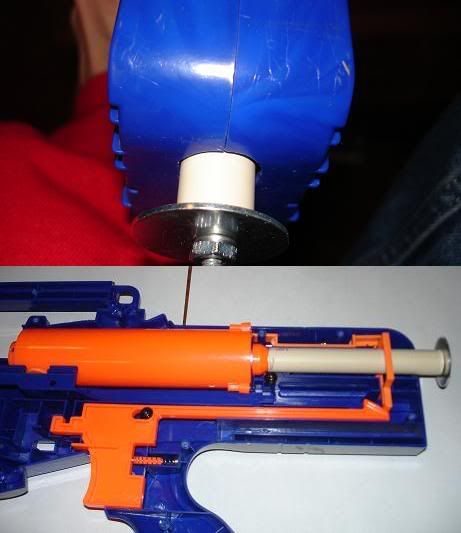
10. Drill/dremel a hole in the back of the LS that will allow the plunger rod to pass through.
Edited by jwasko, 18 February 2010 - 01:56 PM.


