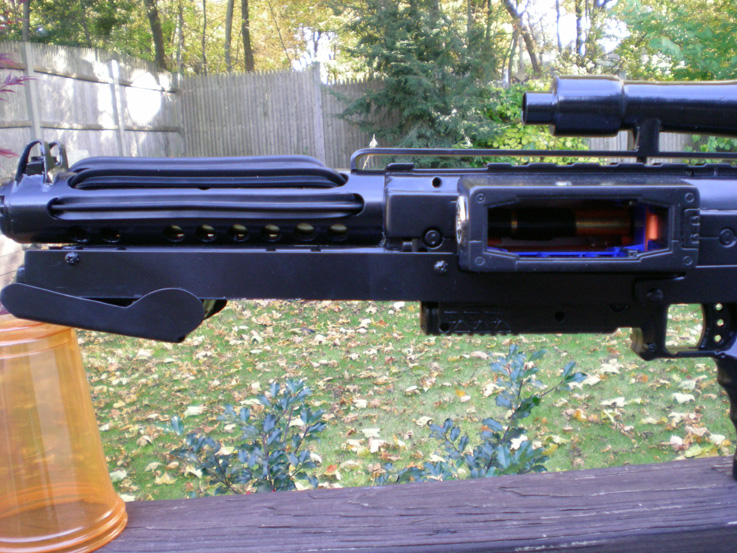
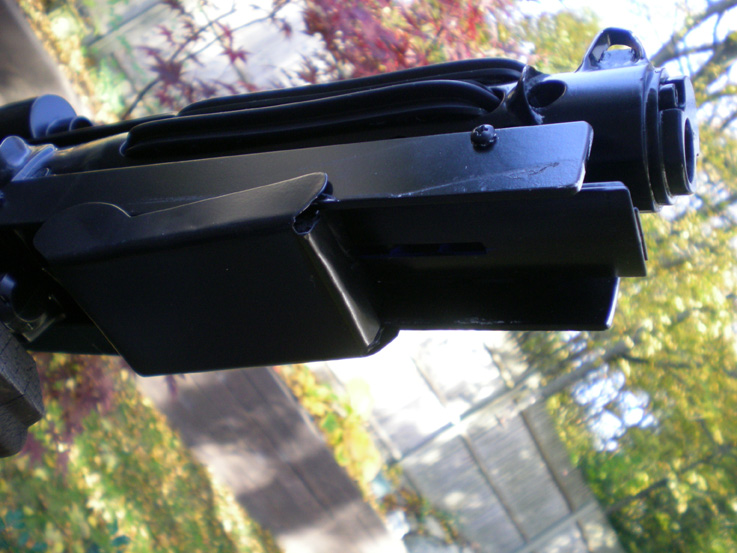
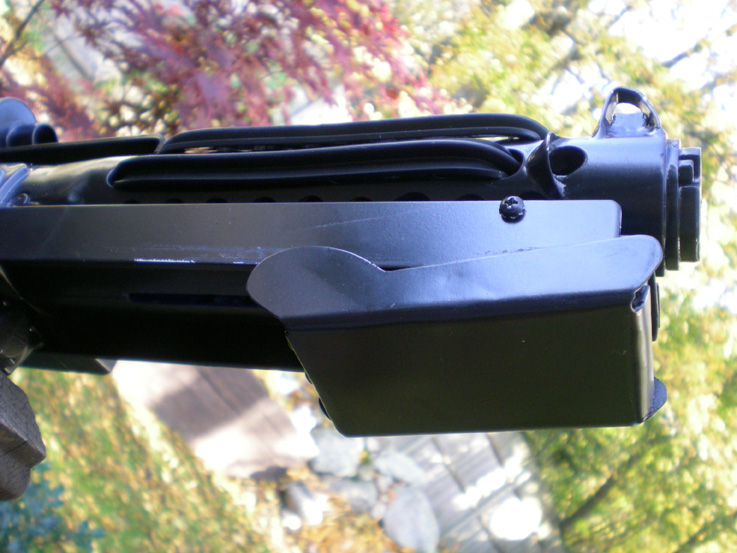
This is my Nerf Raider mod, which was inspired by the Stormtrooper BlasTech E-11 blaster in the movie Star Wars 4 A New Hope. I say inspired by because it is not an exact replica, it takes certain elements and it does closely resemble the right dimensions, but if you look closely you can see some Raider characteristics poking through. I have always had this mod in-mind and wanted to do it, I just could not find the right gun to fit the design. The release of the Raider just screamed at me that perhaps this was the right platform.


This is essentially two mods in one, the practical and the cosmetic. Each can be treated as separate and I am using two posts in the same thread to get it all down. They are not dependent on each other and one could attempt the internal modifications without doing any of the cosmetic stuff and vise versa. This first post therefore will cover these sections:
1. The Breeching System, Angle-style Brass breech.
2. The Propulsion System, this contains the springs and the behind-the-bolt modifications.
And the second post will cover the remaining sections:
3. The Butt Cap, The Butt Cap covers the propulsion systems in the back and ties it into the cosmetic aspect of the mod. This section can be skipped and one can substitute a plain PVC end cap instead.
4. The Barrel Housing, This is strictly cosmetic and has no effect on the working of the blaster.
5. The add-on Accessories, Purely cosmetic, these add nothing to the functioning of the blaster, but are intended to enhance the look. Includes the scope.
6. Stock and Pump, For cosmetic reasons I needed a folded stock, for practical reasons I needed a pump handle, I compromised and made a folding stock that does not unfold and acts as a shotgun-style pump handle.
7. The body & Barrel Housing, The body of the Raider did not need too much modification
Section 1 The Breeching System
This breech put simply is an Angel Breech modified for use in the Raider. One modder in the NIC has talked about doing one of these for the Raider and renaming it for themselves, but I will not do that. Though I am first to post a brass breech for the Raider, credit goes where credit is due and this is essentially FA-24s Angel Breech concept, adapted to the Raider.
One significant change that I made was to make it accommodate CDDTs and Streamlines so that the drum can be used. I also replaced about 60% of the stock bolt which is junk. In theory this system should be adaptable to the Recon as well being that it shares the same internal elements.
One benefit of the Angel Breech was that it eliminates the dart tooth some of the inefficiencies in the Raiders design. With regards to the AR, I am eliminating that whole section entirely, forget it.
Ok, for the breech I gathered materials:
1/2 inch Brass tubing
9/16 inch Brass tubing
17/32 inch Brass tubing
19/32 inch Brass tubing
Electrical Tape
There are two parts to this, the barrel end and the bolt end. Starting with the barrel end I measured out on a piece of half inch Brass the section of pipe that would receive the ammo from the magazine or drum. I should say right here that I assumed that I would be using Streamlines and CDDTs as ammo for this. Stefans do not work well with the drum.
Before cutting the half-pipe I added tightening rings after the area I measured out for the half-pipe. Hint: If you can, use an old pipe cutter for this. My new pipe cutter sliced right through the pipe the first time I did this. When I used an older pipe cutter the older duller blade made better rings without risking a cut.

I then cut the half-pipe with the Dremel, actually the pipe material left behind was a tad less than half. The magazine needs to be able to get around it.
I then e-taped the section of pipe that goes inside part of the barrel where the dart tooth is or was and glued it in-place. I notched the e-tape on the backside to clear a space for the top part of the bolt that is connected to the sled.
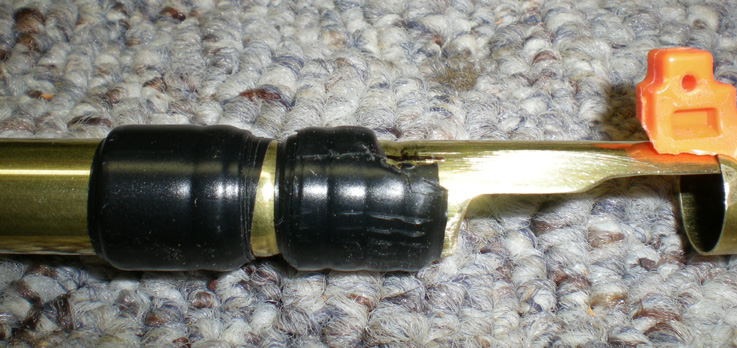
Troubleshooting note: If when you are all done, the bolt locks open and will not close, take the gun apart and see if the half-pipe has popped out of the bolt and jammed up the works. If that be the case you made the half-pipe too short. Also make sure you took out the locks.
Now on the bolt side of the equation start by cutting off the bolt in front of the rear section. The bolt is glued into the rear section which goes in and out of the plunger tube.

Cut off the bolt forward of that joint and the carefully dremel out the remaining bits that are still glued inside the collar. At some point you may be able to wrench out the pieces with needle nose pliers, but be careful not to damage the collar it is very thin.

Now set aside the rear section until you build the new brass bolt, then you can bring them together.
The bolt is made up of four different sizes of brass, one that is smaller diameter than the barrel, one that is larger diameter than the barrel and two that are in between that act as spacers between the outer and inner tubing. This is all classic Angel Breech stuff I just change the measurements.

I made my inner piece is slightly longer than the outer tube so that it will push the dart just a tad more into the barrel, thus reducing the risk of them getting pinched in the breech. You can see in the pic that I left the end pinched slightly where it was cut. This is such a minor detail, but one that helps make sure that the piece of brass hits the back of the dart like it should and pushes it forward.

Section 2 Propulsion system
To give the whole system an extra push, springs were added behind the plunger tube. This is something I did in a recon mod a while back with good results. The concept being to lop off the plunger tube covering in the back so the tube can exit the gun and attaching a larger PVC tube in its place containing springs. This is not a new concept it has been done before on Recons and Raiders. It does not have to be done this way, I did it this way because it supported my later aesthetic part of the mod.

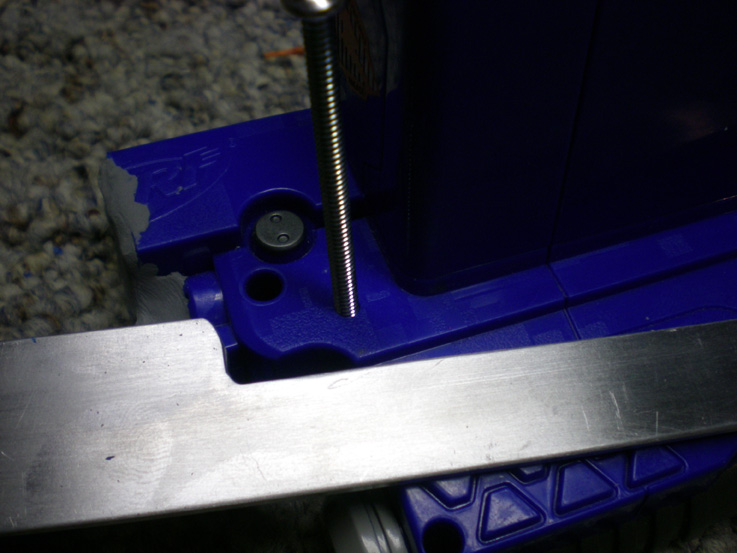
You will notice in the picture that I also cut the mounting piece off of the Raider stock. The bit of plastic that I left on the mounting piece fit inside the PVC after I took the dremel to it. For reinforcement I added two small machine screws through both the PVC and the mounting piece to hold it all together then added plumbers putty to seal both the inside and outside.
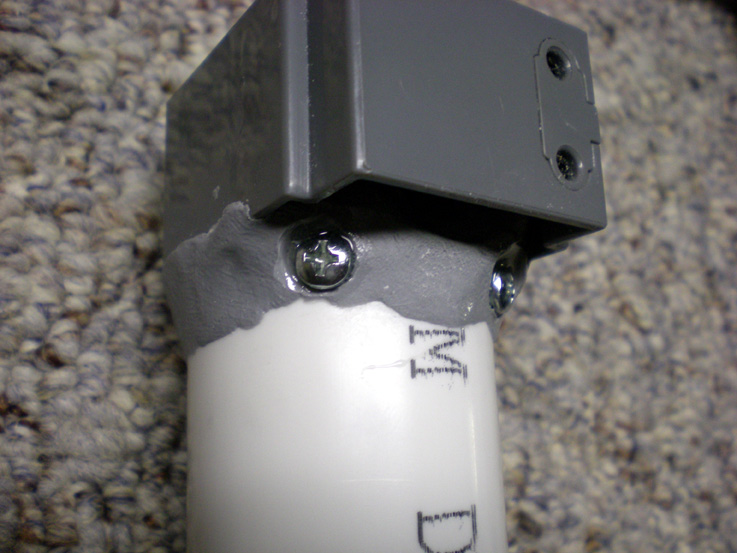

On the inside I grinded down the nubs of the screws and smoothed out the putty so as to keep the way clear for the springs. In the butt cap that goes on the back of the PVC I added plumbers putty and a ring of the grey tube I cut off the plunger tube covering. I also added a piece of pen, sticking it in the center of the cap. These were just guides for the two springs to keep them straight and in tangled.

In this above pic the plunger tube covering does not look right, just ignore that part of the picture; it was a test that did not work out. I ended up cutting the entire tube off leaving just the square piece (see 3 pics back).
Additional reinforcements:
Other modifications that I did that do not fit in the above sections include the catch, upon which I hot glued a stronger spring:
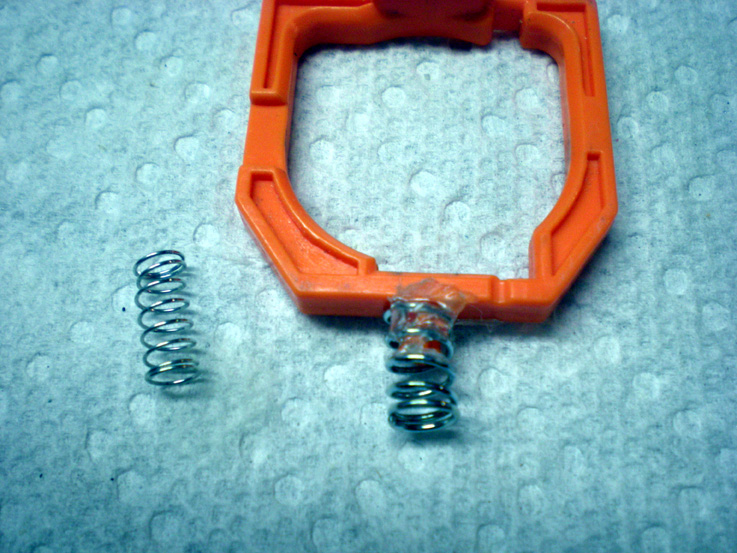
I likewise swapped the spring on the trigger for a stronger one. No pic for that as you know what that looks like.
I also reinforced the pump rod connection on the boltsled as it was flopping about quite a bit:

Also, not pictured, I added a rubber washer to the bolt to lessen the impact of the plunger tube slamming into it. I just glued it to the opening and used the dremel on low power to shave the washer to the right size. If you go slowly you will not melt the washer.
Ranges:
After swapping the stock spring with a Recon spring I get just a little more than stock Raider ranges. That does not sound like much but when you consider all that is going on here and the fact that the ammo is going through a real barrel instead of a fake oversized one it makes more sense. Accuracy on the other hand is greatly improved with the use of stefans or CDDTs. The stock streamlines are always crap. Regardless of what mod you do to the gun, Streamlines can go in any which direction, rarely straight. Though this mod was made to use Streamlines, I recommend substituting CDDTs at the very least.
The real gravy comes with the added two springs in the rear. Those springs add another 15-20 feet to the stock ranges. I know that is not much, but the Raider is hardly a primary type weapon. It is meant for in-close action and the design is near identical to the Recon, need I say more? I will not say we have completely maxed out its potential here but it does look that way for the moment. The plunger tube is only so big and no matter how hard and fast you hit it its only holds a finite amount of air to push out. To get more range one would need to address this air capacity issue.
That is it for the practical side. Now for the fun stuff, continue on post 2 if interested in the aesthetics.


