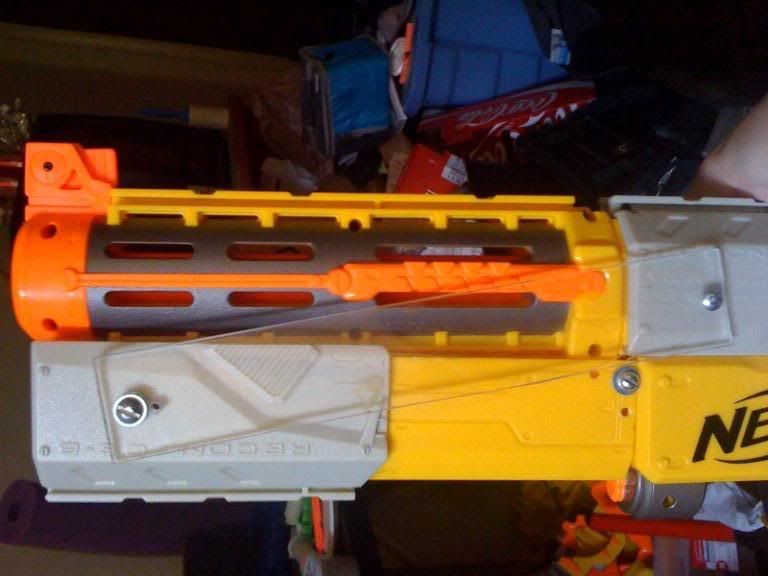
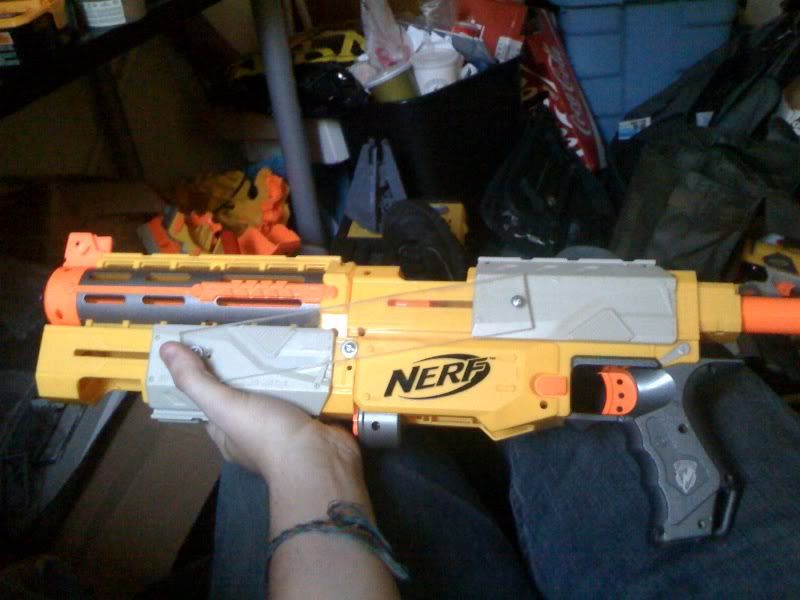
Here's the thing attached to a Recon at rest:
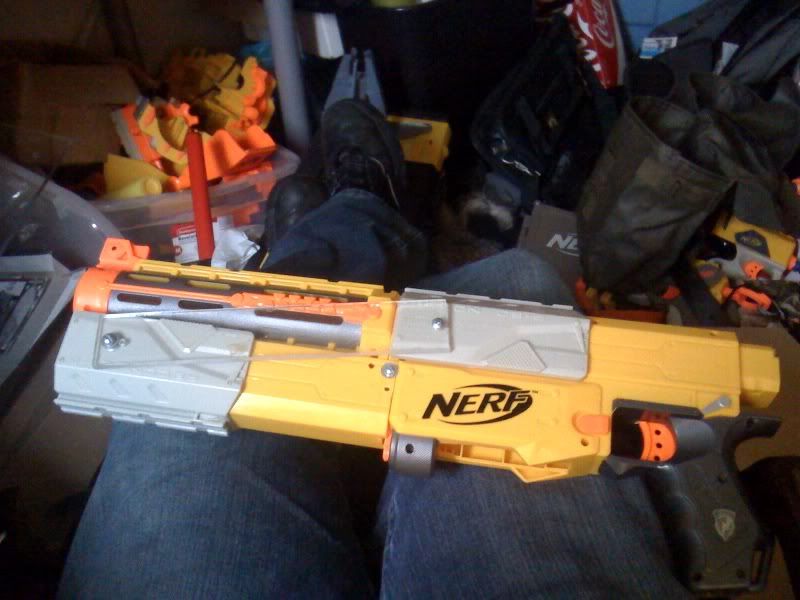
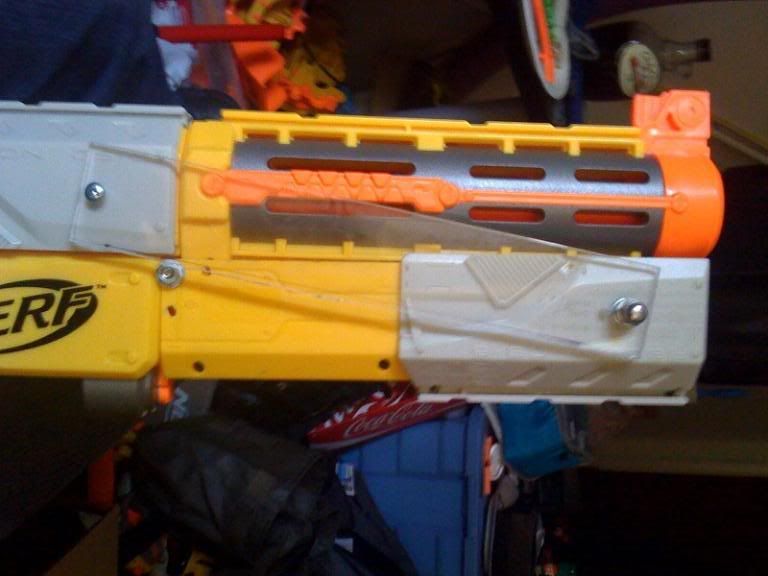
and this is what it looks like while priming:
Sexy. Anyway, the materials for this include:
* Two recons (only one needs to be functional)
* 1/4" Lexan, or anything else that you can make a couple big strong bars with
* An N-Strike rail system attachment (for instance, you can take one out of the iron-sight that comes with the Recon that no one loves)
* A 2.5" machine screw size 10 without a pointy end
* An acorn nut that fits the above screw
* A 2" machine screw size 10 or less without a pointy end
* A normal nut that fits the above screw (no acorn for this one)
* Two .5" machine screws size 10 or less (with or without pointy end)
* A bunch of washers that fit your screws (I used #8s, and they fit fine. As for how many, I used... 7, but you may use more or less)
* Putty, goop, or anything else that will hold things in place despite the laws of physics
* Either a dremel or, if you hate yourself like I do, one of those things that holds a hacksaw blade in a dagger-esque grip and a hobby knife
* A drill, with a bunch of drill bits around the sizes of your screws and your screwdriver bits
* A small screwdriver (y'know, the one you use to open all your blasters)
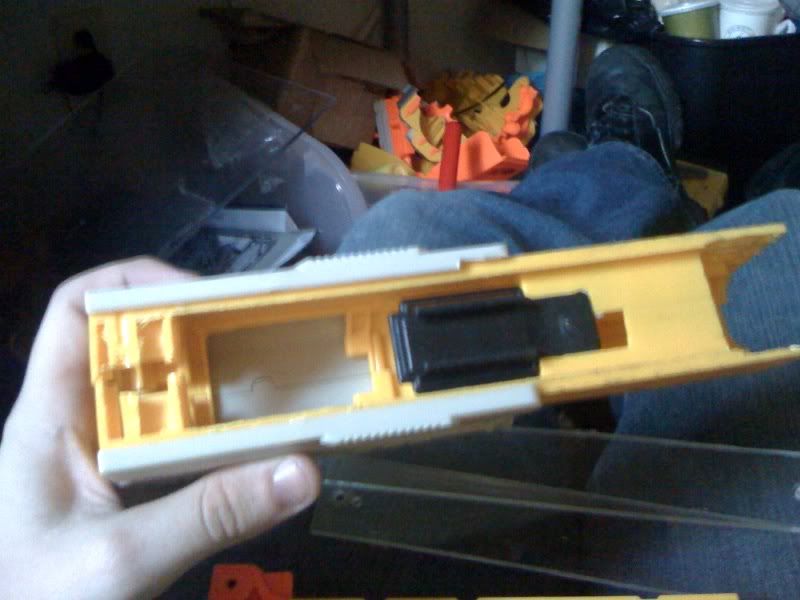
Okay, down to business. First, you're going to take the lesser of your Recons apart and get rid of all the internals. Keep the slide (or grip, or grey-piece-on-top-that-you-move-back-and-forth-to-prime-the-blaster). With the grip off to the side, cut (with dremel or hacksaw) the body down the groove where the slide grips the body. Throw away the bottom of the gun (the handle and all that) and keep the top half. And we're left with this:
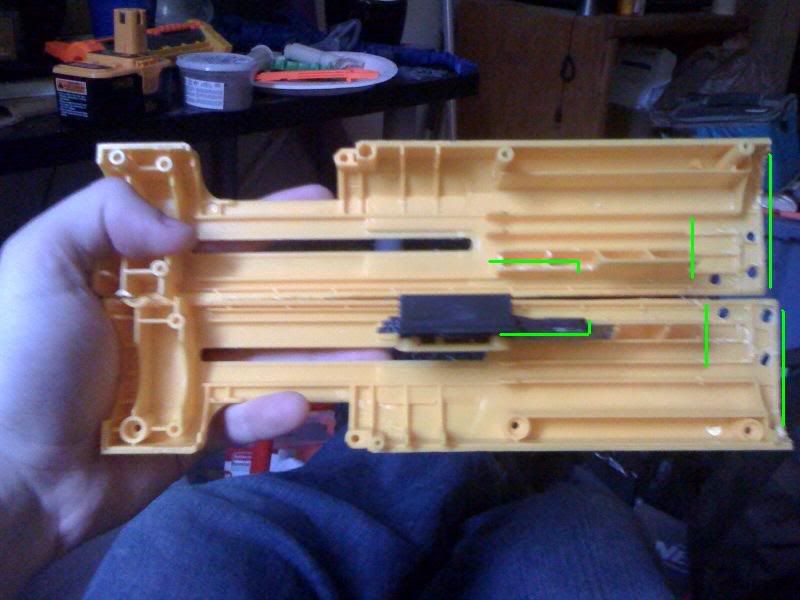
(Note: all these pictures are taken after mod completion, so you'll have to rely on the lines and the text to tell you what to do)
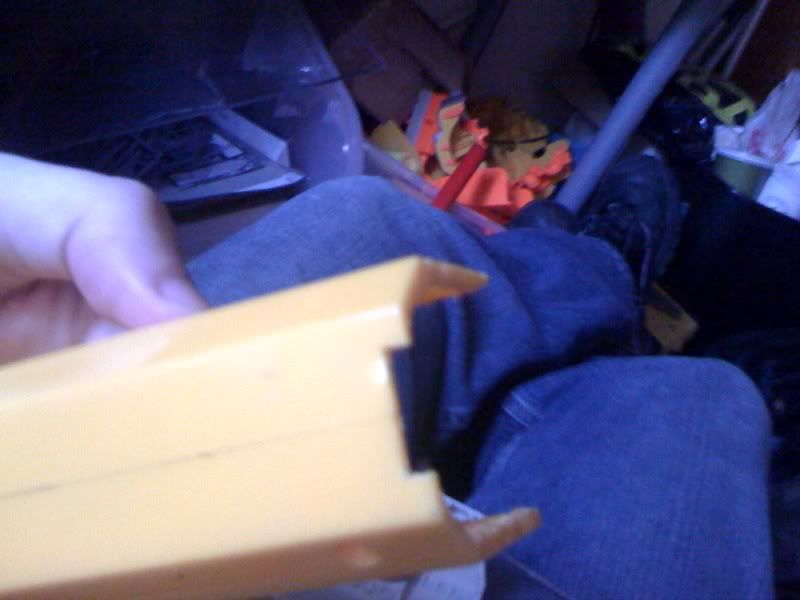
So what did we do in here? Well, start by cutting off the back, and then clearing out everything on the inside between those lines. This part in the back will be sliding over parts of the Recon and the extended barrel, so we want to make room for them. Here's another view that shows one more tiny cut that you may have to make.
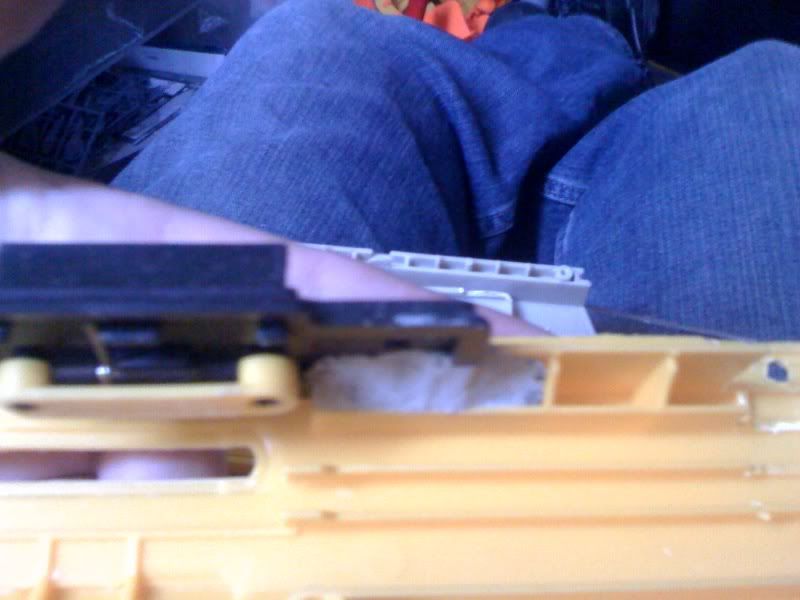
What are those green L-shapes on that first internal picture? That's where we make a place to attach the N-Strike rail clip. Now if you cut things just right, you can have the clip fit in there all nice. You're going to have to putty or goop it in there anyway to hold it still, but try to cut a space in there as close to the shape of the clip as possible. You're trying to take advantage of the tiny lip around the base of the clip. Look at whatever your clip was originally from (for me, the Recon iron-sight attachment) for inspiration.
These next pics should help you see what I'm talking about. Note that the clip is placed backwards, so I've removed the little nub that catches into the tiny spring loaded thing on all the N-Strike slides. Remember though, only putty/goop it to one side, so that you can still open the assembly later.
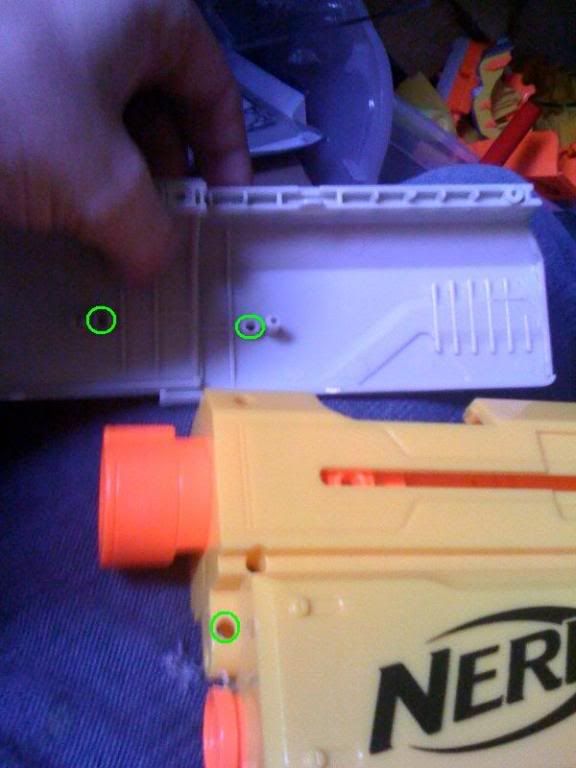
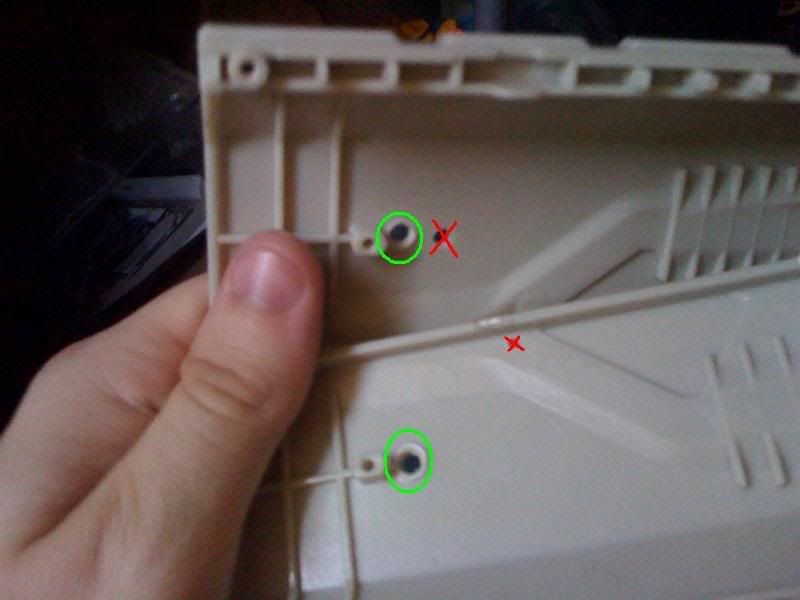
Now take the slide and drill holes right through the little bar that pokes out (this would be what connects the slide to the bolt sled if everything were assembled). These holes are for the 2.5" screw. This will decimate the pegs, so remove whatever's left of them after the hole is drilled. Here's a picture showing the aftermath (drill the holes marked in green, not the ones marked in red. The red holes are the unfortunate scars left by science).
Now one last thing before we move on, look back at that first internal picture. See those three holes near the back on either side of the assembly? I want you to remember those, and particularly that the one in the corner is the only one you want. The others are bad, the corner is good.
[to be continued]