I planned a multi-part modification which I have put off since I got back home from the US. Now, I've been hit with the flu and I have nothing better to do with my spare time, so here we go.
You will need:
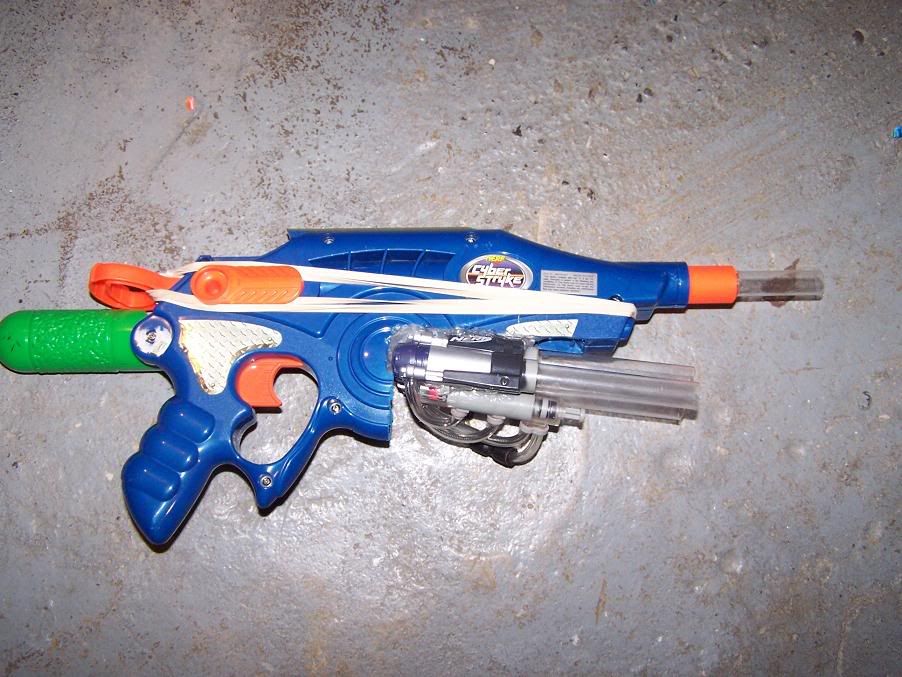
- A Commlink II
- 6" of PETG (or barrel material of your choice)
- Plumber's Goop
- Glue gun
- Triangle Screwdriver (not sure what it's called)
- A Dremel, though you can make do with a File and Pliers
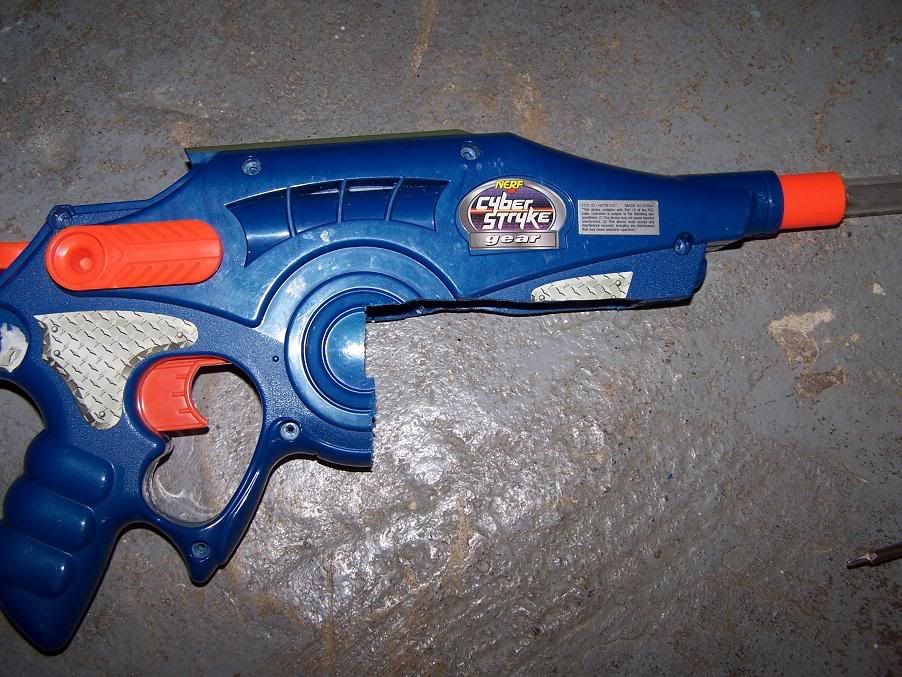
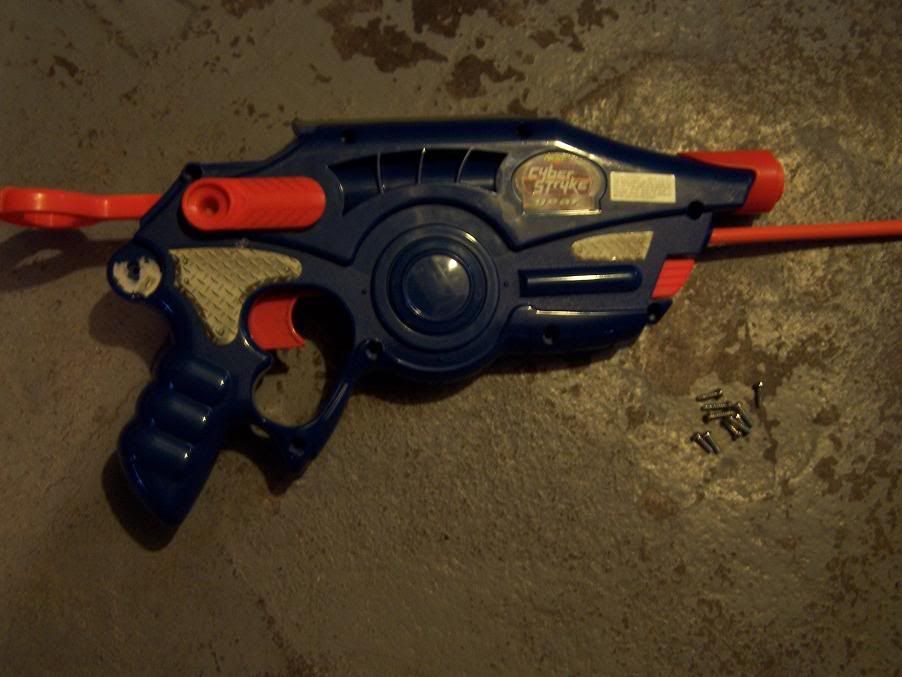
Obviously, the first step is to open it up. Don't forget about the screw under the back sticker and the one under the battery case:
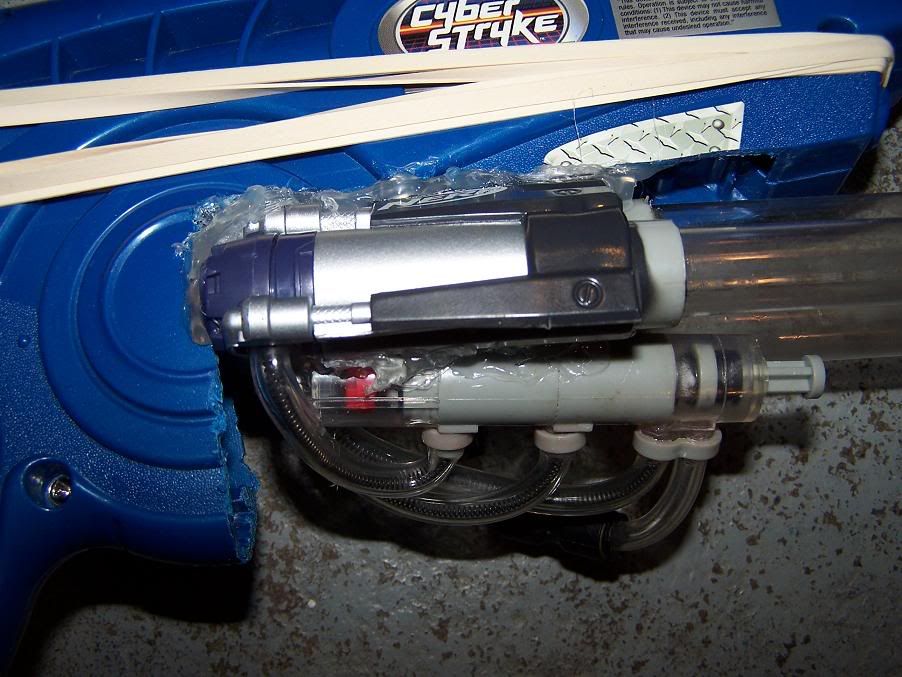
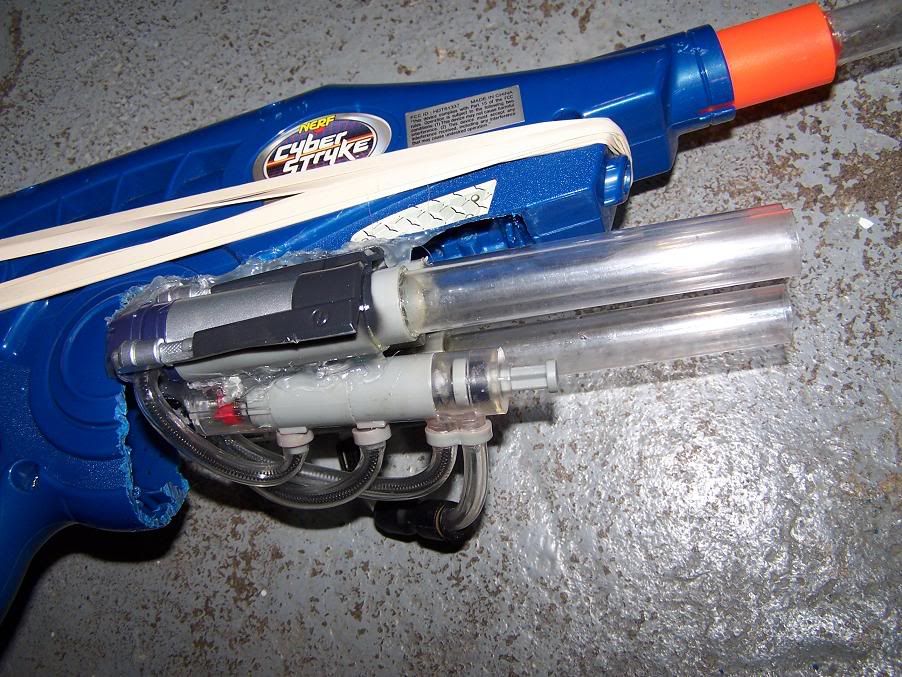
Here's some pics of the internals:
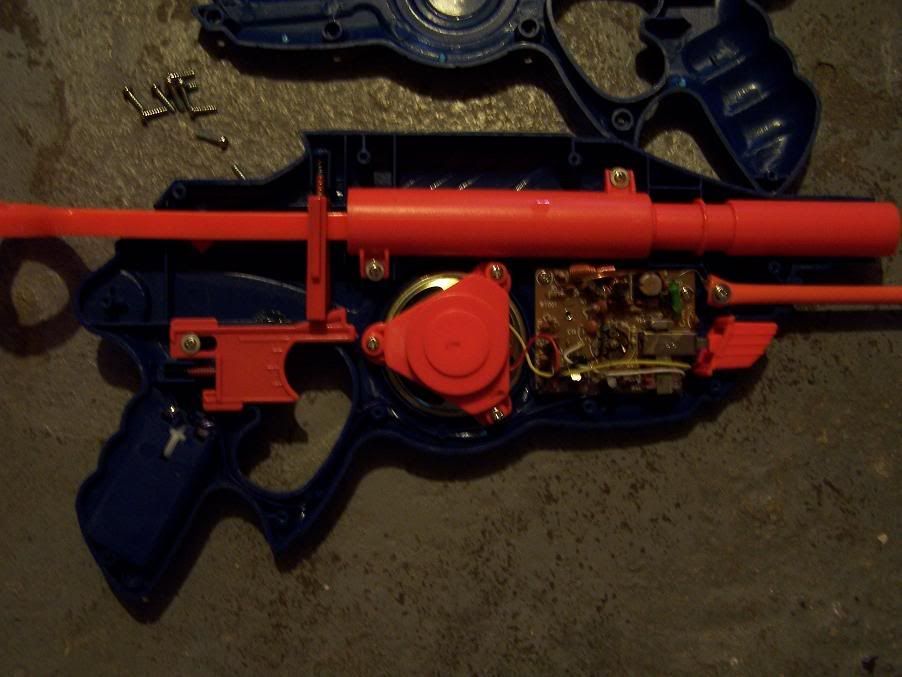
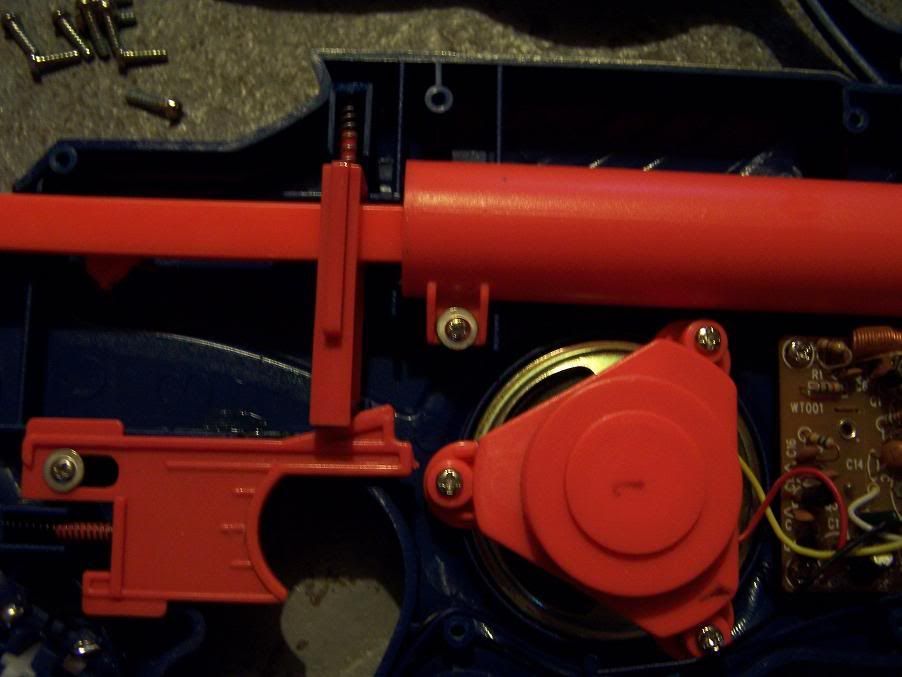
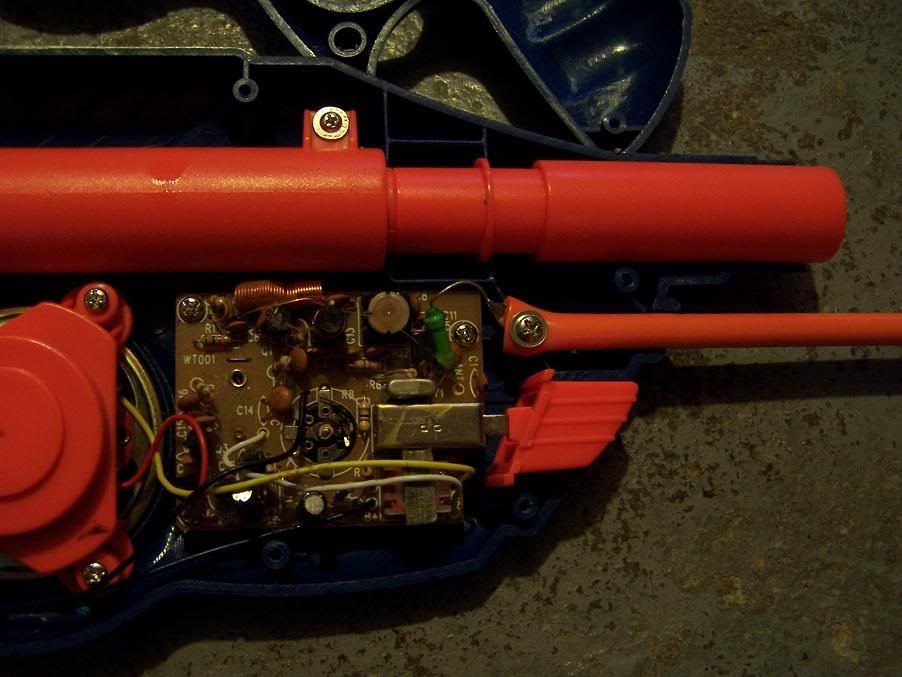
Check out the crappy little walkie-talkie in it, useless:
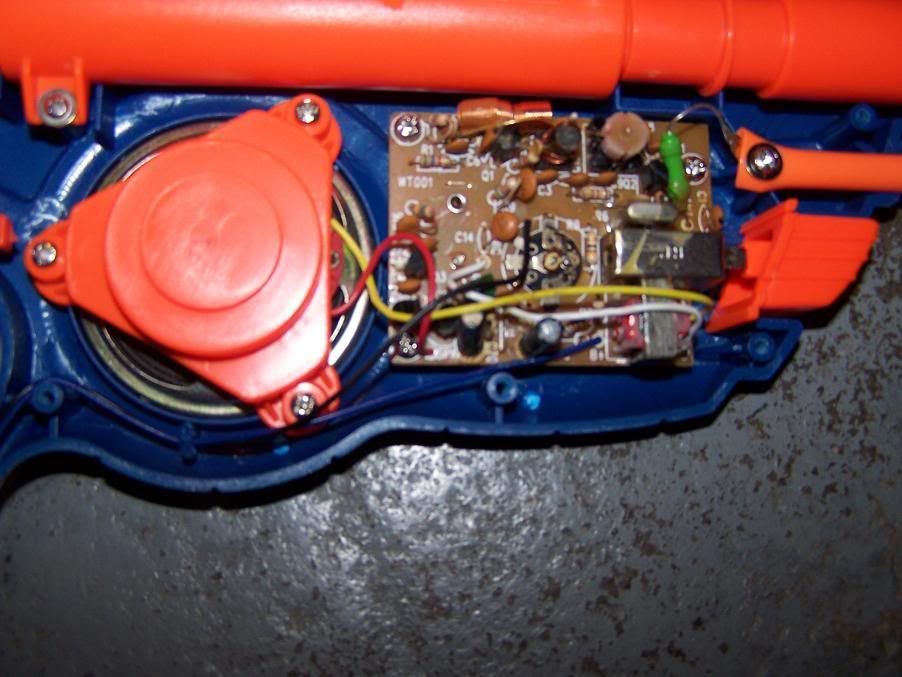
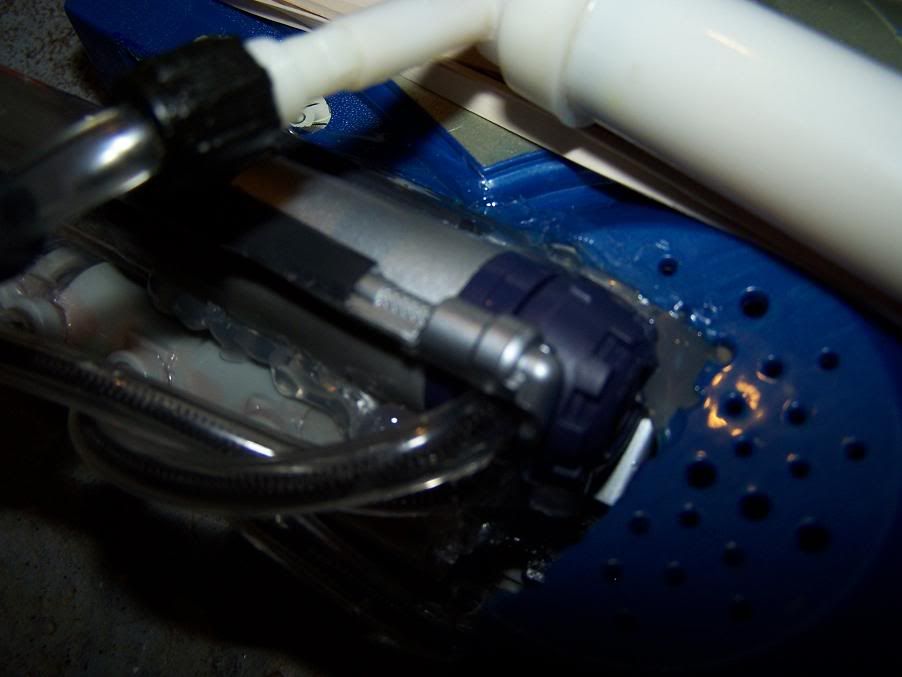
Unscrew the screws holding it down and pull the whole thing out:

Now, here's a pic of the plunger assembly removed:
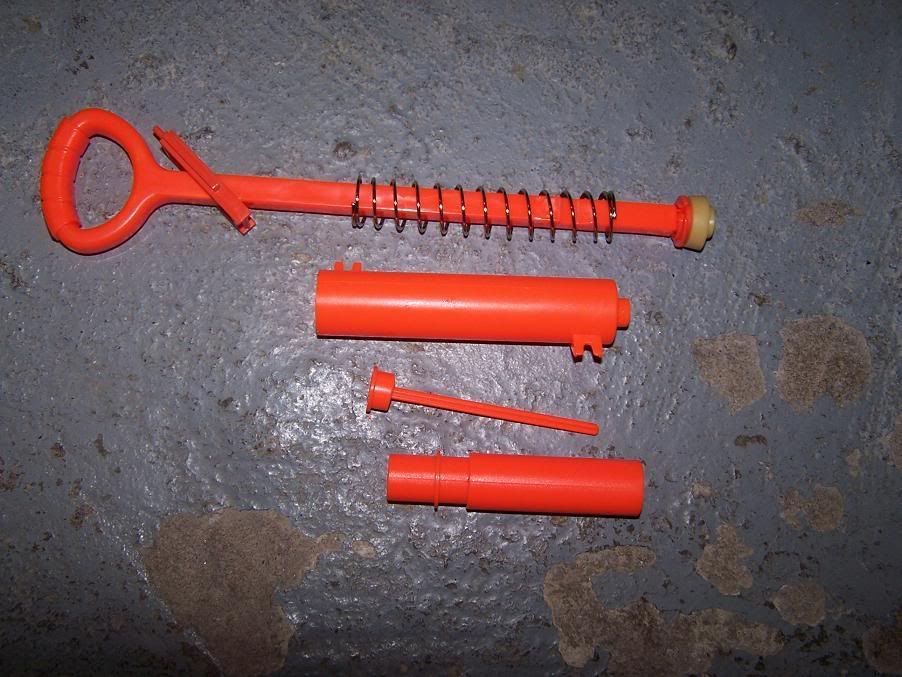
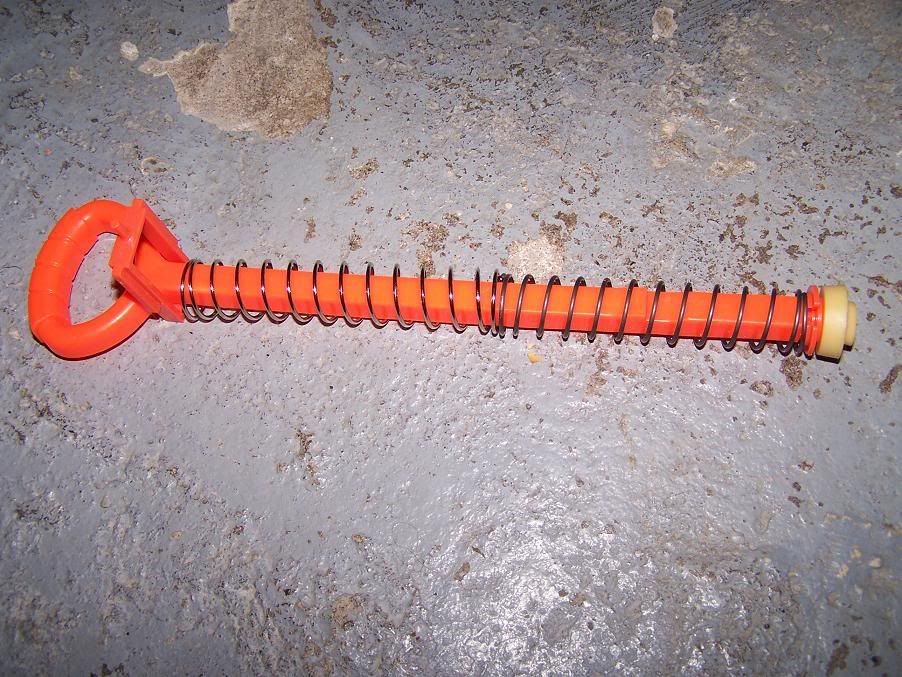
Here's the plunger rod disassembled:
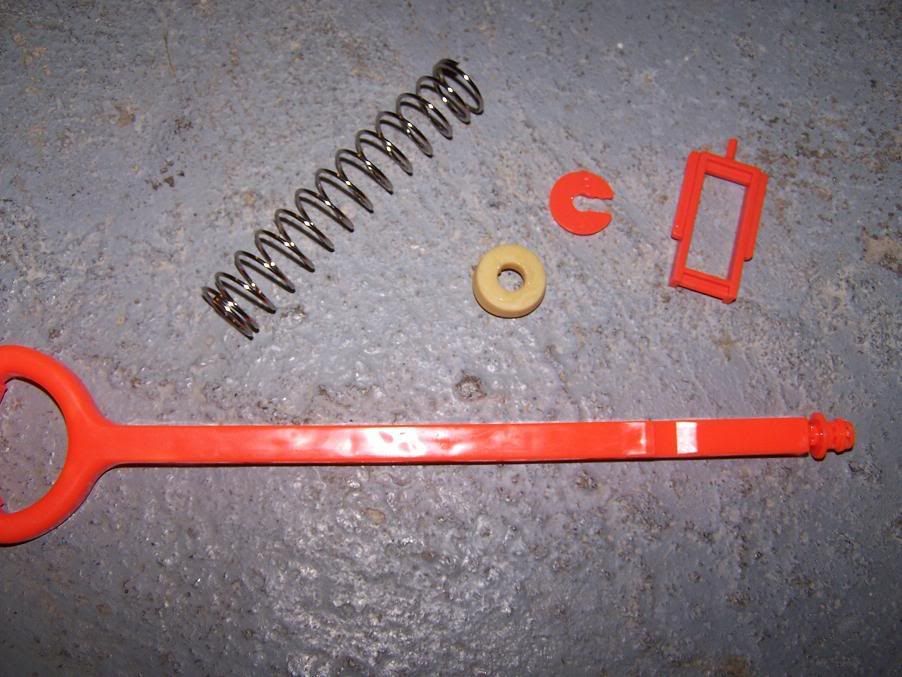
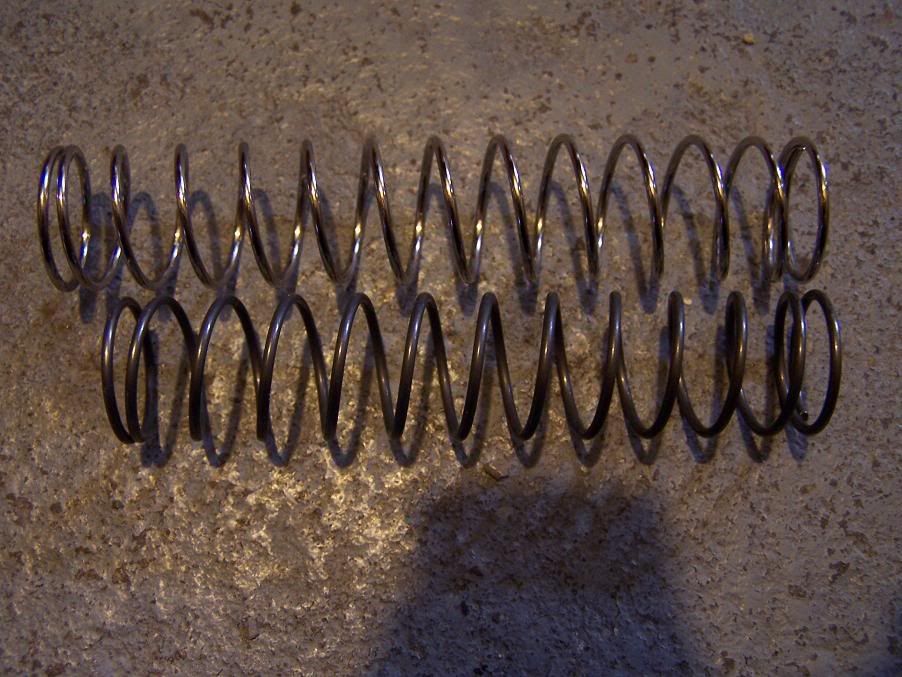
The spring on it is good, but it isn't all that great by itself, and it isn't long enough for the plunger draw to be increased. I don't have any replacement springs long enough, so I had to use another stock one. The second spring is the one on the bottom:
Both on the plunger rod:
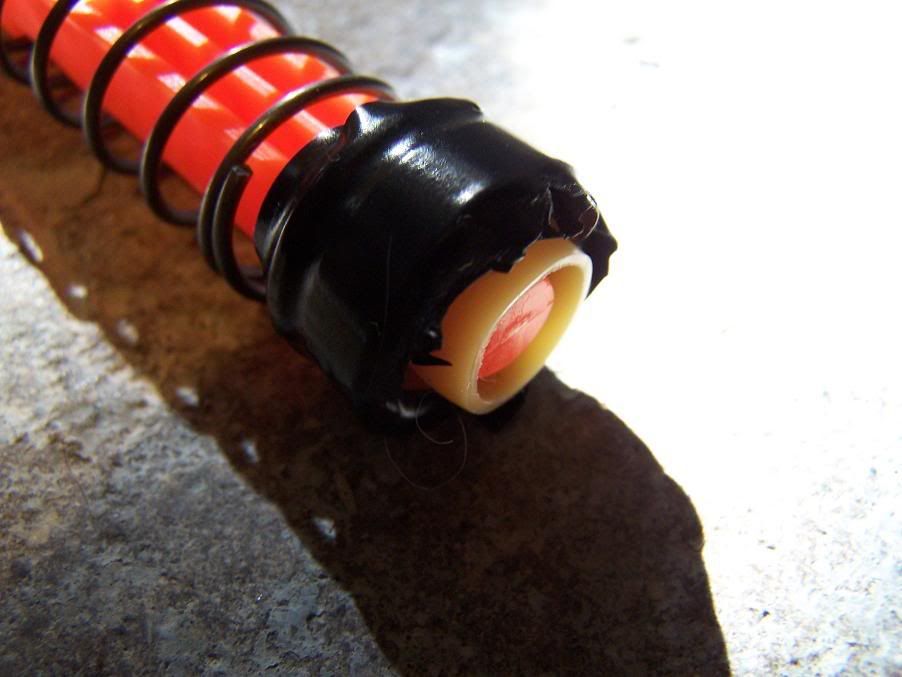
The seal is kind've crappy, but E-Tape solves that:
My next step was to increase the plunger draw, but to do that we must make room for the plunger tube further up in the shell:
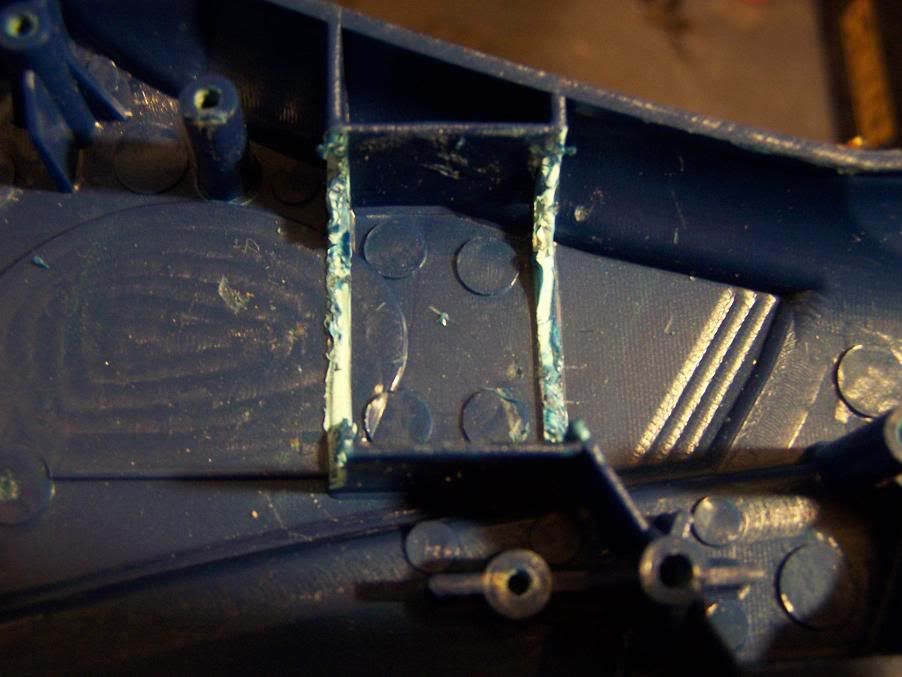
Remember to do this on both shell pieces.
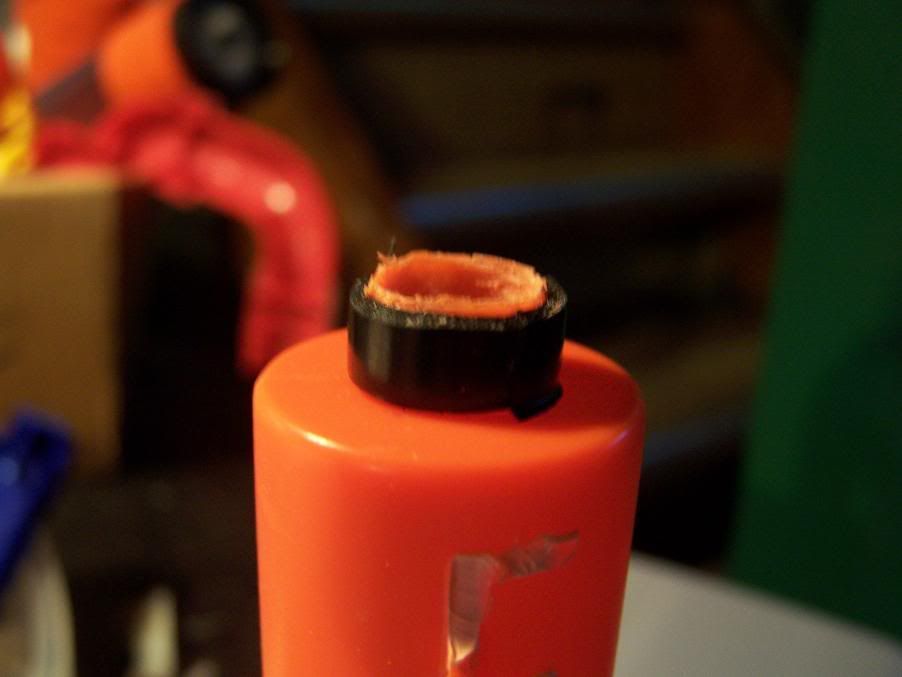
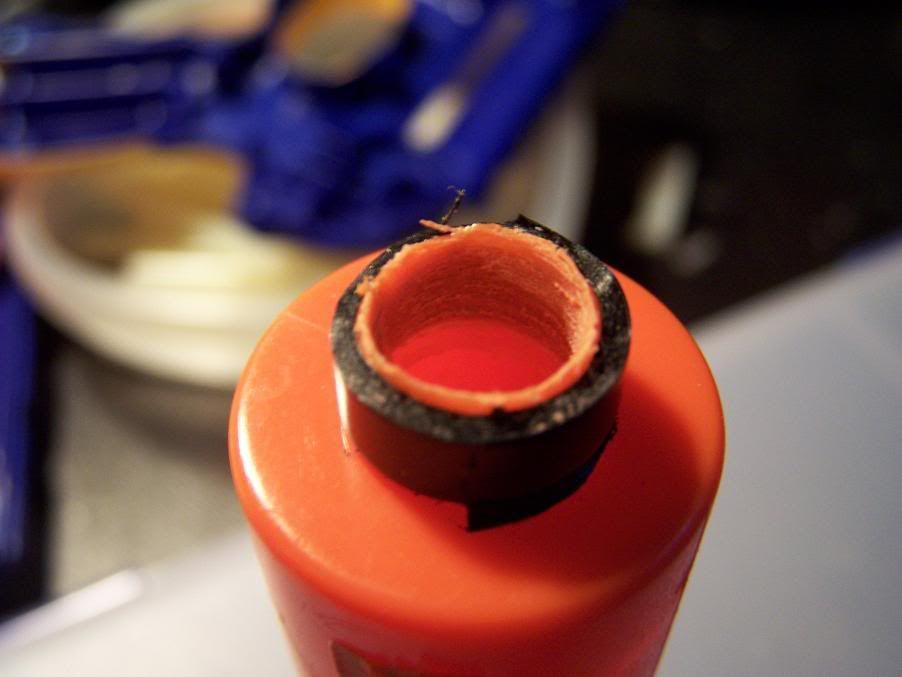
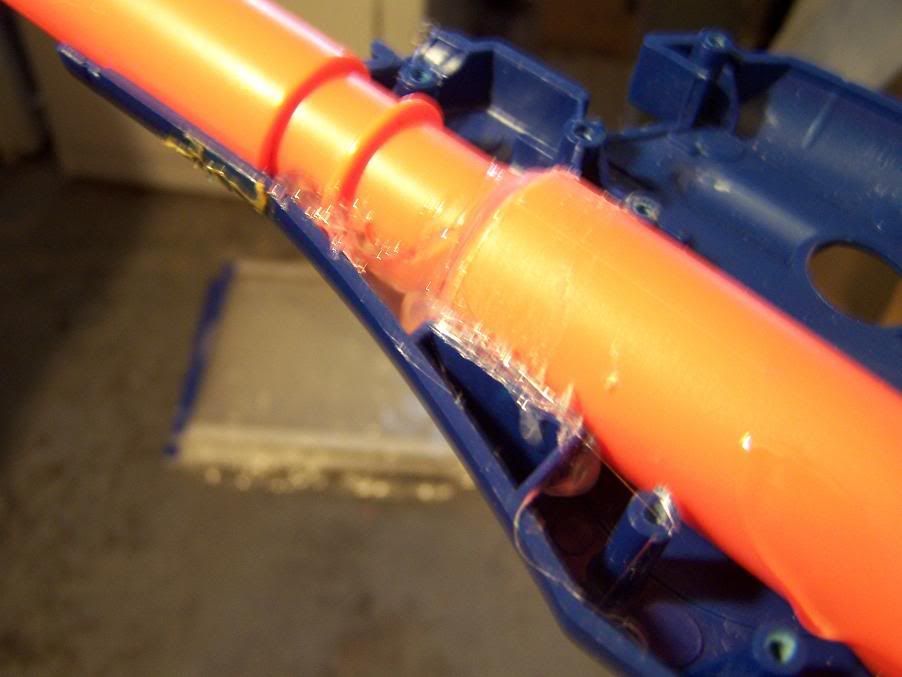
Wrap some E-Tape around the stub on the end of the barrel, just enough to fit a new barrel on snug. As you can see I filed out the inside a tad to increase the air output by a small amount:
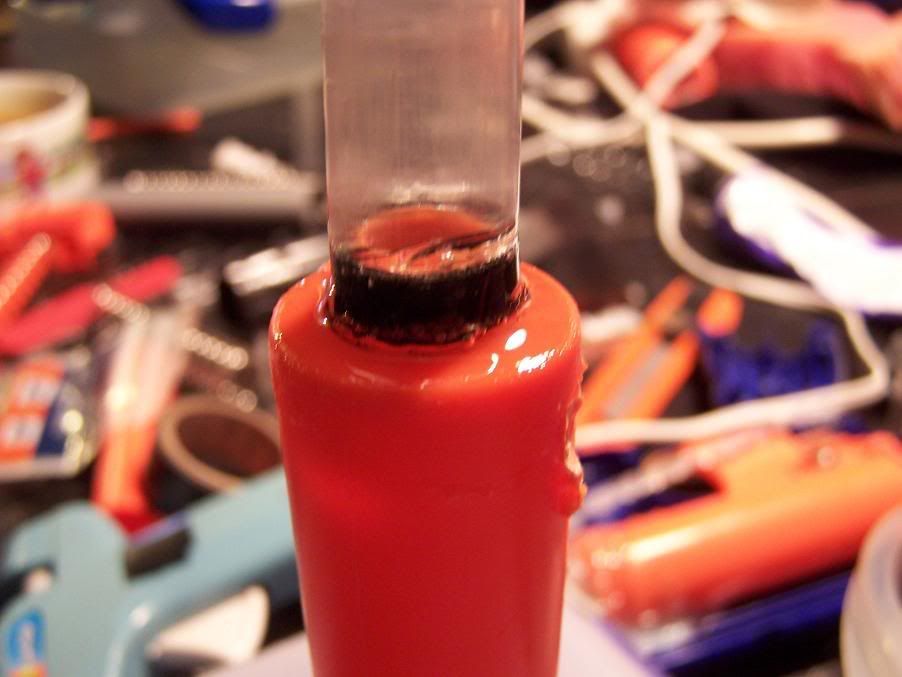
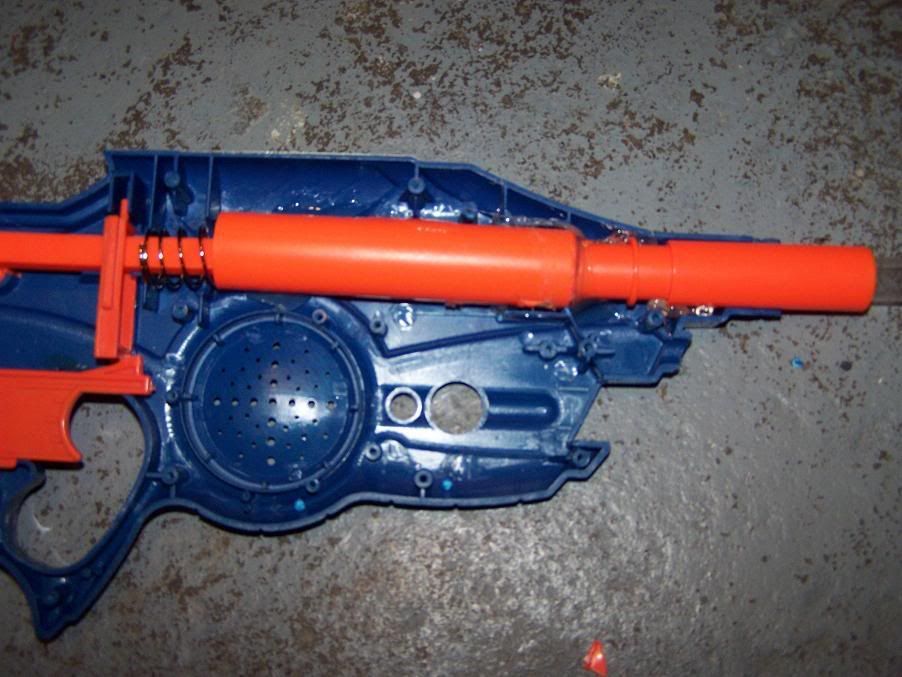
Cover the Tape and the base of the plunger tube in Goop and fit your 6" barrel of choice *CoughPETGCough* on. Let it dry:
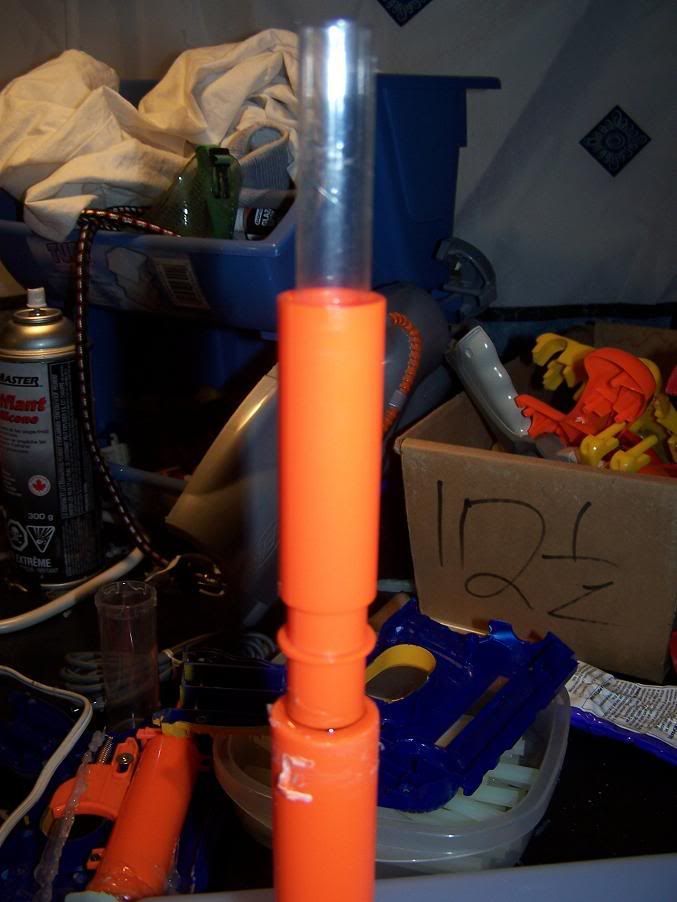
Once the Goop is dried, put a glob of it about 2" from the end of the plunger tube and fit the stock barrel over it. This will give it a nice fit in the shell and will protect most of the PETG. Looks kind've sexy too:
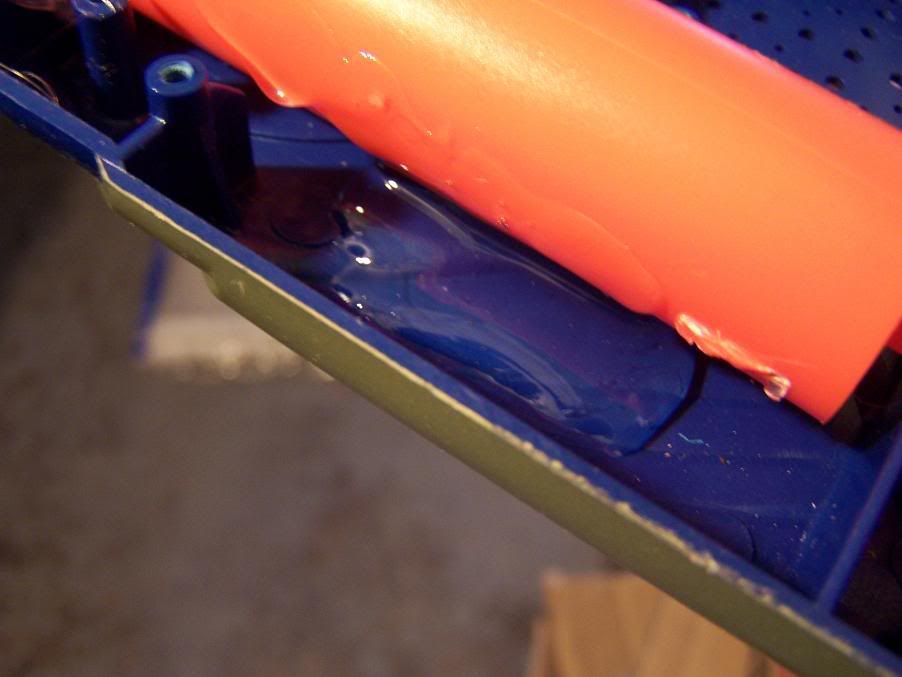
Once everything is dried, fit the entire assembly back into the shell. This is a bitch to do simply because the springs are very long and they compress almost halfway when against the shell. You basically will have to hold the assembly in place as you glue it down:
Glue the shit out of it. I put large amounts of Goop and hot glue on the plunger tube and barrel to hold it in the shell:
Close it back up, I chose not to do a screw replacement, but would recommend doing it:
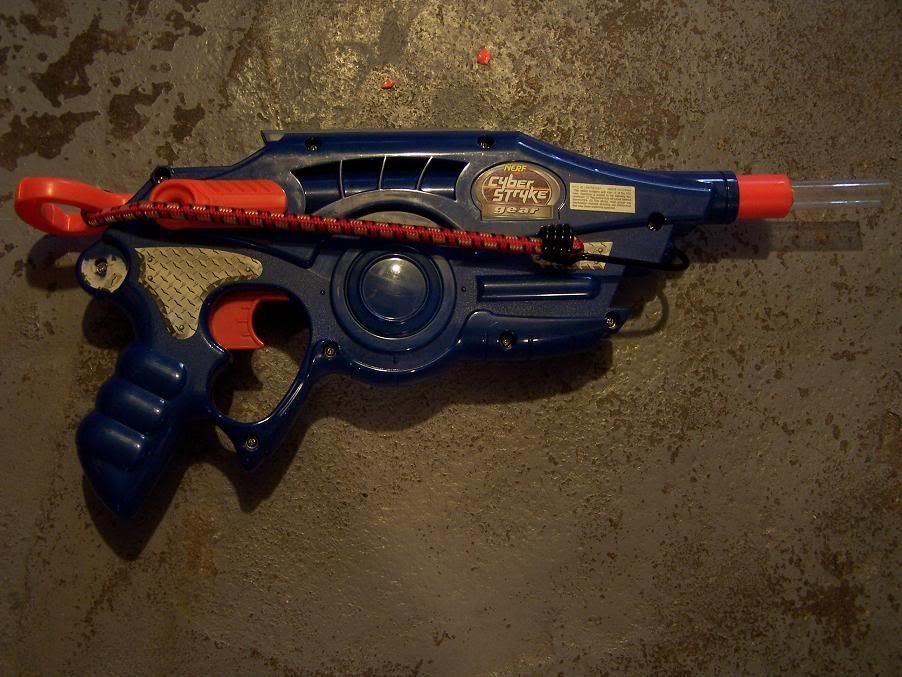
Ranges were taken in my backyard, flat, with a bungee (red one shown in the picture) and five 1.5" Stefans made with FA's Beige foam and 3/0 fishing weights.
77'
81'
74'
79'
83'
Note that it is Canada in the middle of the Fall season, so things are cooling down quite a bit. If tests were done on the warm, sunny day then they would increase by approximately 5 feet. I also think that since I used two stock Nerf springs, ranges were lacking. I am going to go the hardware store to try and find an industrial spring for the future.
This is an ongoing project, I am working on part two and I will post it when I am done, which will be in the next week or so. I am mainly trying to make this a primary-worthy blaster, so all future upgrades on this will be mainly for an edge on the battlefield.