I've gotten a lot of question about how this was done, and how it affected performance, and rather than reply to 18 different messages, this should be much simpler. (Plus if a dozen and a half people are asking questions, it stands to reason that even more are curious.) To that end, I apologize for not posting the write-up in the first place.
If any are concerned about the integration, fear not; it really is almost as straightforward as it looks.
Take an intact BBB, and an RF20 that (in my case) someone else broke, and gave to me.
From the RF20, you'll need the turret, muzzle, and the advancing tooth.
I used what I believe is called Pressboard, it seems similar to common peg board, and can be found at Home Depot. If you have the limbs from your BBB, all the better, the lower limb will make it easier to mount everything.
Just trace and cut to fill the profile as seen here.
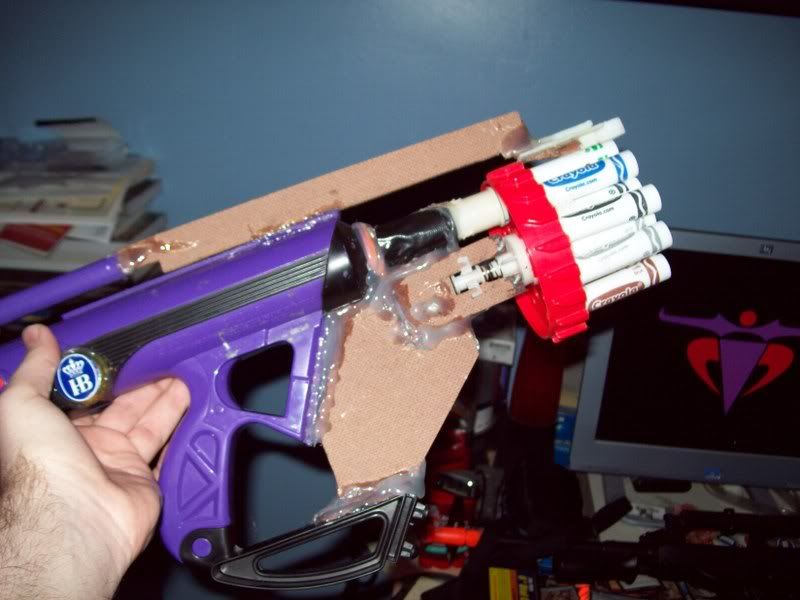
Don't align the board in the centerline of the gun, instead you'll want everything mounted just to the side.
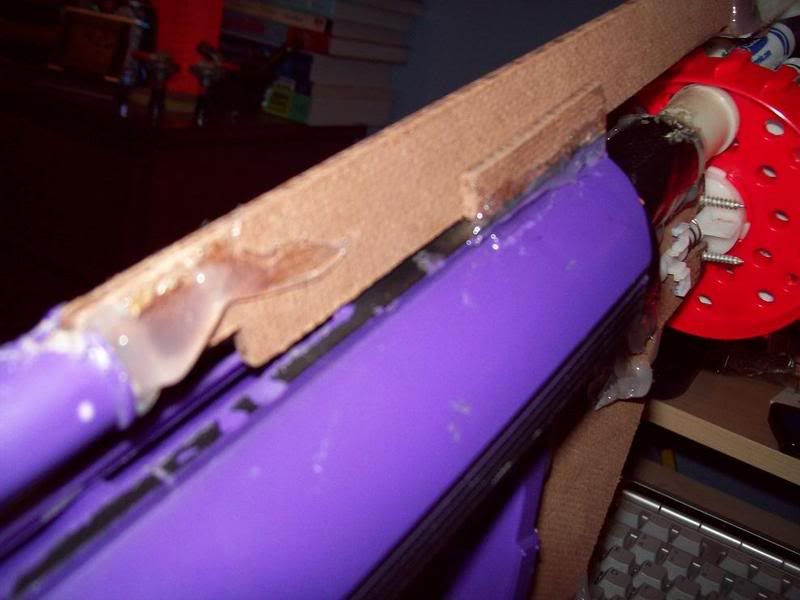
Rather than mount the turret via the pieces used in an RF20, I chose to use the wider flanges, as you can see.
These pieces have more surface area, should you choose to use an adhesive, rather than mechanical fasteners, and because the turret it attached closer to the center of mass, it puts a bit less torque on whatever is holding the turret in place.
The back portion, farthest from the turret, must be left free. If you glue it to something then the turret will not be able to rotate.
At some point you'll need to mount the muzzle to the front of the bow. (The white cap with two holes in the front.) I was able to do this with simple e-tape, and reinforced with gorilla tape.
Once you have the profile piece, and the turret mounted to the bracket, attach the bracket to the profile so the muzzle is flush with the back of the turret. This was the most difficult part, the axis of rotation for the turret must be aligned perfectly to ensure the barrels will align properly with the two muzzle holes. I was able to do this with just my eyes, holding the turret by the bracket, using a clamp to hold it in place, then moving it back and forth until I could manually rotate the turret while looking down the barrels to make sure they were properly aligned. After that, drown the thing in your adhesive of choice (Hot glue for me).
I advise you apply as much glue as needed along one side to keep it held to one half of the BBB shell, and apply only a small amount to the other, this way you can open the BBB up again in the future.
At this point you have a massive drum that has to be manually rotated after each shot. Which is simple enough, just a flick of your thumb or index finger, but we can do better. Time for the advancing tooth.
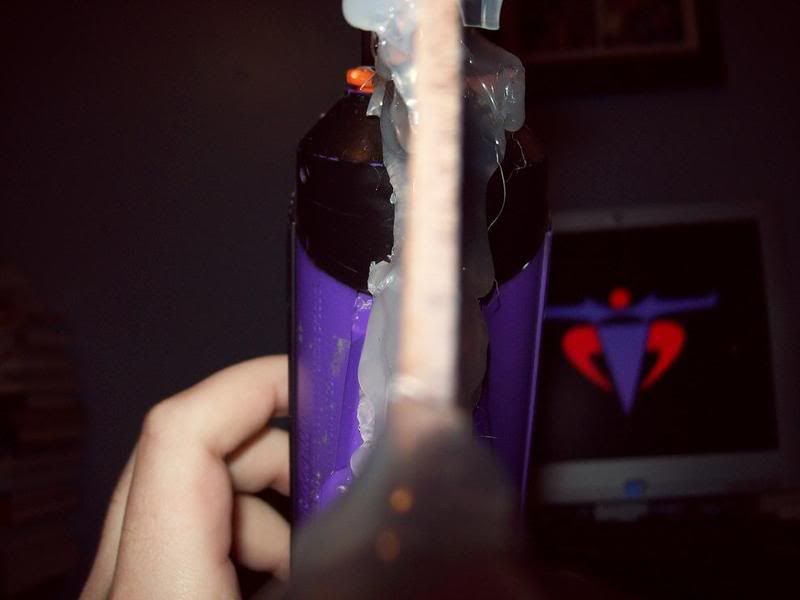
Just like the profile piece, cut what will be the guiding rod only on one side, on the opposite side of the shell to which the turret is attached.
If you mounted the profile portion on the left (left while holding the gun, pointing it away from you.)
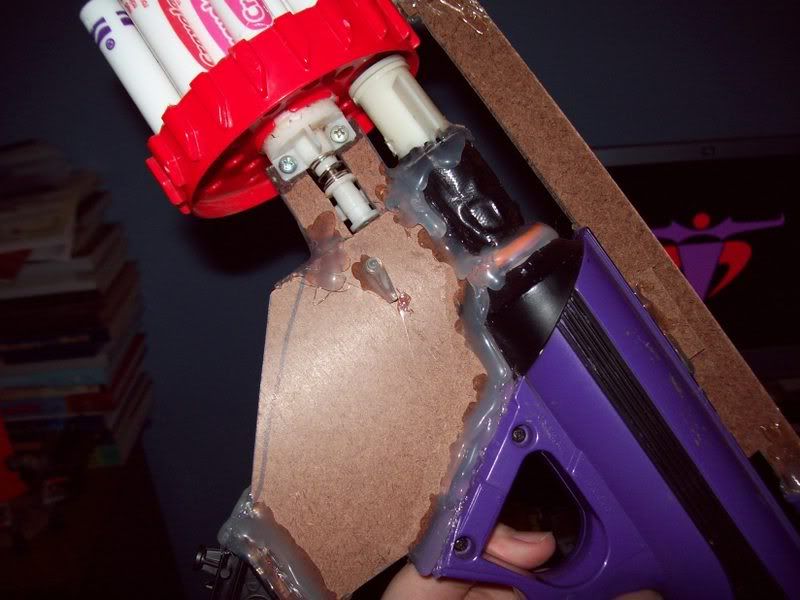
mount the bracket on the right of the profile piece, and the turret attached to that from the left. (this keeps the center of the turret in line with the center of the BBB.) Mount the advancing tooth arm on the right side of the centerline of the Bow's guide rod. (the horizontal, hollow post along the top of the gun that doesn't actually do anything functional)
Here you can see the two pieces glue atop the BBB, along the side of the guide arm, these make sure the arm doesn't wobble left and right, and ensures the tooth slide forward and backward only. If it wobbles too much, it'll miss the notch atop the turret, and the turret won't advance.
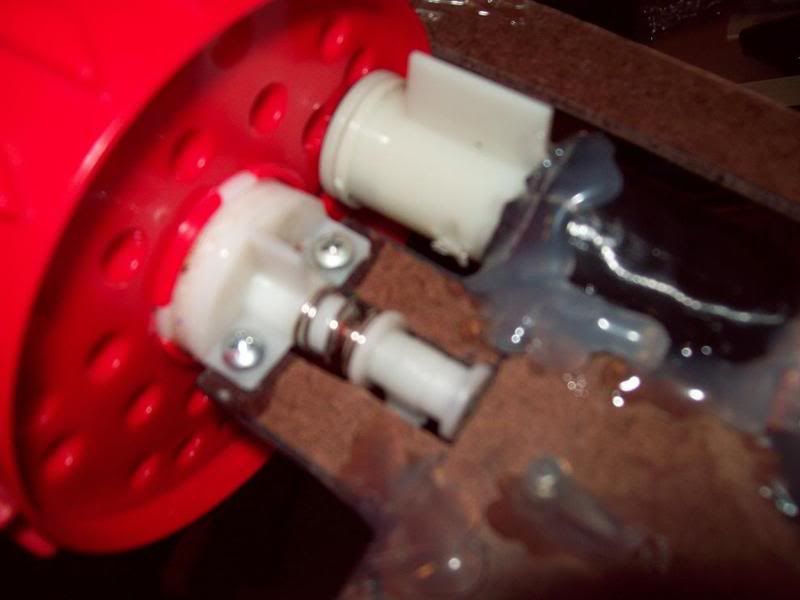
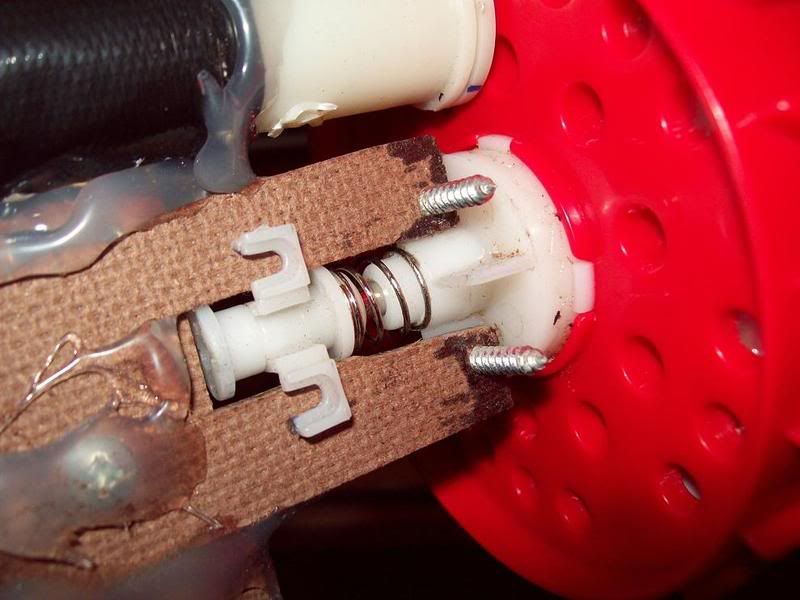
Then mount the advancing tooth onto the left side of the guide arm, again keeping the centerlines aligned.
The exact lengths can vary, depending in how much of the BBB's stock barrel has been removed but I suggest mounting like this
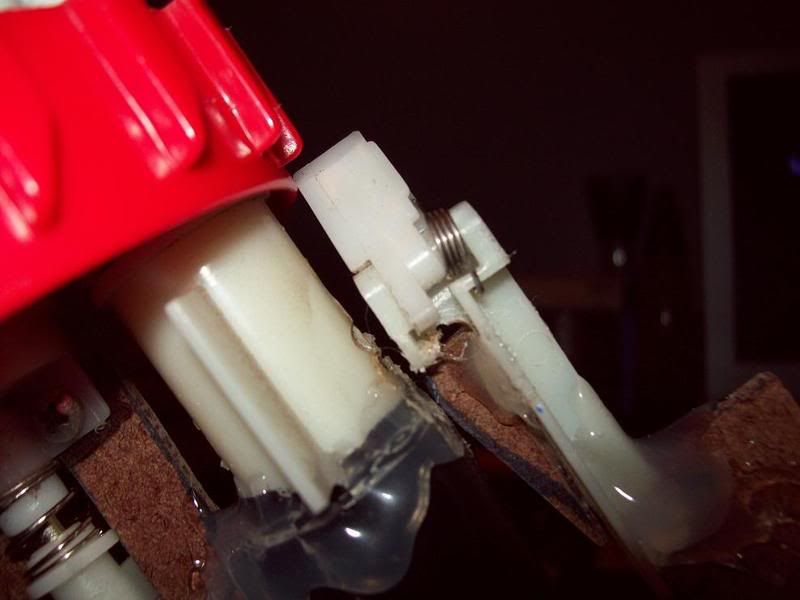
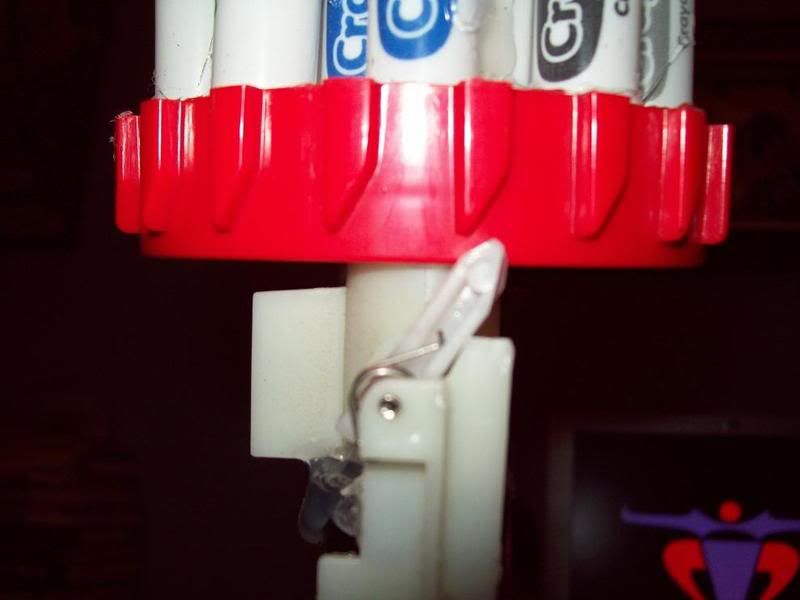
The tip of the tooth rests along the top of the turret when the BBB is cocked, so it will not fall down. (causing the tooth to jam into the back of the turret when you collapse the gun to re-cock it.)
The tooth is going to slide past the front of the turret when you collapse the gun, and may dip a bit. In the upper picture, you can see the small "ramp" attached to the underside of the tooth, this keeps it from getting caught on the backstroke.
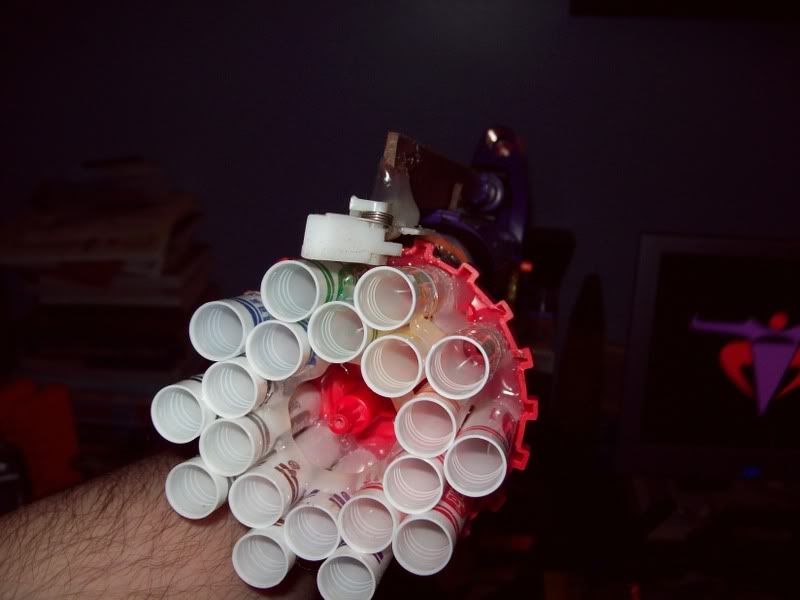
Once all the gluing is done, you should have something like this. (hopefully yours is prettier.)
here is Dunkel
As for performance:
RoF is obviously increased dramatically, as the BBB now has a massive drum than automatically advances to the next barrel, and you don't have to move your hands. Mine fails to advance about 1 in 35 shots. This can be reduced by adding further rails along the length of the guide arm, close to the tooth.
I've had some people ask about it being cumbersome, but it's not the case. While yours will differ a bit, mine is balanced perfectly; Dunkel's center of mass is directly in the middle of the fore grip, between the thumb and index finger.
And lastly: ranges
I was expecting a significant loss in range, but such was not the case. (the loss in range is not significant to me, at least.) Compared to my other BBB, which has effectively the same modifications done (AR removal, and nested Crayola barrel). Dunkel's loss of distance is on average < 1.5 meters.
This is only the prototype for my next project. I realize that unless you happen to have an RF20 or Wildfire turret just sitting around collecting dust, the mod will cost >$50. I'm working on producing a cheaper equivalent from scratch, which will be posted as soon as I finish it. Though I'm willing to bet there are at least a dozen members who are able to beat me to it.
Thanks for your time and kind words.
*Edit: Sorry I failed to do this originally, the gun is compressed in all pictures except for the ones which are close-up shots of the tooth; #6 and #7. Thanks TS.
Edited by Twitch, 30 January 2008 - 10:16 PM.