------------------------------------------------------------------------------------------------------------------------------------
Today we'll quickly run through an air restictor removal (commonly know as an AR mod) and improve the seal. This is a relatively simple mod to do and certainly one easy enough for a first timer to attempt.
The tools/consumables I used for this mod were…
A small phillips head screwdriver
A hand drill, complete with extra long drill bit
A long, round hand file
Telfon tape
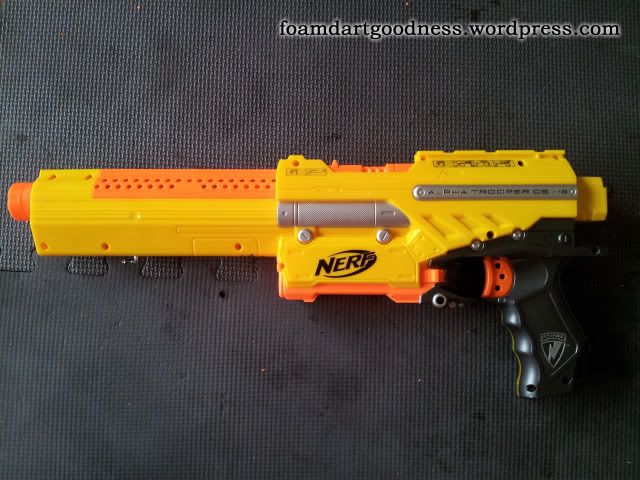
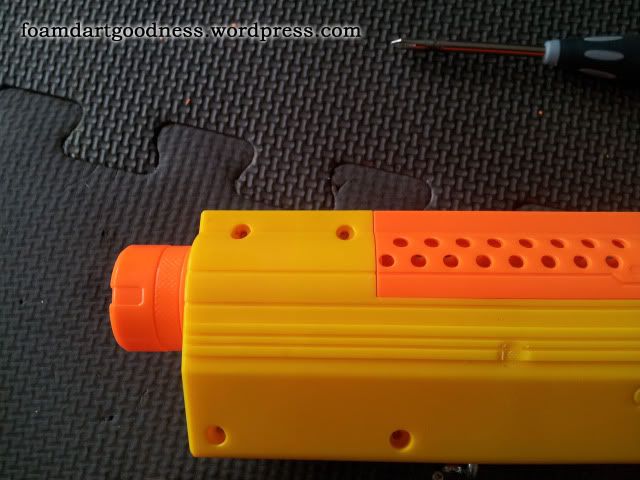
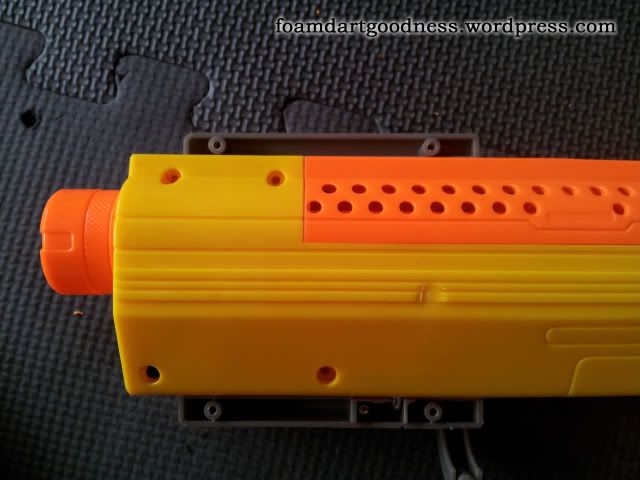
To start off with, we have the blaster.

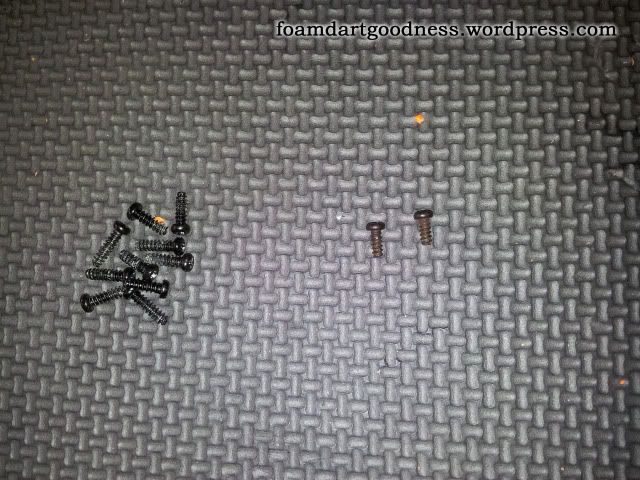
Start by removing the end cap. There's two screws here that are different to all the other screws in the blaster so make sure to keep them separate.
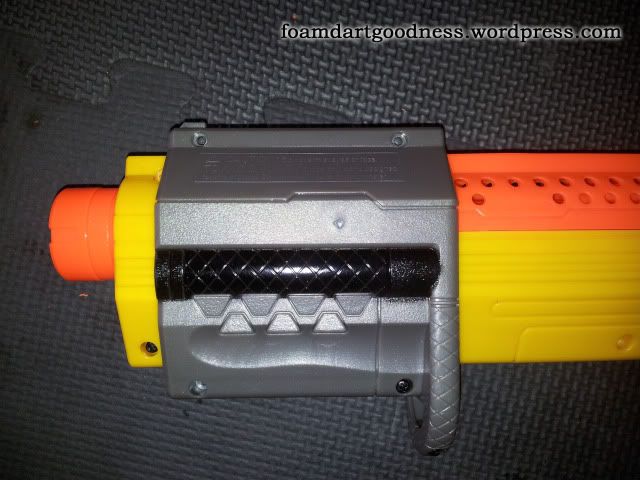
Then move on to the priming grip. Five screws need to be removed.
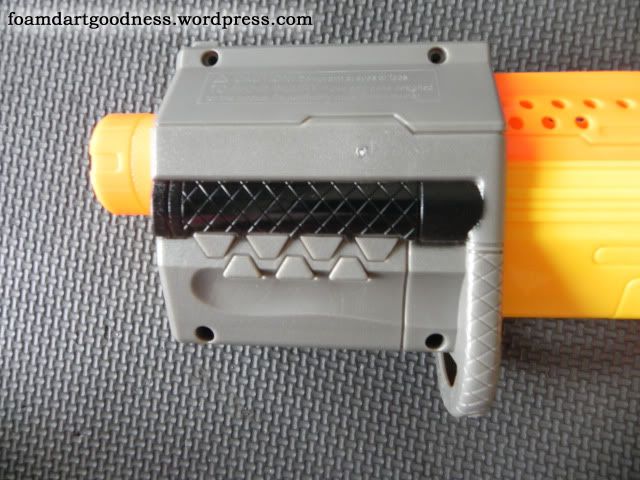
Then we'll be able to get to the screws under the priming handle.
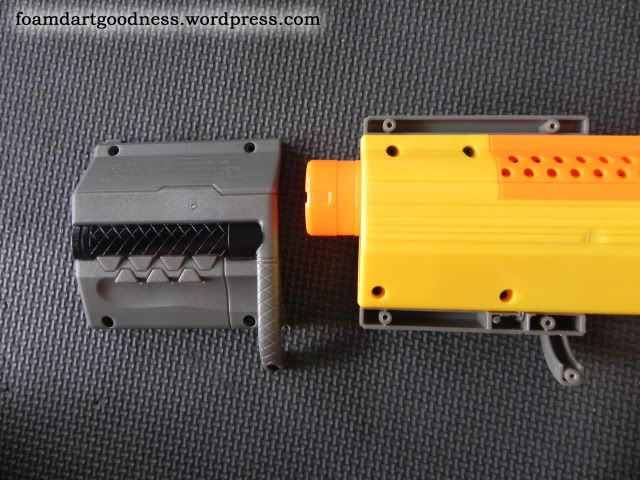
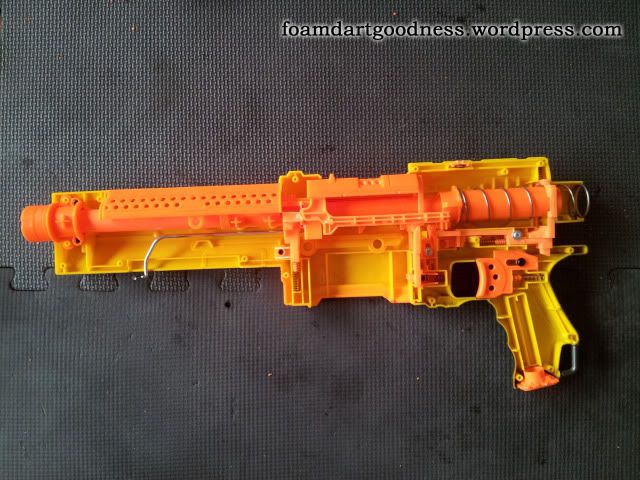
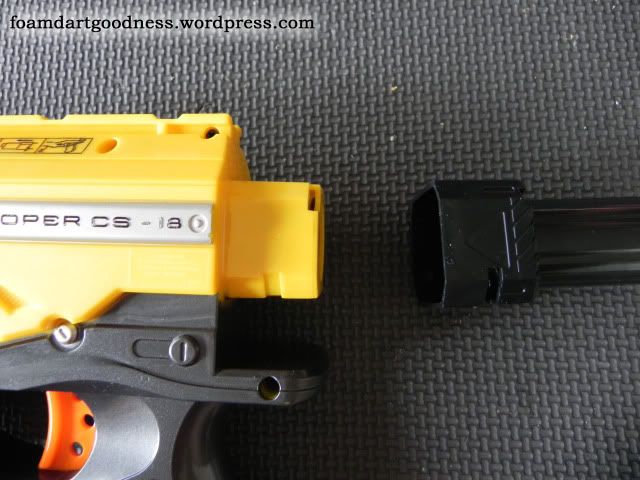
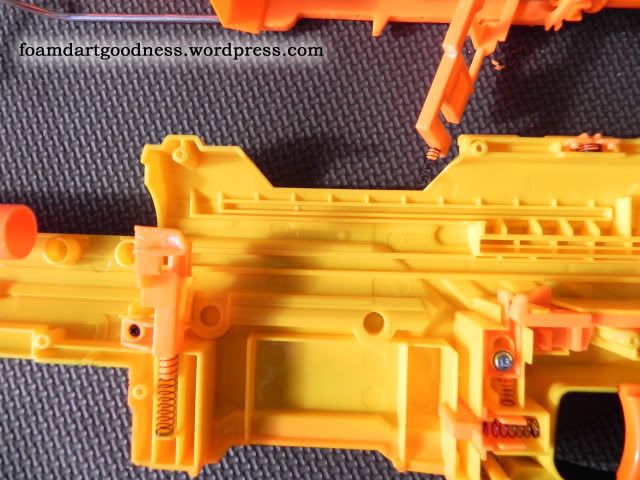
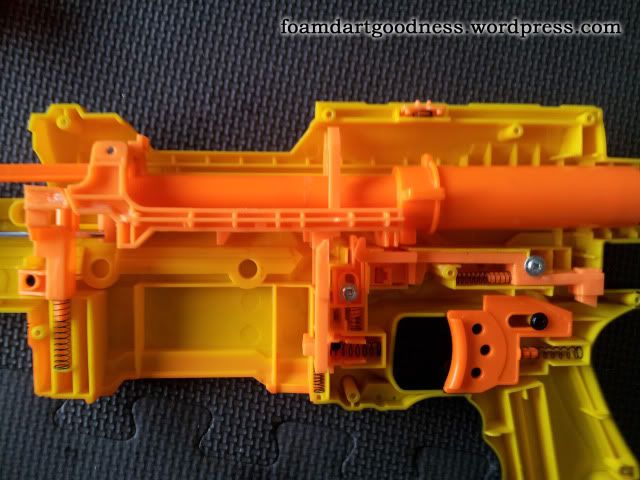
Remove all of the screws from the blaster shell and then pry the shell apart.
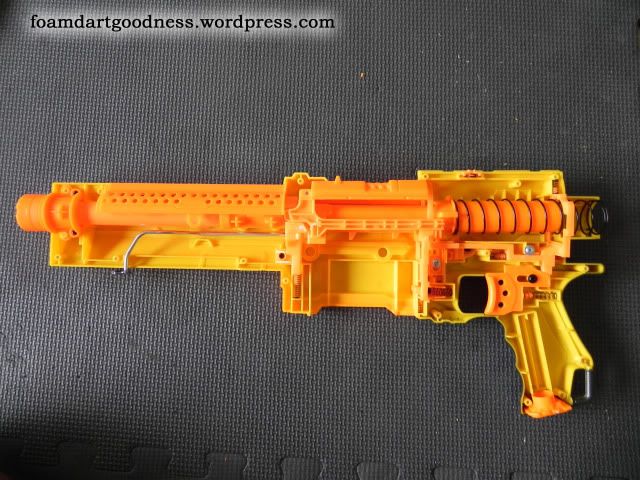
As always, take a moment to have a good look around the internals and try to get an understanding of how it all works. It will make putting it back together much easier.
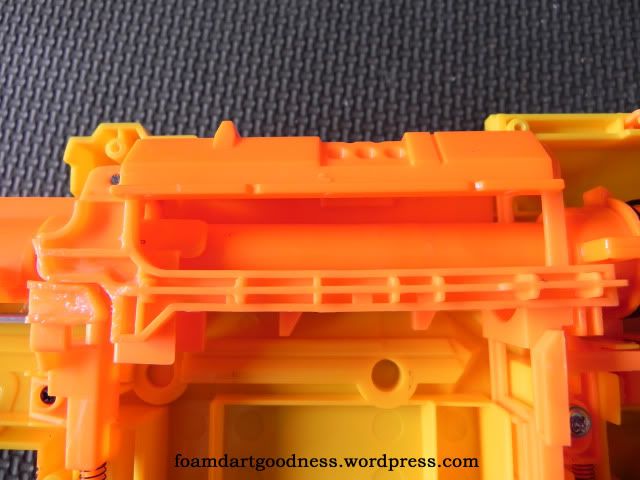
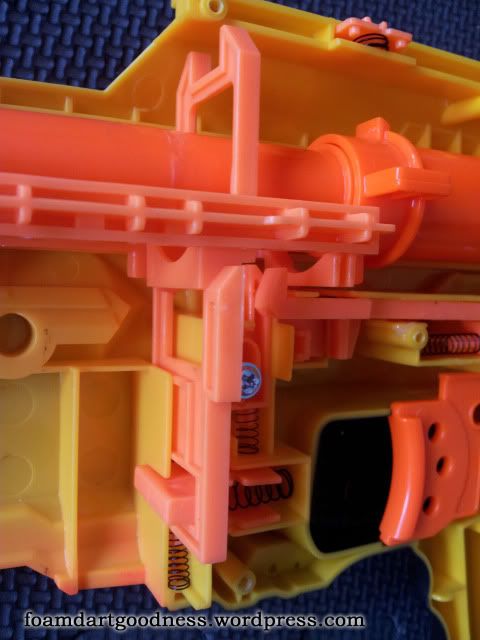
Ok, happy with that? Lets continue the dis-assembly. Remove this part, I guess we'll call it a cosmetic barrel cover?
Like so.
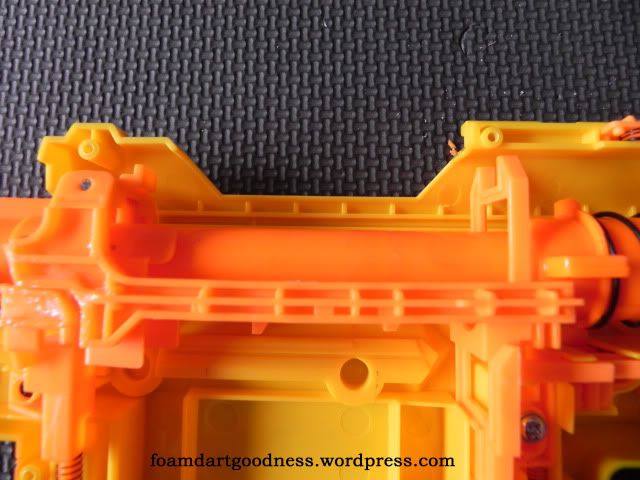
Then remove the jam door.
Like so.
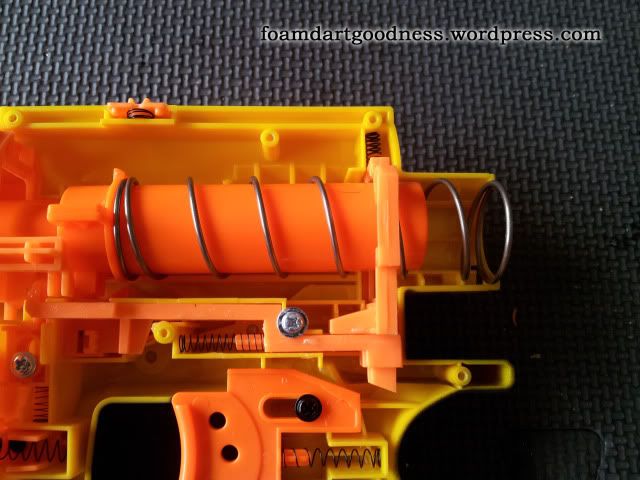
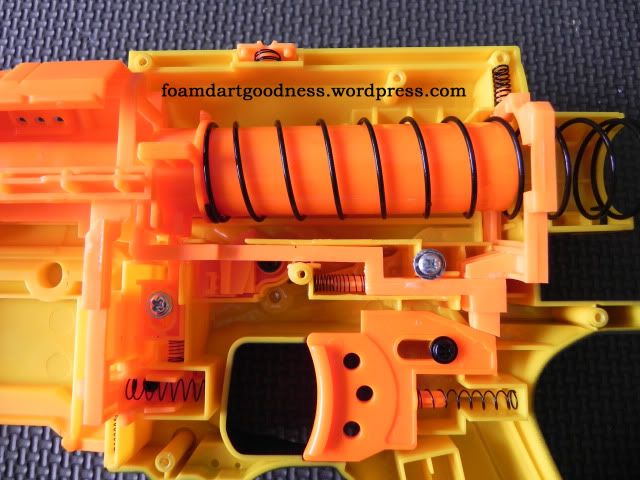
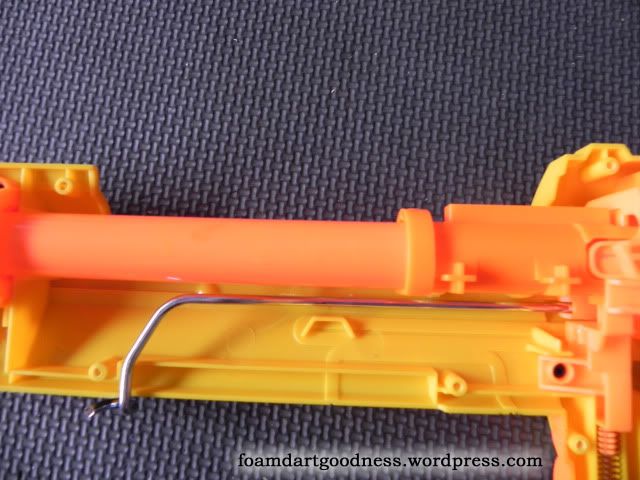
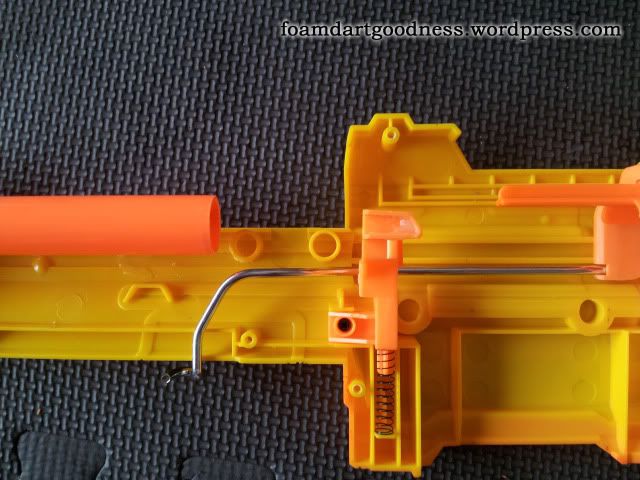
Then remove the main spring.
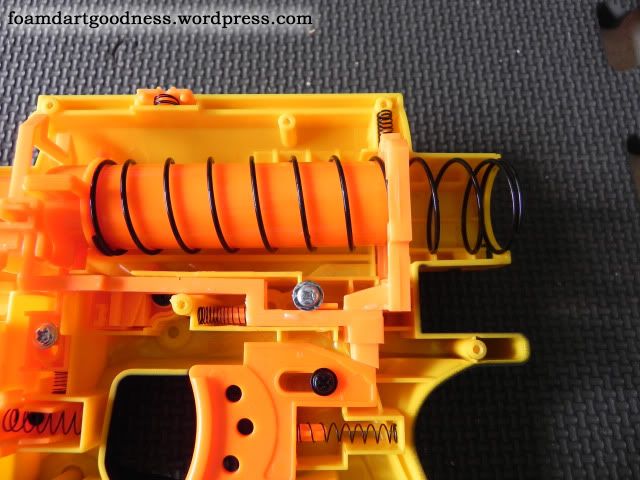
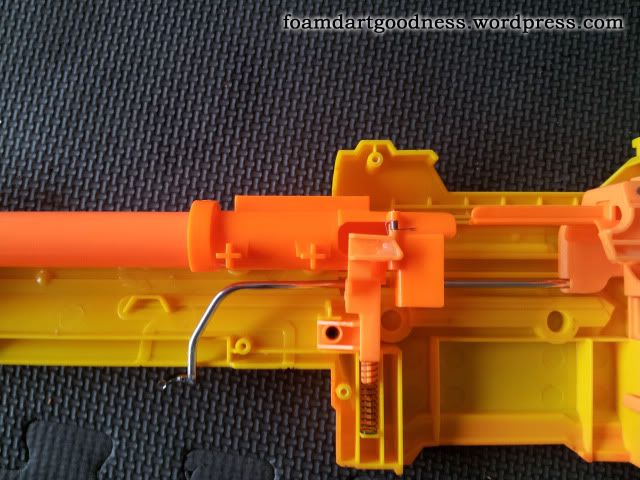
Then the trigger catch.
Like so.
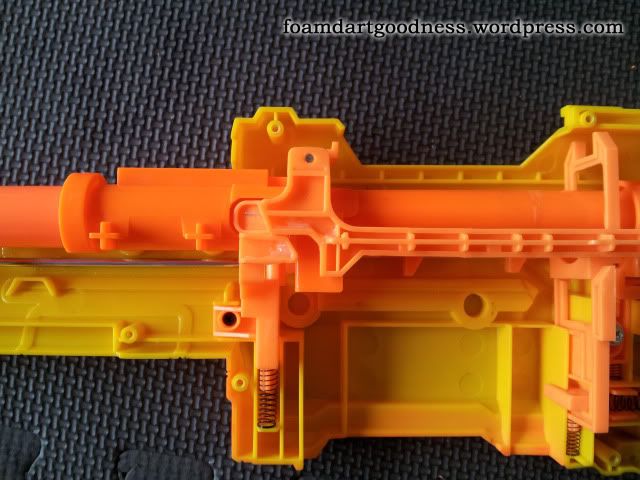
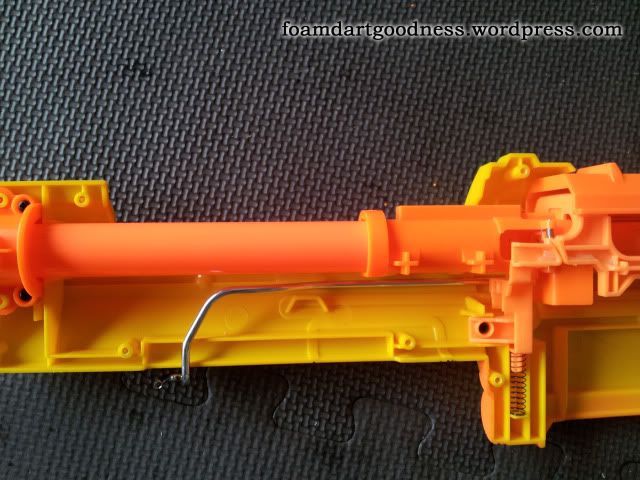
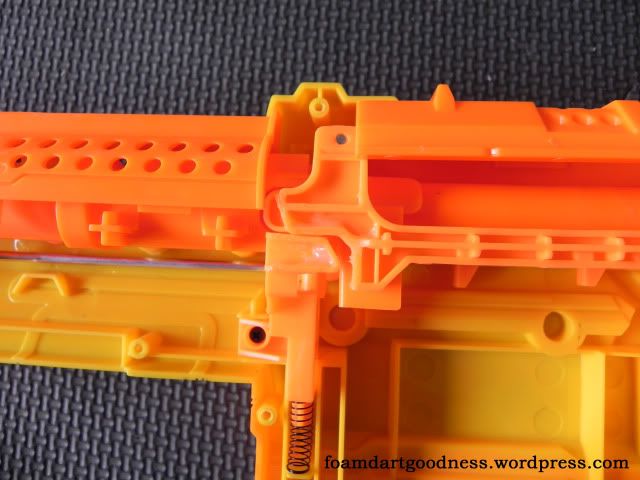
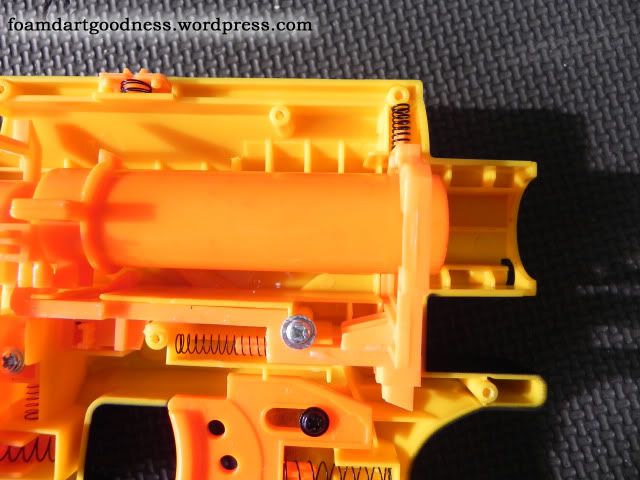
Now, grab the whole plunger, sled, dart door, and breech assembly.
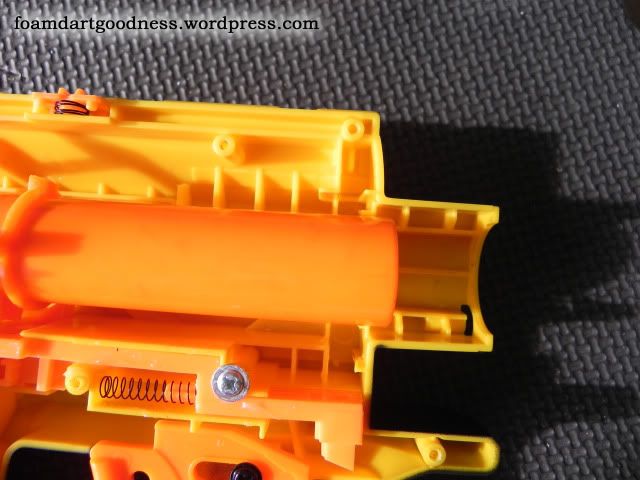
It should all just lift out as on piece.
Like so.
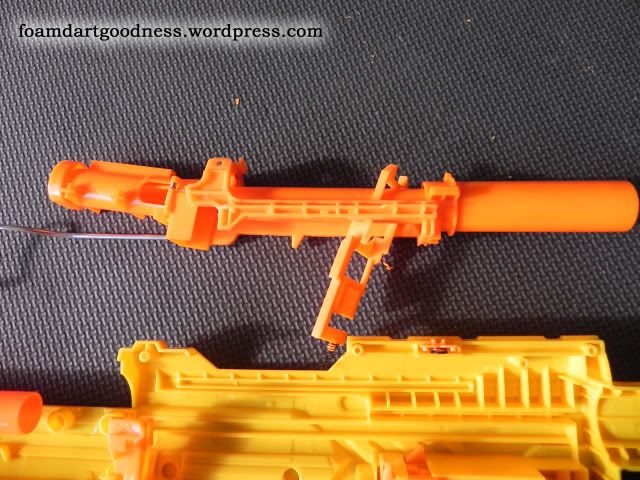
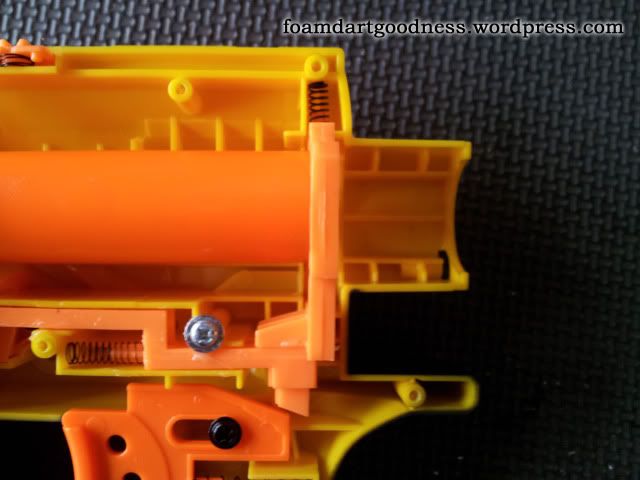
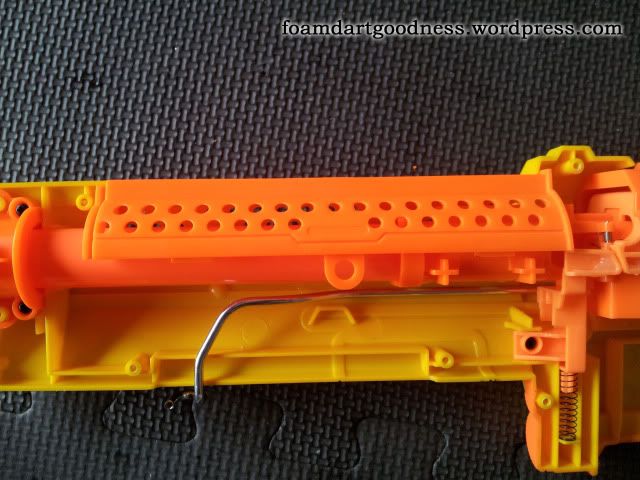
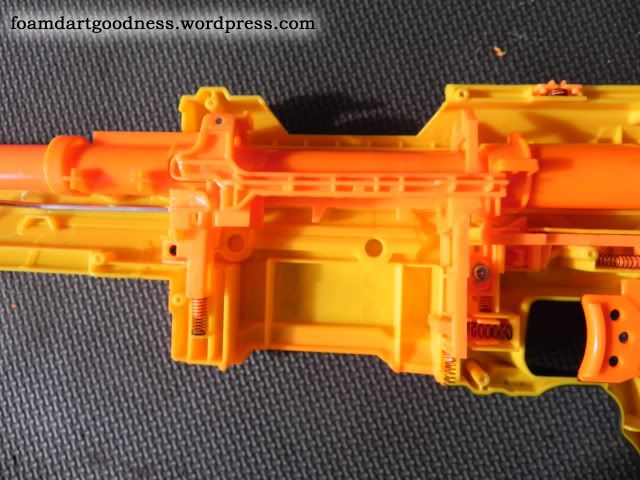
Start by removing this front piece.
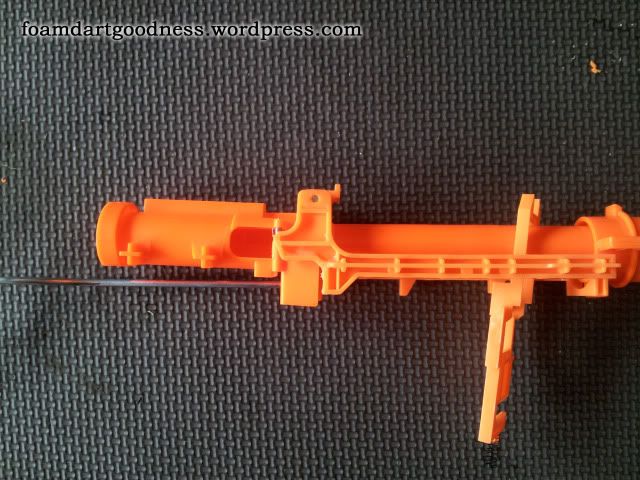
Then the plunger.
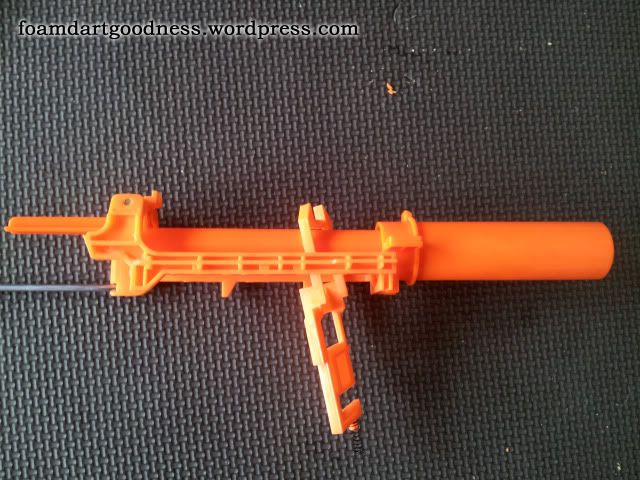
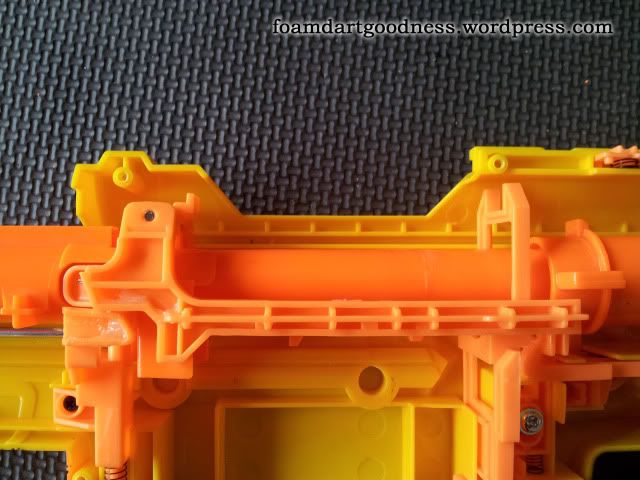
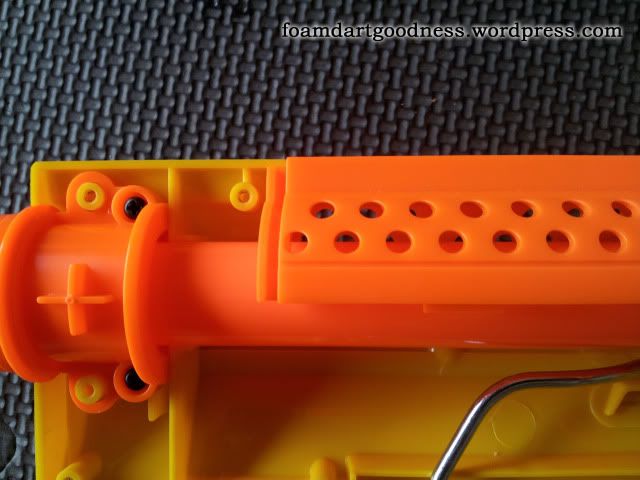
Others will say that you have to remove this pin so that you can separate the breech from the priming bar, but I've never seen the need. Yes, if you try to drill our the AR while holding the priming bar, you can break it. Really simple solution though, just don't hold the priming bar.
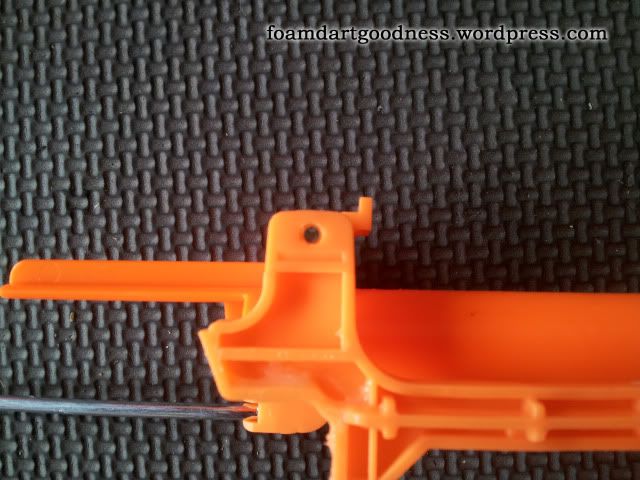
Hold the breech itself, above the priming bar, and all will be fine.
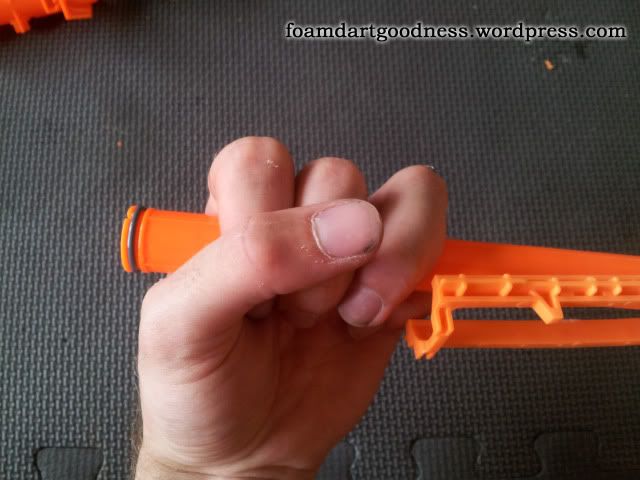
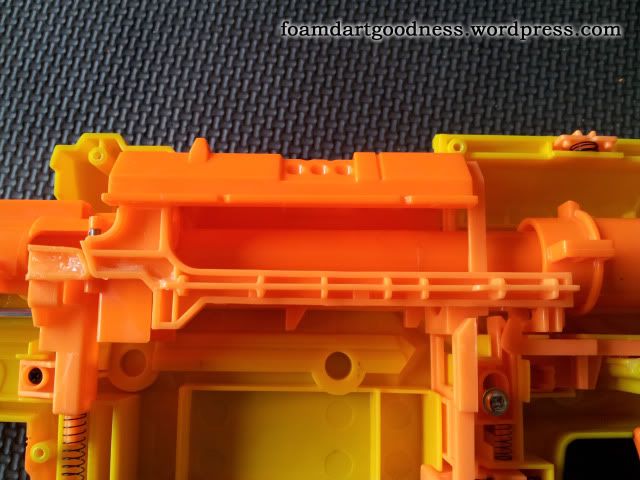
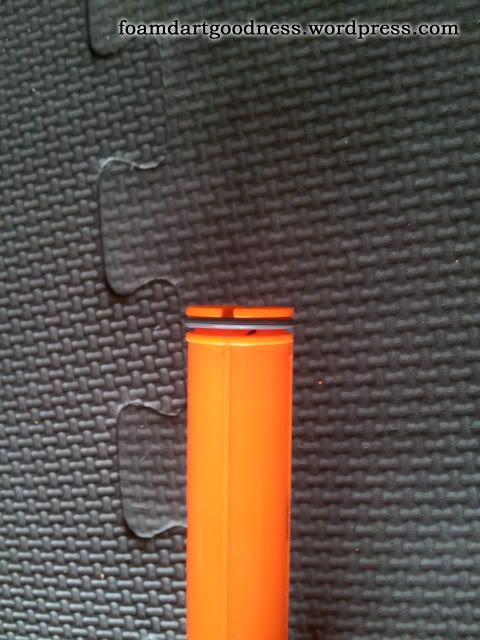
Anyway, back to the physical task at hand. Have a look down the back of the breech and you should see the AR. If this is the first time you've pulled apart a blaster, gently blow down this end of the tube and you'll very quickly understand how AR's work.
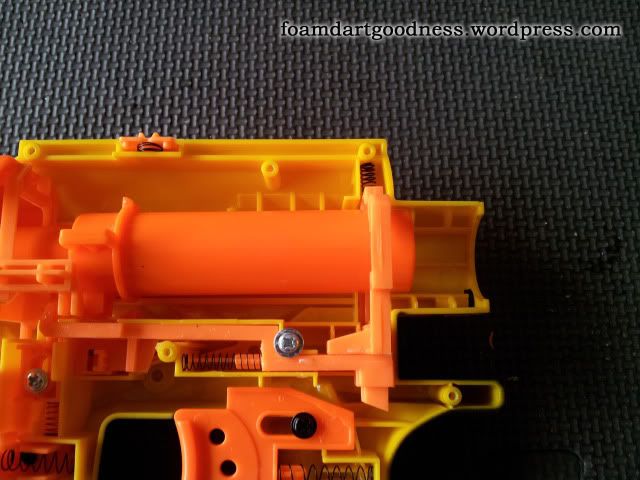
Grab your drill and go to town on that sucker. Then make sure you clean it up with your hand file. The cleaning up phase is often overlooked by modders but neglecting it *will* cost you range.
Now we'll move on to the seal improvement.
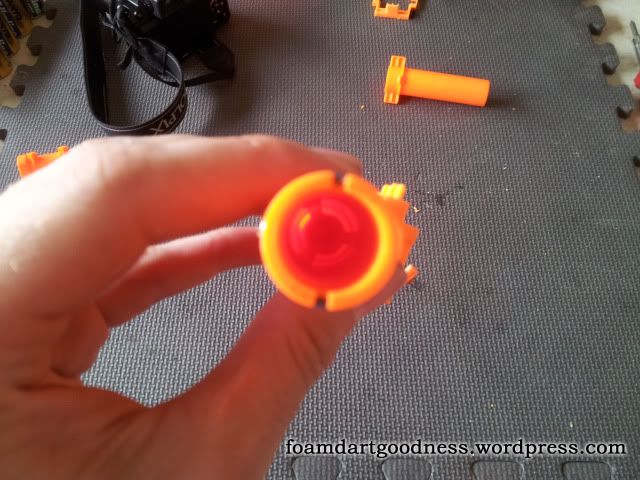
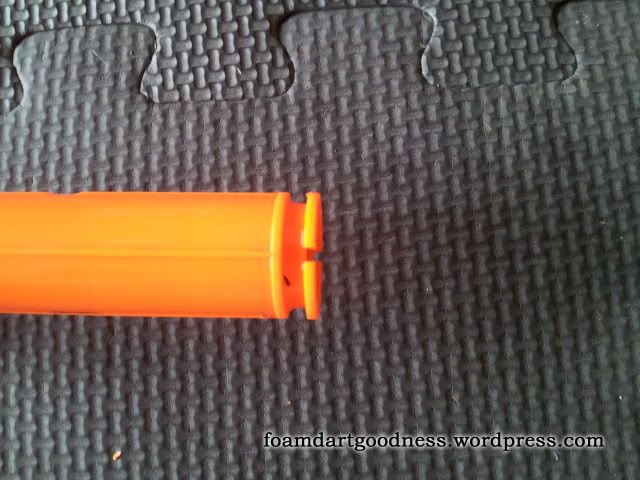
Start by prying off the o-ring. Easiest way to so this is with the tip of your screwdriver. Be careful not to pry too hard though as you don't want to snap it.
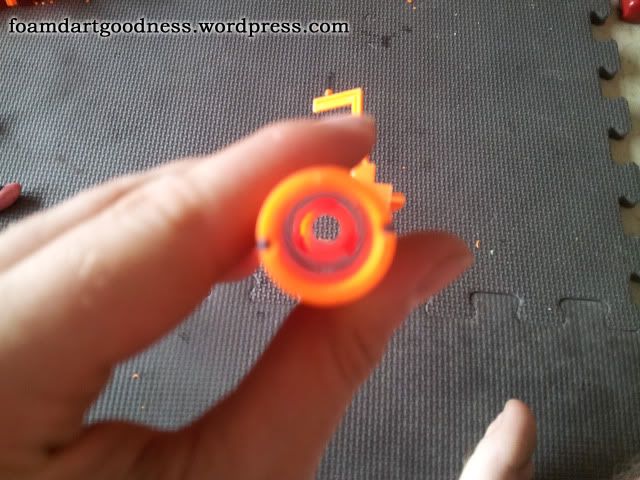
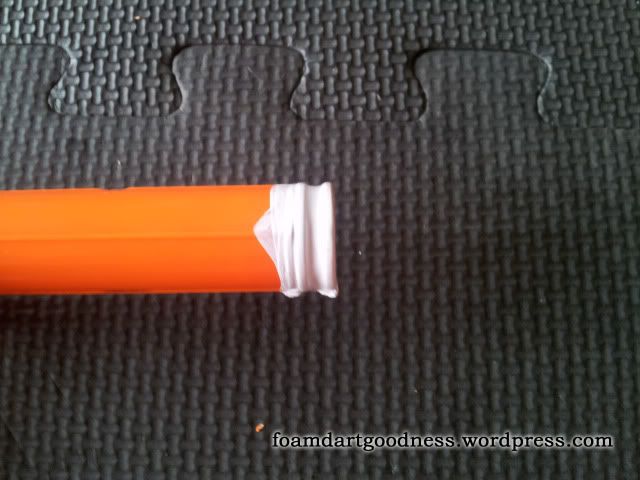
Wrap it a few times in teflon tape.
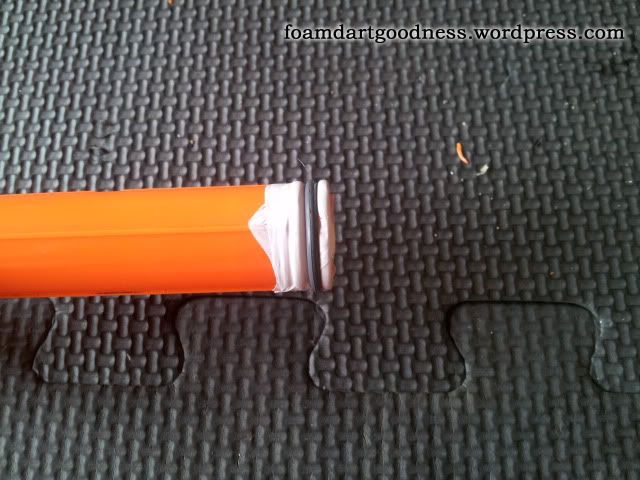
Then put the o-ring back over the top. This will be a process of trial and error, I can't tell you exactly how much tape you will need. Put some on and test fit the plunger tube back over it. We want it to be tight, but still able to move freely with practically no resistance. Once you're happy with it we'll move on.
Put the plunger back over the breech and place the whole assembly, excluding the front piece, back in the shell.
Make sure you get this bit aligned correctly.
Then move up to the front of the breech and slide the sled/breech/plunger all the way back.
Put this front piece back in, making sure the dart tooth aligns correctly.
Edited by Jeo, 19 March 2012 - 03:28 AM.