Jump to content


mystefansdontflystraight

Member Since 26 Dec 2007
Offline Last Active Mar 29 2011 07:20 PM

Topics I've Started

Rfdg Improvements

30 January 2010 - 11:25 AM

Disclaimer: Deaddumpster did this before me, but never posted a write-up or explictly told anyone how to do it. I got the idea from him, but the write-up is original as far as I know.

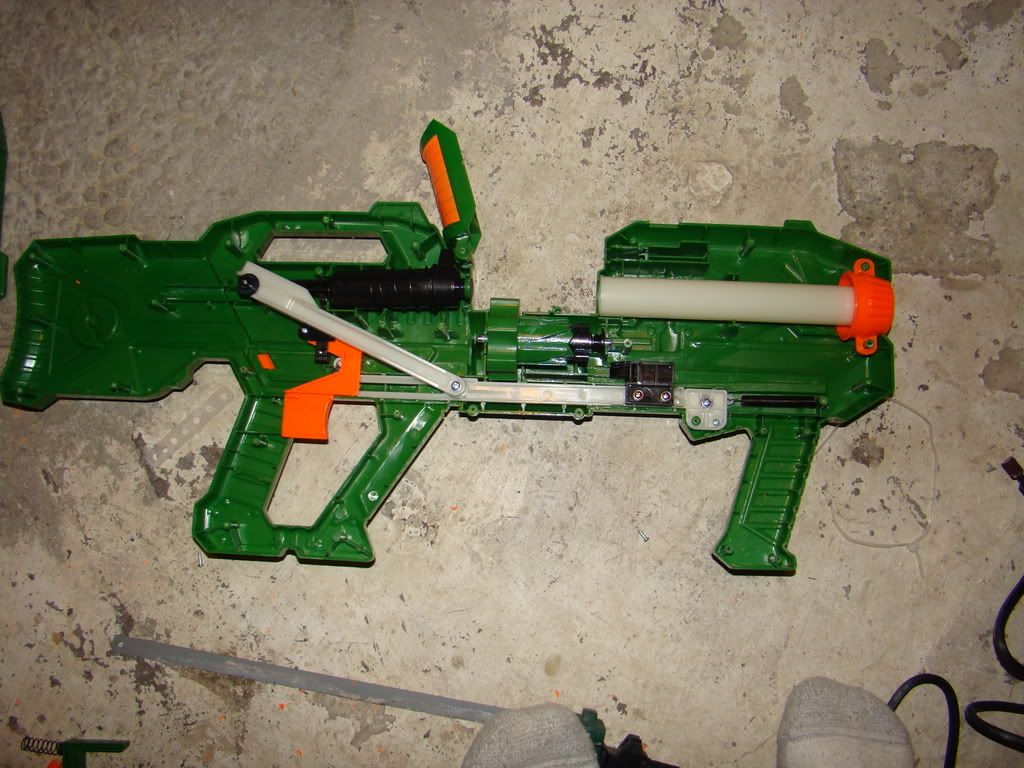
This modification will make your ERTL Rapid Fire Shotgun (often referred to as the Doomsayer) shoot harder and further than before.

Materials needed:
-LS plunger tube
-Stock RFDG plunger tube
-Hacksaw/Dremel
-Sandpaper
-Measuring tape
-BBB arrow
-PVC/ABS transition cement

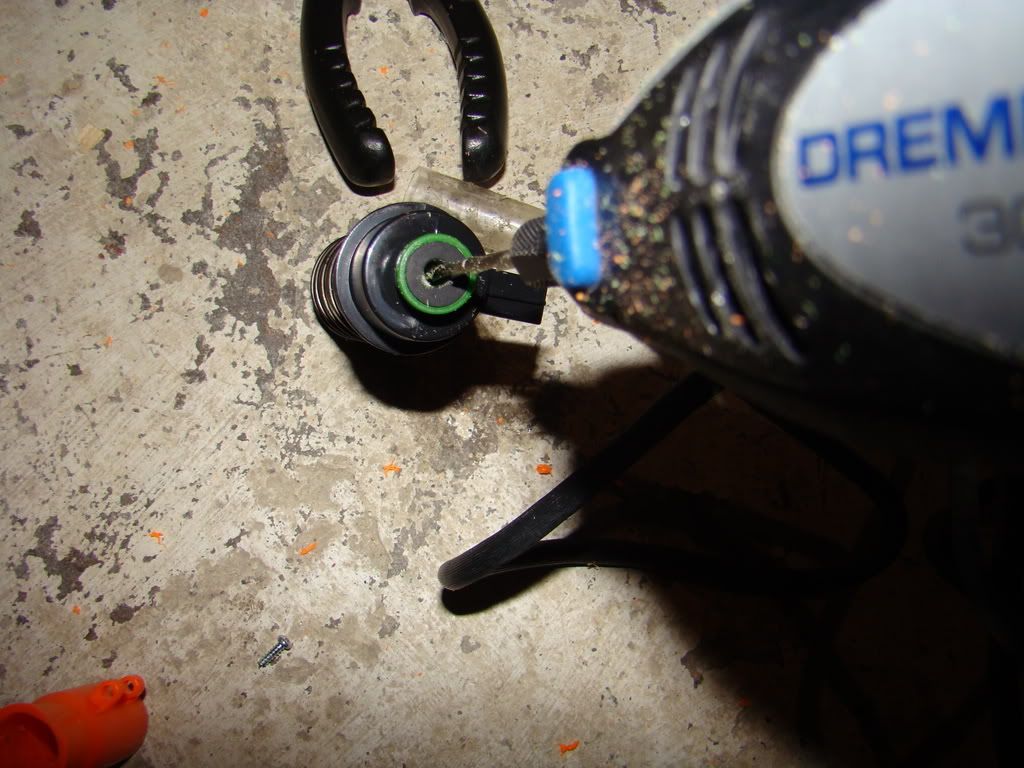
Take the plunger tube out of your RFDG and cut it down like so. Ignore the green thing at the end, that is my plunger tube/turret sealer.
Posted Image

Now, take your stock LS plunger tube and sand off those ridges and that nub that keep it in the LS. Cut it down to 4 7/8 inches.
Posted Image

Now, take your sandpaper and sand out your desired front end of the LS plunger tube. The bit you cut off your RFDG plunger tube needs to fit in there. It won't without a bit of sanding.
PIC

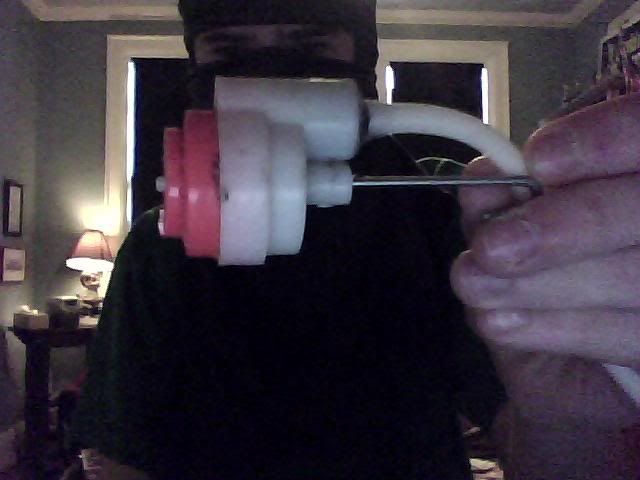
The parts should fit nicely together like this:
Posted Image

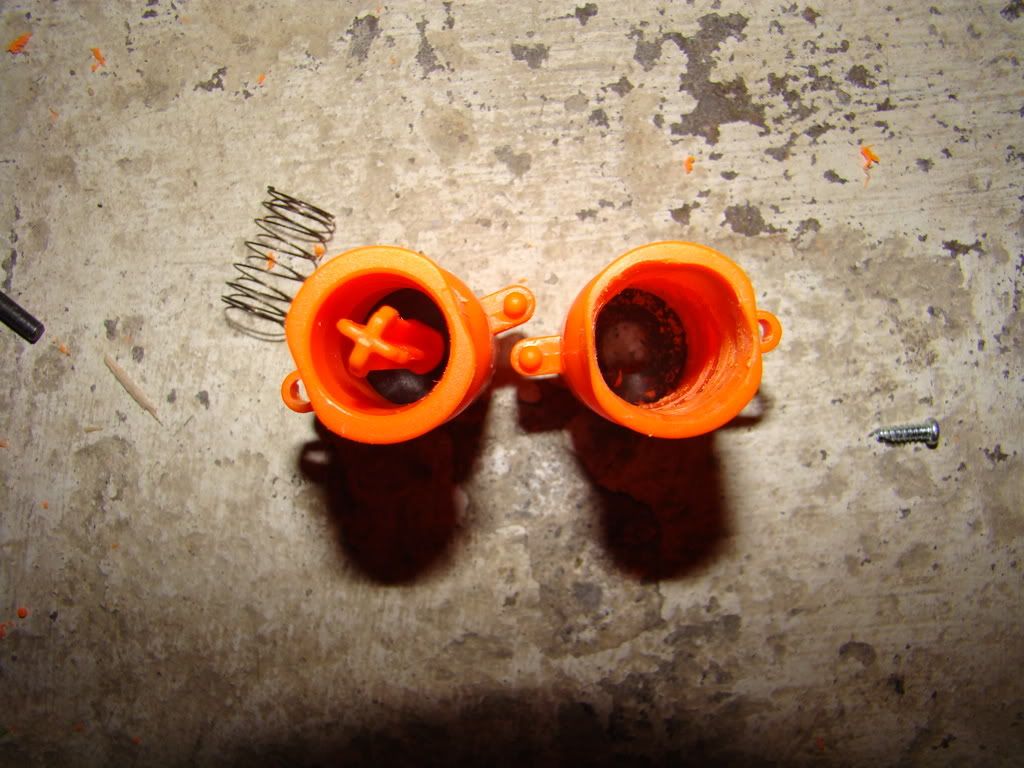
Next, take your piece of BBB arrow (thin piece) and glue it into the front of your RFDG plunger tube bit like so. Make a hole for the air to get through. That serves as plunger padding, and it's much easier to add it now.
Posted Image

Next, cement the two together using this stuff:
Posted Image
Your RFDG should fit together with minimal sanding of the ridges keeping the PT in place. I wrapped a shitton of electrical tape around my RFDG plunger head to get it to fit, but if you have tapping bits, I would tap a hole in the end of the RFDG plunger rod and use a LS plunger head replacement. Your RFDG should be shooting considerably farther now. Mine with a stock/BBB spring gets similar ranges to FA_24's that had the stock PT and an extra spring in there. This is easier to prime, and gets similar ranges.

Rear-loading 1500 Probs.

12 December 2009 - 09:39 PM

This mod is driving me nuts. I have been working on a rear-loading 1500 off and on for about 3 months now. I can't get the washers to seal with the flat hot glue surface on the back of the turret. I have tried everyting. I filled the space in between the barrels with hot glue, cut it flush with a razor blade. It is fine. I have tried washers, BBB arrows, micros cut down the middle and spread flat, nothing works. I always end up getting a seal that is worse than stock. I need a good seal because my darts are snug in PETG. I know many have pulled this off, so what did you do? I have searched, read every rear-loading 1500 thread, tried at least 5 different materials to make the seal. I'm out of ideas, so any help would be appreciated.
Thanks

Q For Citadel Paint Users.

24 September 2009 - 04:48 PM

Hey guys. I painted my crossbow with krylon fusion, and Citadel (games workshop) paints over that. Everything was going fine until I tried to put on the clear-coat.
I was using this stuff to do the clear coat. I was getting that awful crackling effect, which really pissed me off, because now I have to re-do the entire handle of my crossbow.

Any advice on what clear coat to use would be most welcome.

Interesting Find/mod

09 February 2009 - 10:20 AM

Anyway, I was at my cousin's house over the summer, and I noticed he had a SM5K looking super soaker. I asked him if I could have it. He said yes, I brought it home.
This is it: EDIT: Site said they would sue if I used pic without permission. Just google it.
It was leaking out the pump. I never looked at it again until yesterday. I noticed the airtank, which was hooked up to the water tank and air pump via some tubing that looked like small, thick petg. I cut the PETG where it went into the tank. The tank itself looks like a SM750, so I said, perfect, into the xbow she goes.
I cannot integrate a 2k, as the front of my xbow is cut off due to the previous owner trying to hook it up to a DTB turret. 2k is too big, this is smaller.
Here it is.
Posted Image
I etaped some vinyl tubing and gooped it into the hole like I would with a 2k. I coupler'd it, and shot it, getting about 75ft flat. This is with 3 pumps using a 2k pump and PETG.
Very good idea to convert this to nerf if you have one lying around. With the little amount of pumps and the good ranges in such a compact size, they are great.

Belt Blaster Mod.

30 January 2009 - 09:28 PM

Ok, as K9turrent described, the BBCB is a pretty good stock gun. I can vouch for it hitting 30ft flat on several occasions out of the box. Well, it's time to change that to something a little higher.
STEP 1. Remove all your screws. There are an obscene amount. No caps or anything. Here is a pic of the internals to reference:
Posted Image
So go ahead and rip out the plunger tube. One thing I found iteresting is the spring (which is pretty weak, I actually do have a replacement for it) is tapered at one end. One end is wider than the other. Fit a dremel drill bit into your dremel and widen the hole at the end of the plunger tube:
Posted Image
Don't over do this. It will ruin the seal with the shells. I also liked how all the moving parts were very well lubed. There was no need to apply lube to the plunger head. Put some etape on it, but I was out so I didn't.
Now, believe it or not, we are done with internal modifications. Close it up, and make sure it rotates well. I haven't had any skipping problems, it is like the razorbeast on crack.
Next, the shells. Well, they are buzbee shells that snap together. They have huge restrictors. When I put my hand on the end of the barrel and fire with no dart, I can feel a good burst of air hit it. With a shell in, nothing. Take that same dremel drill bit and take it to the hole in the back of each shell. Make it look something a little cleaner than this:
Posted Image
There is a ring on the back of the shell, get rid of all the plastic in that, and drill out the barrel post.
Now take your dremel sanding bit and sand the shit out of the inside of the shell, enough to fit some PETG in. End result should look like this:
Posted Image
Now take a small piece of 17/32 brass and cut it to about 1/2 inch. Glue it into the back of the PETG:
Posted Image
Cut the PETG down to just overlaping the end of the shell:
Posted Image
Hot glue it in there. Clean up any residue glue on the lip, or it won't rotate properly.
Rinse and repeat 29 more times. I only did it twice before doing the write up. I did one without the brass too, accuracy went up.
You are done now.
Now the part you have all been waiting for: Ranges.
I don't have a good length halway in my house, nor an open area to test it in. My longest hallway is 35ft long, and the darts hit the end of it with a bit of drop and a good smack. Im going to guess 50-55ft. The spring can definitely be replaced, and the plunger seal isn't the best either. The faux barrel also kills range a bit.
Expect another episode of the BBCB in a few days.