Jump to content


Isbjorn's Content

There have been 7 items by Isbjorn (Search limited from 03-December 96)


By content type

See this member's

Sort by                Order  

#345732 Simple minimized rapidstrike (+AA conversion)

Posted by Isbjorn on 22 March 2015 - 01:55 AM in Modifications

pretty gnarled up there plans to paint it? honestly i would have gone with a lipo or imr mod rather than AA

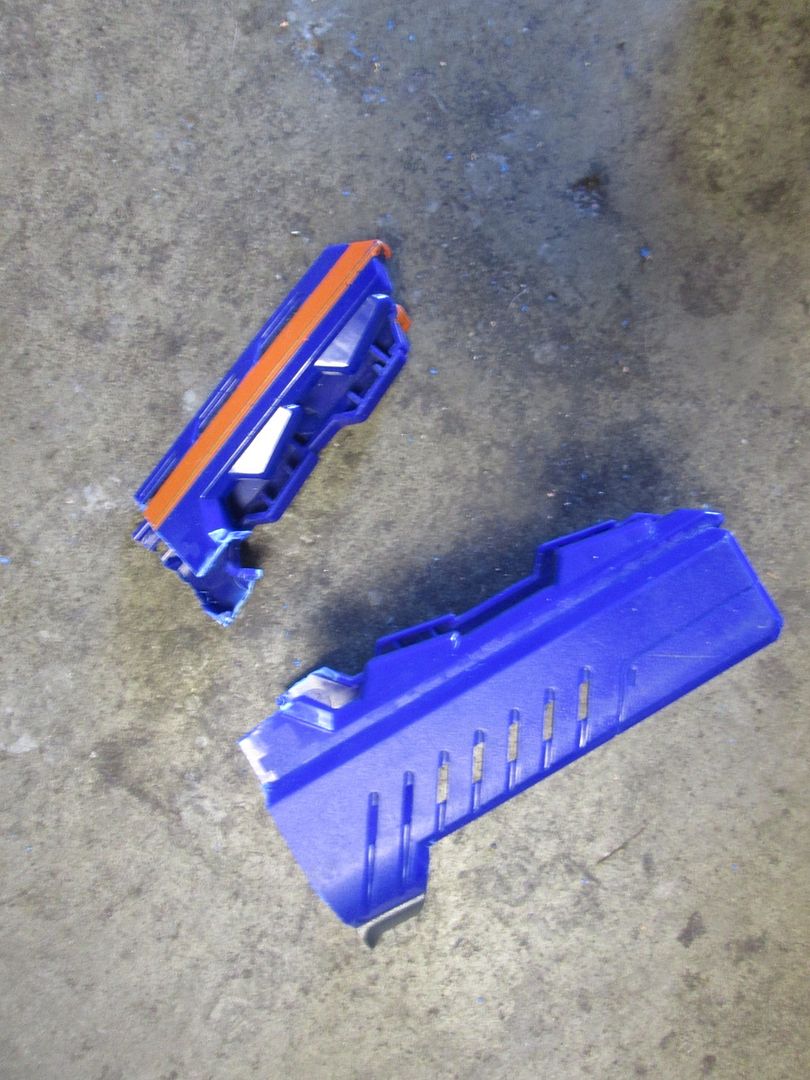
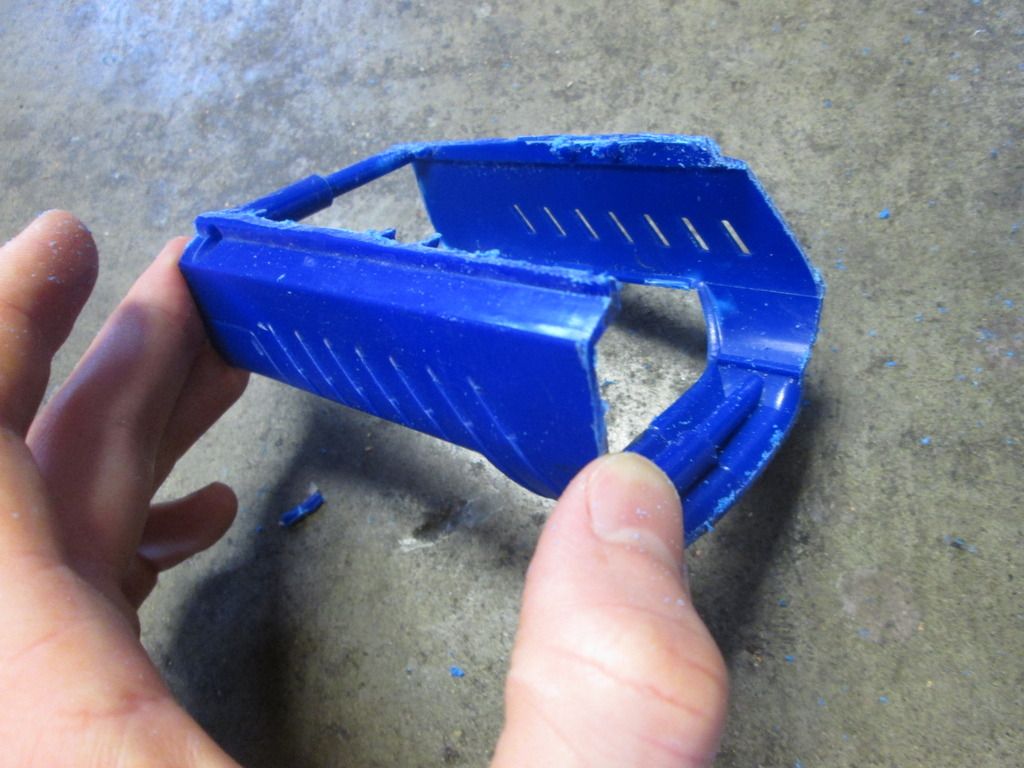
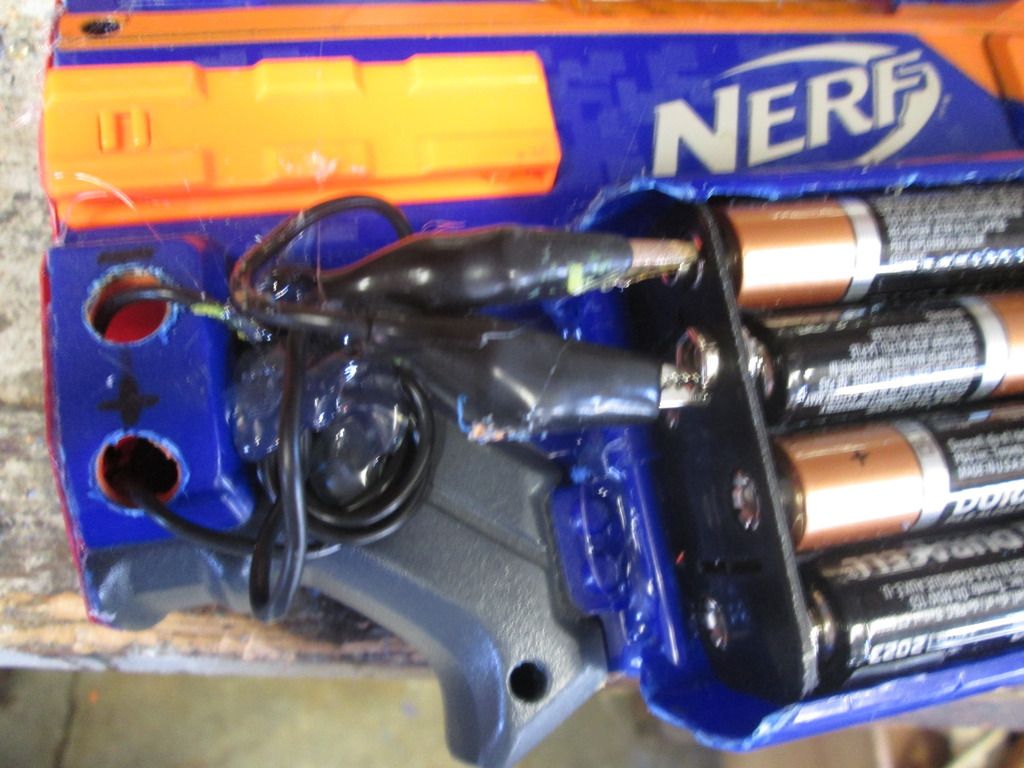
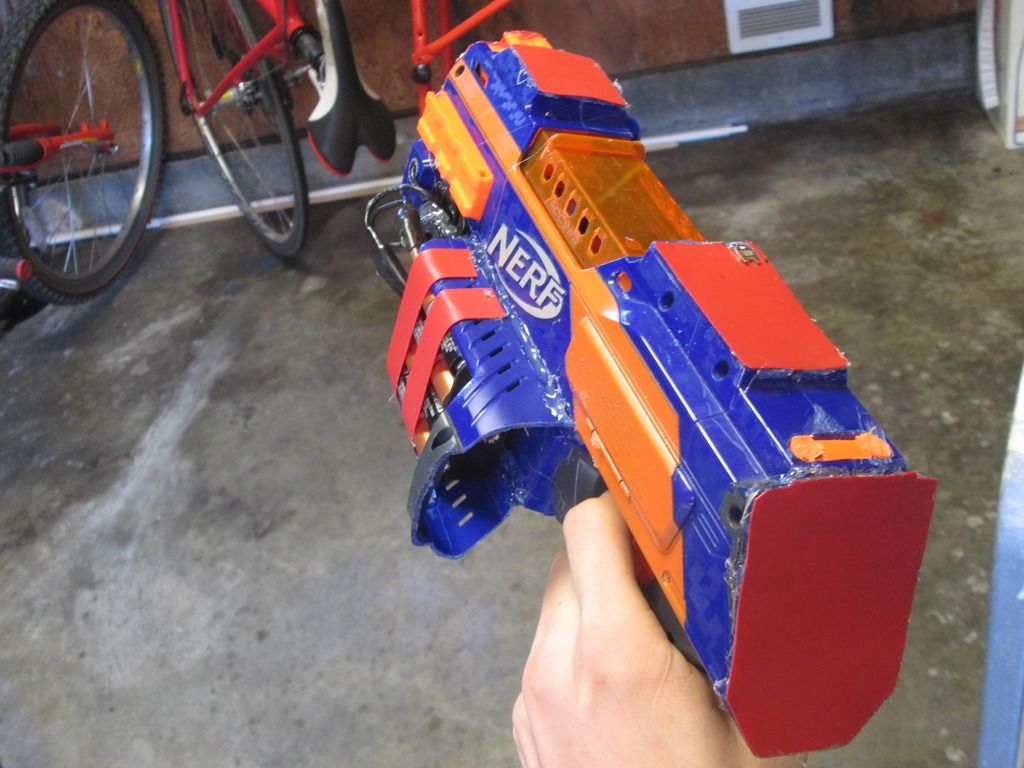
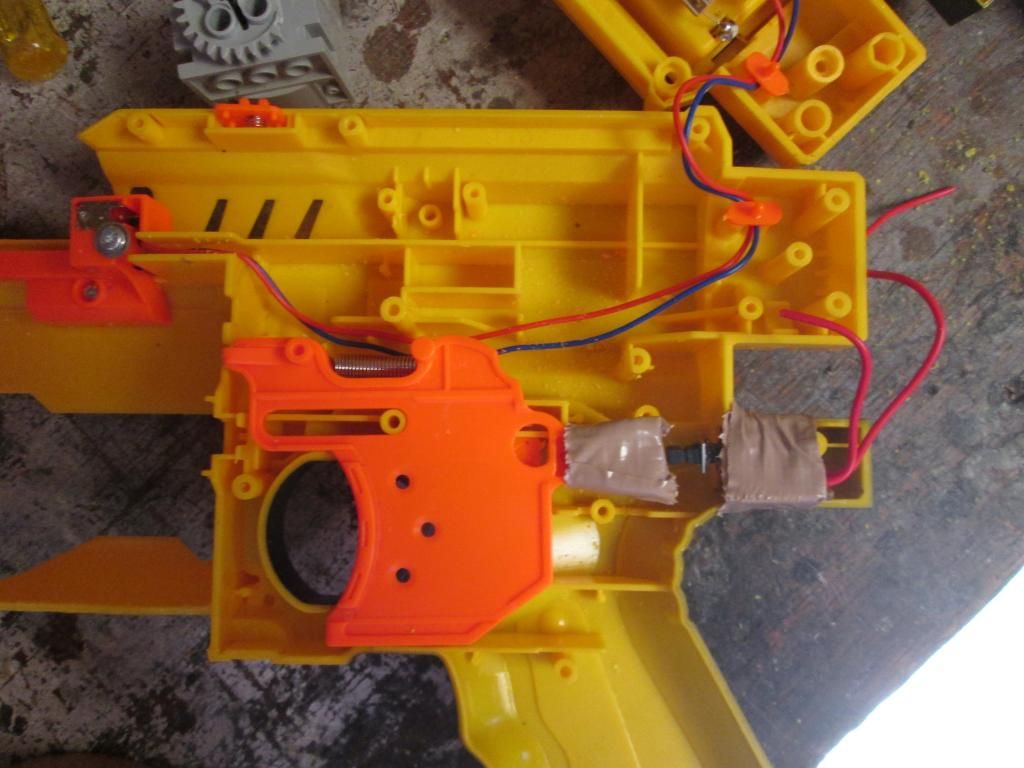
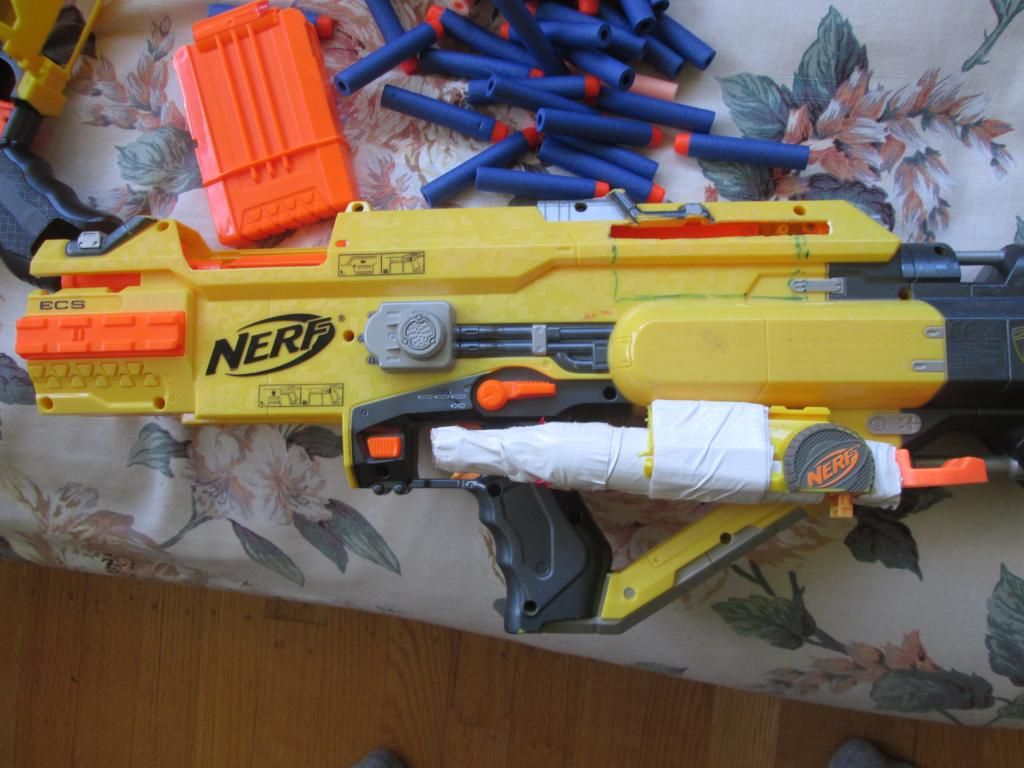
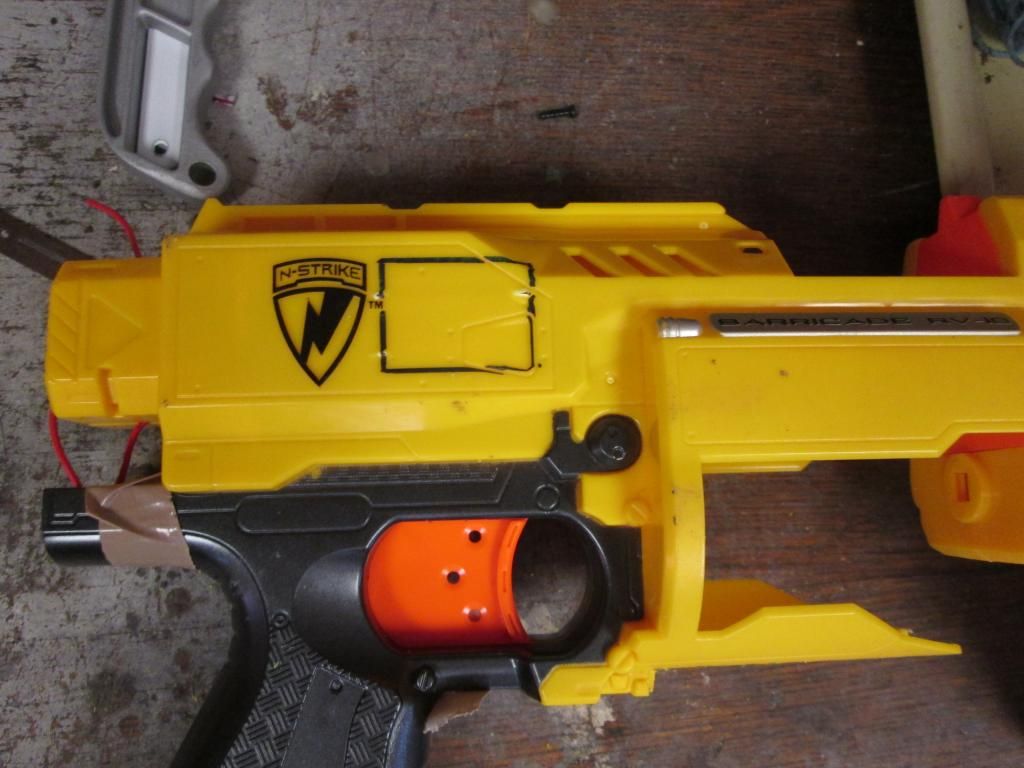
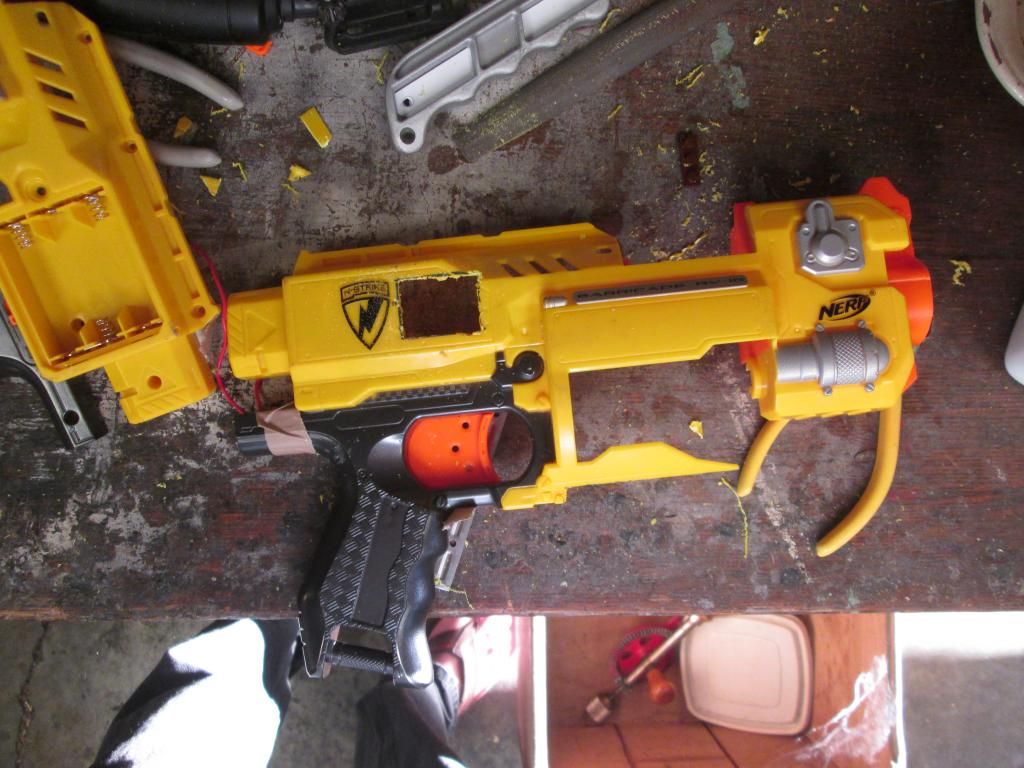
Dear god you should have seen my first (and only other) mod. Full auto barricade is messy stuff.
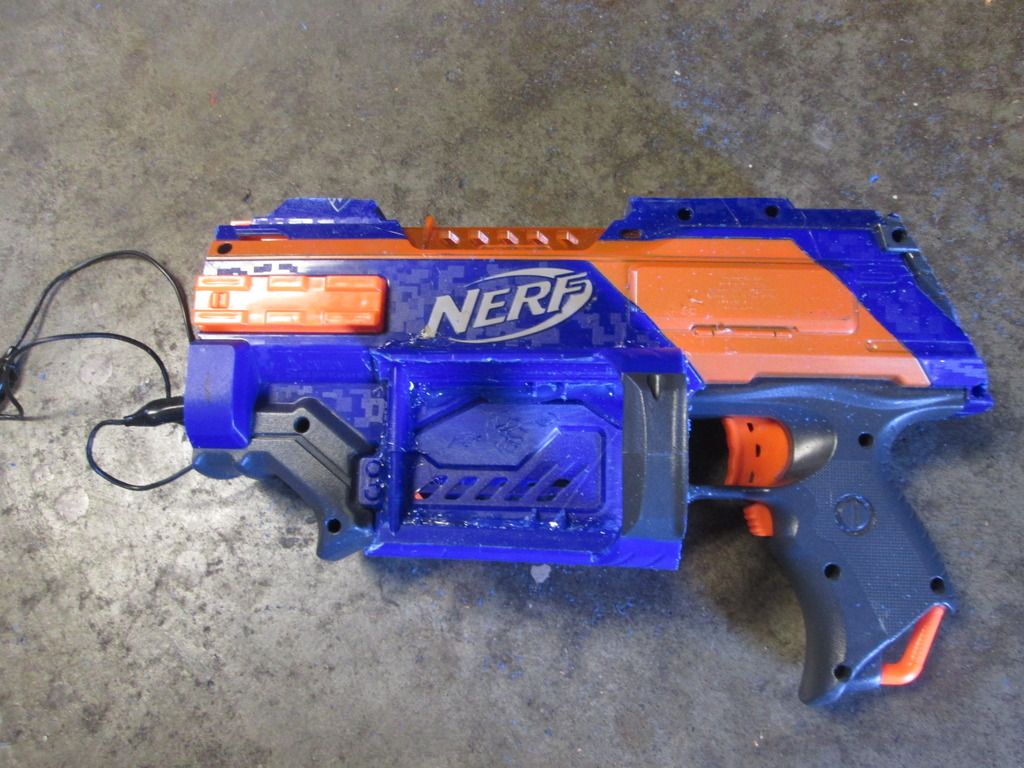
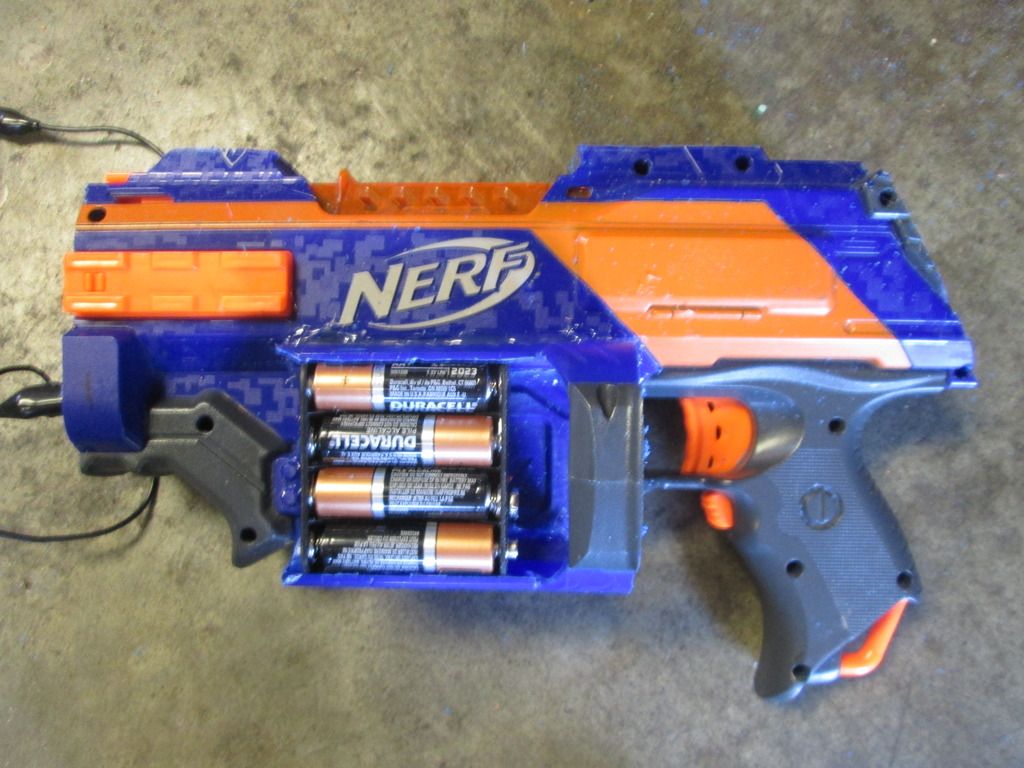
I agree that lipo or imr would be a better choice, but I was tired and wanted to make a mod guide that any kid with a saw and some glue could follow. There are plenty other guides detailing how to wire lipos and switch wire gauge in order to improve current flow. Unlikely I'm going to paint it as I'll be using it in my high school's senior assassin game and don't wanna get dqed (as long as it still LOOKS like a normal Nerf gun I can probs use it).


#345725 Simple minimized rapidstrike (+AA conversion)

Posted by Isbjorn on 21 March 2015 - 08:45 PM in Modifications

I saw somebody's video of their dual minimized Rapidstrikes and thought "Wow that looks cool".

That was like a year ago. I have now gotten around to actually doing the mod.

To modify your Rapidstrike into a relatively smaller, slightly more powerful Rapidstrike pistol thingy, you will need the following.

Required
-One (1) Rapidstrike Nerf Elite Blaster
-One (1) 8x AA holder (can get at radio shack for 2 bucks or so)
-Two (2) Alligator clips (or short lengths of wiring, paperclips could work in a pinch)
-A few (several) hot glue sticks
-Eight (8) AA batteries (0.75$ for 2 AAs, 1.5$ for a C, halves battery cost, doublish power)

Optional
-Something to cover areas exposed by cutting up the Rapidstrike (I used thin plastic from an old planner I had)

Tools
-Hacksaw
-Hot glue gun
-Screwdriver

Optional tools
-Drill
-File

Begin by removing your battery holder and cutting your Rapidstrike up. I cut mine so that plenty of screws still held it together.
Posted Image
Get rid of all those unnecessary stocks and locks and barrels.
(okay I didn't actually take out the lock because I wanted this to be doable by anyone, and I'm lazy)
Posted Image
Take your battery pack and check which sides are negative and positive (female is negative, male is positive. On blaster, the right is negative, left is positive)
Posted Image

Now for a way to hold those batteries!
Take the front section of your blaster, which you just chopped off, and take out the screws
Posted Image
Next pull the orange part off the blue (there are little blue catches, use a screw driver to push them about, then pull, should pop apart)

Cut off those little catch thingies. They get in the way.
Posted Image

Cut the stripy part away from the big part. We want the big part.
Posted Image

Cut the big part so it's flat, pretty much cut it like I did.
Posted Image

Now use your hot glue gun to glue this piece to the side of your blaster as shown (may be clearer in later pictures, refer to those)
Posted Image

Slap your batteries in there.
Posted Image

This next part is optional but makes a fugly blaster slightly less so.

Get some plastic or something and cut it to fit the holes there now are in your blaster.
Posted Image

Then glue them in place. Please don't get glue in the mechanical or electrical bits.
Posted Image

If you're fancy, drill some holes in the side of the remaining battery housing.
Posted Image

Then fit your alligator clips through there, clip them onto the terminals, remember which one each one is clipped on to.
Cover up that ugly hole in the front of your blaster with some stuff.
Posted Image

Glue your wiring in place if you're lazy. If you wanna make it look nice you can figure it out.
Clip it to the corresponding terminals on your battery pack.
Posted Image

Use some more stuff and some glue to secure your battery pack. DO NOT GLUE IT IN. That would just be silly.
Instead, make it a nice snug fit. The screw we didn't cut out in front will keep it from sliding forward, and you should be able to slide it out the back with a reasonable amount of force.
Posted Image

Yay. It's done. Any number of further cosmetic mods can be done, and there are a million ways to power your blaster, but this was the most material efficient one I could come up with.
Pew pew
Posted Image

Comparison to original sizish
Posted Image

Hope this helped some of you (especially those on a tool and money budget) to make a nice compact automatic blaster w/ minimal effort. We didn't even have to open the blaster up!
Happy modding!


#341300 Full Auto Barricade

Posted by Isbjorn on 18 August 2014 - 07:47 PM in Modifications

How quickly does this empty the cylinder? Are you losing range because the flywheels don't have time to get back up to speed? Like shmmee said, it's rather ugly looking, but it's a clever solution to an old problem. Although this is the second full-auto Barricade I've seen that uses Legos, it appears you did so in a new and innovative fashion. Hopefully you'll come up with another cool mod soon.
p.s. Can you not use such a large font next time? It makes your write up difficult to read.


Fires 14 darts in around 3 seconds (my drum jams if you put more than 14 in) I do lose range when fired fully automatic, but three or four darts can be fired in a burst with minimal loss of range. Thank you, I hope I have time to mod some more!
And yeah, thank you to whoever fixed the type size (first time posting and not really sure about html) (well it looks fixed to me, thank you moderator person)


#341299 Full Auto Barricade

Posted by Isbjorn on 18 August 2014 - 07:32 PM in Modifications

I actually like this. Its a little fugly yes but its much cleaner than the first person who made a full auto barricade using lego. That was a nightmare. Good job on this dude it looks good. I would look up how to put a recon/raider mag well onto the blaster so you can have the clip functionality. You seem to have the skill so it shouldn't be hard for you at all.


Thank you much, I figure anybody can do anything when they've got a hacksaw and a hotglue gun, I'll have to get some old guns though, running low on parts :)


#341093 Full Auto Barricade

Posted by Isbjorn on 08 August 2014 - 05:26 PM in Modifications

Wow. I haven't witnessed this level of "fugly" since TaerKitty modded. Functional, but... well I'm sure its your baby so I'll not finish this thought.

Interesting concept. I dont think I've seen anyone try to put a diy dart pusher into a blaster. I'd like to see it with a strife or raven as a base since they're already clip compatible. It may help with your reliability issues if the clip seats consistently.

Spiffy though. Its basically a ghetto'd rapid strike.


It's alright, I know it looks terrible :3

Thanks for the idea, I think I'll try it soon.

And thank you, it is pretty much exactly that.


#341092 Full Auto Barricade

Posted by Isbjorn on 08 August 2014 - 05:21 PM in Modifications

If I may ask, does the clip even stay in? Saw nothing for that.


No clip release, but I added padding to make it fit snugly, You just kind of have to jam it in and yank it out> at least it won't fall out though


#341086 Full Auto Barricade

Posted by Isbjorn on 08 August 2014 - 04:06 PM in Modifications

This is my first nerf gun mod (and my first post) so forgive any mistakes I make (quite a few) but I documented it fully in case anyone is insane enough to try it.

This is mainly a post to outline what NOT to do so people don't make the same mistakes I did

once again I have no idea why anyone would want to do this as the nerf Rapid Fire cs-18 is out and is way more powerful and reliable

So here we go

Step 1: find your old barricade. Here is mine. It is stock.
Posted Image

Step 2: Take out the screws
Posted Image

More steps:

Remove the turret
Posted Image

Cut out a well for the magazine (yellow piece in upper left hand corner was cut out)
Posted Image

Cut off the rotator thingy for the turret (turret advancer or something)
Posted Image

Take out the manual dart pusher mechanism (some screws must be removed to do this)
Posted Image

Put a push button switch in behind the trigger, also take out the jam door at this point
Posted Image

(okay this wasn't my FIRST mod, I removed the locks from my stampede, but that's it. And I guess I "minimized" both my nitefinder and stampede)
Posted Image

Draw a square where you gonna put your motor
Posted Image

Cut out said square (I used a drill and file and wire cutters)
Posted Image

The next few things ended up not being in the final product so I'll keep them brief

Posted Image

The gear tooth mechanism ended up not working (It can be done but you have to reduce the speed i.e modify the gear ratio
which is difficult with very limited space inside the blaster, and I was tired of dealing with it)
Posted Image

Gear tooth mechanism used original puller back spring
Posted Image

Got everything wired up to a 9v (it's actually a 12v motor)
Posted Image

In short, this wasn't very reliable.
Posted Image

Sooooo I took it all apart and moved the motor back to better suit my purpose
(this requires some measuring and stuff to figure out how far the pusher needs to go etc.)
Posted Image

Replaced the mechanism with a more reliable one using some more lego parts (had to cut apart a few studs etc.), a bit of tin, some scrap metal from a binder I took apart, and hot glue.
At this point I also cut out an indentation in the top so the parts could make a full rotation
Posted Image

Added a guide for the dart pusher (when put together it will keep it from popping up)
Posted Image

Put it back together, covered the big hole with packaging plastic and hot glue, and filed the stock attachment point inside until I could fit a 9v in there snugly.
Posted Image

Used some fat electrical tape to make a guide for the magazine.
Posted Image

Finally hot glued the wires in place so no connections would break. The battery can still be removed and replaced. Also make sure to cut a little hole where the wires go into the push button switch, and to make room in your cut for the motor for the wires running in over the top.
Posted Image

Probably do this outside instead of on your desk in your room.
Posted Image

As previously stated, not the most reliable blaster in the world (I need to up the voltage to 12v for it to not have the awkward "Ugh I can't push the first dart" issue, and I have neither a 12v batter nor trustfires)
http://vid1055.photo...en/MVI_0153.mp4

Thank you guys for bothering to read my post, I had a good time modding the blaster, and learned a decent amount, hope I shared some of it with you!