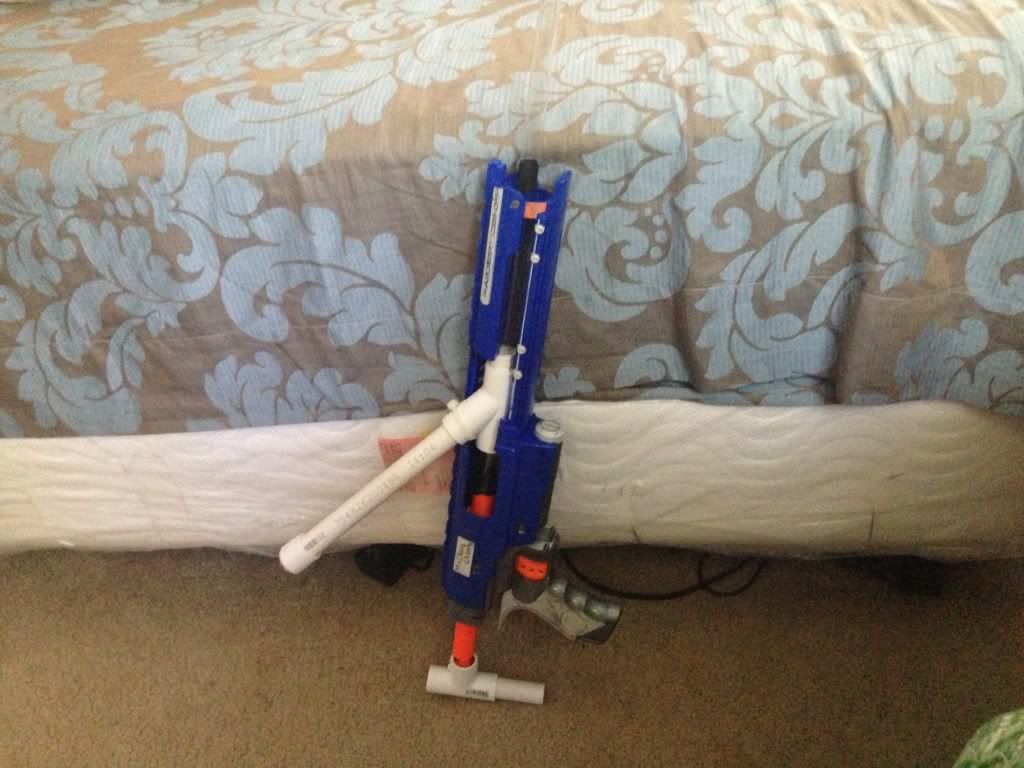
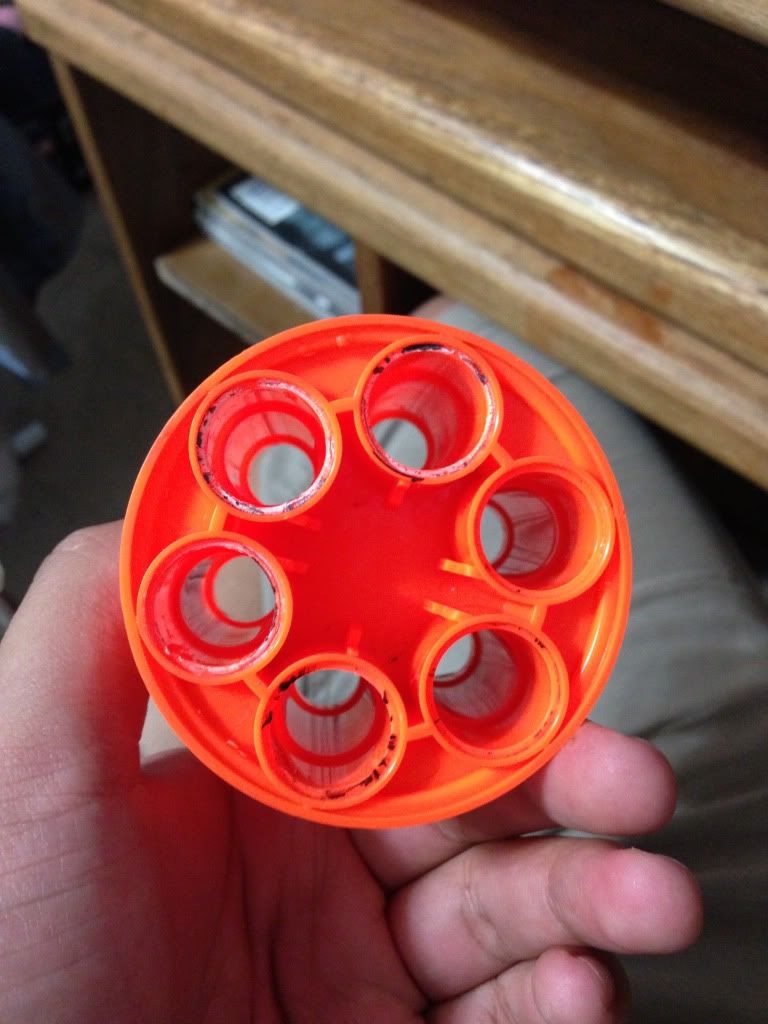
how does it push the balls forward
Gravity, looks like.
Also I'm sad that the rivals ammo is way bigger than a standard paintball.
I really wanted to hook up my Virtue Spire to it and have it rip on the field but oh well.
There have been 75 items by xXhunter47Xx (Search limited from 03-December 96)
 Posted by
xXhunter47Xx
on 24 August 2015 - 07:54 PM
in
Modifications
how does it push the balls forward
 Posted by
xXhunter47Xx
on 20 August 2015 - 01:07 PM
in
General Nerf
Would this sort of "steampunk" look be acceptable, or is it too realistic?
snip
Seems okay to me, if somewhat on the fringe of being acceptable. I'll let the hardcore milsim-haters weigh in.
 Posted by
xXhunter47Xx
on 19 August 2015 - 07:24 PM
in
Modifications
1. No
2. Yes
3. ...
4. ...
5. ...
6. No
7 ...
 Posted by
xXhunter47Xx
on 15 August 2014 - 12:48 PM
in
Site Feedback
 Posted by
xXhunter47Xx
on 10 August 2014 - 01:58 PM
in
Homemades
Motors from vehicle power window regulators may be what you are after. They are usually worm drive assemblies, and built for high torque. If you want to pay shipping, I'm sure I could scrounge up a couple from the scrap pile here at the shop I work at.
 Posted by
xXhunter47Xx
on 29 July 2014 - 09:21 PM
in
Modifications
 Posted by
xXhunter47Xx
on 08 December 2013 - 12:22 AM
in
Site Feedback
Dude just type your write-up or whatever into a word document, then take the pictures, and reassemble the writeup in the Nerfhaven editor with the pictures. Simple as that.
 Posted by
xXhunter47Xx
on 05 December 2013 - 10:45 PM
in
General Nerf
 Posted by
xXhunter47Xx
on 05 December 2013 - 10:16 PM
in
Off Topic
This sounds suspiciously like you are going to purchase the dual-clip packed units from Costco.
 Posted by
xXhunter47Xx
on 01 December 2013 - 09:59 PM
in
Modifications
 Posted by
xXhunter47Xx
on 01 December 2013 - 03:21 PM
in
Modifications
Thanks for telling us how you fucked up.
 Posted by
xXhunter47Xx
on 01 December 2013 - 02:57 PM
in
Modifications
 Posted by
xXhunter47Xx
on 30 November 2013 - 02:10 AM
in
Modifications
 Posted by
xXhunter47Xx
on 29 November 2013 - 10:53 PM
in
Modifications
 Posted by
xXhunter47Xx
on 29 November 2013 - 03:07 PM
in
Modifications
 Posted by
xXhunter47Xx
on 29 November 2013 - 01:37 PM
in
Modifications
 Posted by
xXhunter47Xx
on 27 November 2013 - 12:17 PM
in
Modifications
Amazon and Walmart both list the Stryfe as being 15" long.
BenFett-
That is a very interesting idea, I will certainly look into it.
 Posted by
xXhunter47Xx
on 20 October 2013 - 12:33 PM
in
Homemades
First off, rainbows, and pretty much all nerf blasters do not have cache, unless it has integrated computers in it... It's catch, and the purpose for having two plates, one on either side is to act as a channel for the catch to move within. The holes drilled for the plunger rod are centered and aligned so that the path of the plunger rod is straight and doesn't have any unwanted warps or friction. The plates themselves act as a channel for the catch to move within so that it is always lined up and for redundancy. It is possible in theory and practice to eliminate the reward plate but that poses possible risks such as the catch plate being pushed back or just torqued in any direction which would potentially hinder use of it and cause damage.
TL;DR It is better to have points of redundant contact and support than to cut on machining time that translates to pure laziness and can cause damage/malfunctions.
The only difference in the case of external propulsion is that you don't have a spring pushing against the front of the front plate. You still need to constrain the catch plate's motion, and the plunger tube and external screw are not enough - that screw would be holding back a force it was never designed to, and the catch plate would be torquing against the plunger rod because the force balance would be off center. The front plate moves that force balance back to the axis of the plunger rod, and takes all the force of the priming while also preventing the catch from rotating and binding against the plunger rod. Rainbow catches would never work without that front catch, and would very bindy and frictiony to prime without the back plate.
 Posted by
xXhunter47Xx
on 20 October 2013 - 12:25 AM
in
Homemades
 Posted by
xXhunter47Xx
on 12 October 2013 - 12:29 AM
in
Modifications
 Posted by
xXhunter47Xx
on 11 October 2013 - 10:22 PM
in
Modifications
 Posted by
xXhunter47Xx
on 05 October 2013 - 08:00 PM
in
Modifications
 Posted by
xXhunter47Xx
on 03 October 2013 - 09:57 PM
in
Darts and Barrels
Paintball markers, BB guns, real guns, etc. all have barrel rifling, which makes the evenly-weighted ammo stable in flight. Also, those ammo types are far denser, precisely manufactured, and have an aerodynamic tip in some cases.
 Posted by
xXhunter47Xx
on 26 September 2013 - 09:17 PM
in
Modifications
 Posted by
xXhunter47Xx
on 08 September 2013 - 10:04 PM
in
Site Feedback
 Posted by
xXhunter47Xx
on 03 September 2013 - 10:42 PM
in
Modifications
My turret warped and melted before the adhesive had a chance to weaken. I ended up taking a hammer to the plates, which wasn't very smart. In hindsight, it would be MUCH easier to just remove the AR's from the front, since we are already removing the barrels in the first place.
So rather than boil the turret, just pluck out the AR's after sawing off the barrel assembly. Saves time and the black plates don't even have to be touched.
I can back up Duke's range claim however. Tank expanded, 8 pumps, this thing gets 100+ flat no problem with an 8" CPVC single barrel. My pump shaft nearly broke where it connects to the handle, so it is necessary to reinforce it as Duke pointed out.
 Posted by
xXhunter47Xx
on 02 September 2013 - 10:31 PM
in
Modifications
Kmart is the only place I believe that is currently selling the 10's.
The reason I'm doing a writeup is because new members will have no clue how to begin something like this.
Also, how long did if take to boil off the black plates? If left mine in boiling water for two minutes and they refuse to budge.
 Posted by
xXhunter47Xx
on 02 September 2013 - 02:02 PM
in
Modifications

 Posted by
xXhunter47Xx
on 02 September 2013 - 02:15 AM
in
Modifications
For the PETG, was it the thick wall or medium wall?
 Posted by
xXhunter47Xx
on 30 August 2013 - 11:11 AM
in
Homemades
What's the point of making a check valve? Nylon check valves are pretty cheap on McMaster, is there a reason why I shouldn't use one? srs question haha.
 Posted by
xXhunter47Xx
on 29 August 2013 - 05:33 PM
in
Homemades
 Posted by
xXhunter47Xx
on 28 August 2013 - 05:58 PM
in
Modifications
I don't believe this is Necro posting, but if it is, I'm sorry. Anyways, I plugged the OPRV on mine and it's working just fine. I'm putting eight pumps into it every time I fire and there's no sign of breakage yet, and I would say I've fired it 50-60 times already.
 Posted by
xXhunter47Xx
on 28 August 2013 - 05:54 PM
in
Modifications
 Posted by
xXhunter47Xx
on 25 August 2013 - 12:27 PM
in
Modifications
Just wondering, how come you sawed off the front portion of the pump?
 Posted by
xXhunter47Xx
on 23 August 2013 - 11:39 PM
in
Homemades
 Posted by
xXhunter47Xx
on 21 August 2013 - 04:21 PM
in
Modifications
 Posted by
xXhunter47Xx
on 21 August 2013 - 12:11 PM
in
Modifications
Without the air-restricter plugged, how much of an improvement is this seemingly simple mod? Are we getting comparable ranges to the elite line? Better? From what I've searched it seems to be a fairly powerful air blaster.
 Posted by
xXhunter47Xx
on 21 August 2013 - 12:31 AM
in
Modifications


 Posted by
xXhunter47Xx
on 20 August 2013 - 12:41 PM
in
Homemades
 Posted by
xXhunter47Xx
on 20 August 2013 - 12:09 AM
in
Homemades
